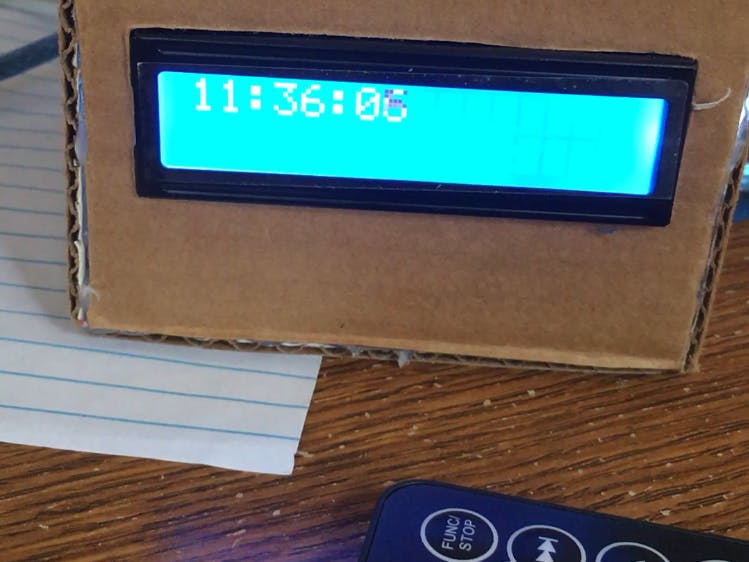
This clock only works for the Elegoo remote as shown below:
Have you ever fallen right back to sleep after snoozing your alarm clock? That's because you're still bran-dead when you hit that snooze button. A simple way to prevent this is to wake your brain up with a simple math problem.
Earlier this year, I bought the Elegoo Starter Kit UNO R3 Project with the hope of being able to make some cool stuff that I once saw like robot or toy car. This is one of my very first project using Arduino Uno R3 and since I've just started it, the clock itself looks like crap. But it's still better than nothing, right? Link to the kit is here.
LibrariesFor this little project, there's a few libraries you need to download and format as you can see below:
https://github.com/z3t0/Arduino-IRremote.
*For the IRremote library, you'll have to go to boarddefs.h, find the following segment of code:
// Arduino Duemilanove, Diecimila, LilyPad, Mini, Fio, Nano, etc
// ATmega48, ATmega88, ATmega168, ATmega328
//#define IR_USE_TIMER1 // tx = pin 9
#define IR_USE_TIMER2 // tx = pin 3
and change it to:
// Arduino Duemilanove, Diecimila, LilyPad, Mini, Fio, Nano, etc
// ATmega48, ATmega88, ATmega168, ATmega328
#define IR_USE_TIMER1 // tx = pin 9
//#define IR_USE_TIMER2 // tx = pin 3
https://github.com/arduino-libraries/LiquidCrystal
https://github.com/adafruit/RTClib
The cardboard boxChoose and cut whatever cardboard that fits your circuit best. For me, I just cut a random amazon delivery box, and it works great!
Assemble your circuit according to the following image
To save some place because my goal is making an as small and compact an alarm clock as possible, I use the Arduino Prototype Shield v.5 that comes with the kit I bought. You can choose to use or not to use the board.
Fits perfectly! :)
- When compiling the code, don't hit verify (the check icon) but hit upload (the arrow icon) instead.
- When you upload, if you want the clock to have the right time on it, then don't unplug it from the computer or unplug after connect it to external battery.
- If you unplug it and then connect it to the power source, the time shows is the time when you last upload it.
Remote Controller+ ST/REPT: Hit it if you want to set Alarm. If you've entered "Set hour," hit it again to set minute and again to set second. Hit it one last time to finish setting up alarm
+ The red power button: This button is programmed as a backspace button. Hit it once you've finished setting alarm and want to change (since this remote is a really crappy one, hit power button multiple times until the second line of the LCD indicating the alarm turns off), or when you're typing the wrong answer for the simple math problem (hit it until the answer turns into zero)
+ Apart from number buttons, ST/REPT and red power button, other buttons have no use.


_ztBMuBhMHo.jpg?auto=compress%2Cformat&w=48&h=48&fit=fill&bg=ffffff)


Comments
Please log in or sign up to comment.