Hi coders,
I was wandering around to find a way to program Raspberry Pi over USB only. As I am lacking an HDMI cable I searched everywhere and found something useful. And I hope it should be available for everyone and I am presenting it for you, please note that this is a working trick for any of Raspberry Pi models which possess Wi-Fi connectivity.
If you are not interested to read the lengthy documentation watch the video instead
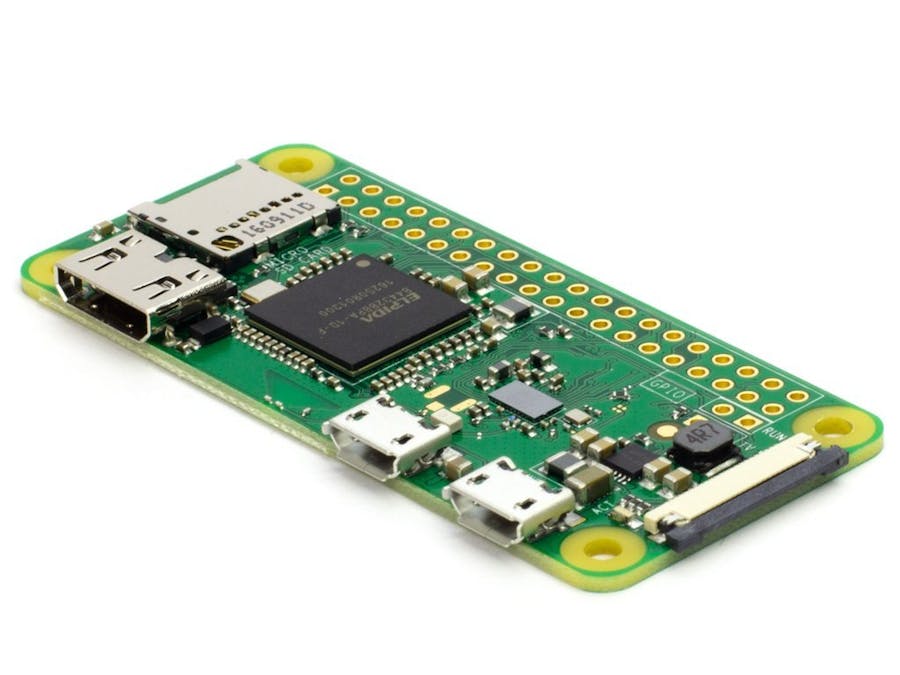
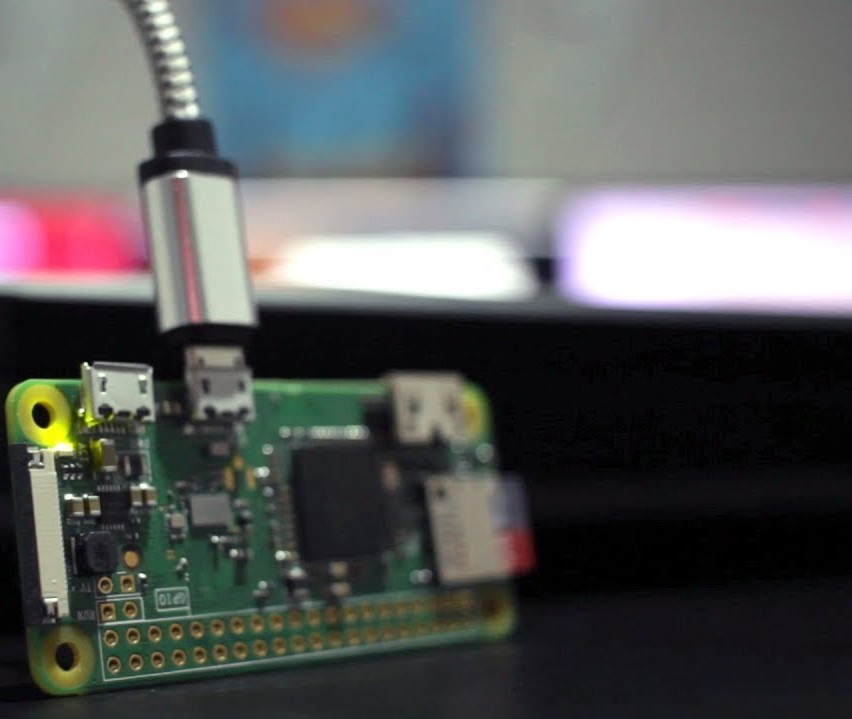
1. Setting Up Raspberry PiI am here using a Raspberry Pi Zero W and this method is suitable for Pi Zero W. Raspberry Pi Zero W has two micro USB slots. One is only for powering and the other for programming.
Download RASPBIAN OS. Use any of bootable SD making software like ETCHER or RUFUS and make a bootable SD card with the downloaded image.
After re-inserting the SD card we can see a new device named boot and we need to edit some files before inserting it into Raspberry Pi.
Create a new file in boot name ssh with no extension which will enable SSH in Raspberry Pi
- Create a new file in boot name ssh with no extension which will enable SSH in Raspberry Pi
Create a file called wpa_supplicant.conf. This is a configuration file that will allow you to pre-configure the WiFi credentials. Paste this piece of code
country=US
ctrl_interface=DIR=/var/run/wpa_supplicant GROUP=netdev
update_config=1
network={
 ssid="WIFI_SSID"
 scan_ssid=1
 psk="WIFI_PASSWORD"
 key_mgmt=WPA-PSK
}
On boot, the Pi will copy and use this as the default configuration file. In the file replace the US with your country code and SSID and password with your credentials.
4. Accessing Raspberry PiTerminal with PuTTYandenabling VNCServer
Insert the SD card to Raspberry Pi and wait for 90 seconds to boot. When Pi boot it will get connected to the Wi-Fi. Here I used my mobile hotspot as a network and connected my Raspberry Pi and my PC to the same hotspot which will make a network. Also, it is easy to find out the IP address of Raspberry Pi when connecting it to the hotspot. If you are not able to see IP address of Raspberry Pi use Angry IP scanner to find it.
Provide IP address and open and we will get a terminal. Login with username as Pi and password raspberry. Once you are logged in you get a terminal which is originally CLI of Raspberry Pi.
In the terminal type sudo raspi-config which gives you the configuration menu.
Go to interfacing options of which choose VNC and enable it. Exit the terminal by finishing the process.
5. AccessingRaspberryPiGUIwithVNC
Once you have enabled VNC Server go to VNC Viewer in your PC. Create a new connection by giving the IP address of Raspberry Pi and give the connection a new name. Invoke the device by double-clicking on it, which will give you a login panel. Login with username pi default password raspberry. And here you get the Graphic User Interface. Check the whole thing and Code it out.
In Raspberry Pi 4 some may face Wi-Fi connectivity issues. Even if you follow all the steps above, in some cases Raspberry Pi 4 won't get connected to hotspot automatically.
The reason is that Wi-Fi may be disabled by default (mostly seen in RPI4). To rectify this we need to turn the Wi-Fi on by some means. We can use two different approaches.
1. Troubleshooting using HDMI connect to display and turn on Wi-Fi manually ( simple and straight-forward, but needs an HDMI cable)
2. Troubleshooting using a USB cable and a Smartphone ( Indirect method and may seem ridiculous, but we don't have another choice)
Let's discuss this step in detail
Troubleshooting RPI4 Wi-Fi issues using a SmartphoneRequirements :
These are the applications that have to be installed on the smartphone.
1. Termux
3. JuiceSSH
1. Obtaining IP address of Raspberry Pi
Connect the smartphone to Raspberry Pi using a USB cable. On the smartphone turn on Mobile Data and USB tethering.
Then go to Termux and type ifconfig and note the IP address of the smartphone.
Then go to Angry Port scanner and enter details of your network. Suppose that your phone's IP address is 192.168.48.48, then enter 192.168.48.1 in the From column and 192.168.48.255 in the To column. After scanning we get two alive hosts [ Let them be 192.168.48.48, 192.168.48.21 ]. One is our smartphone and the other is Raspberry Pi (if it is successfully connected). Note the IP address of Raspberry Pi [ 192.168.48.21 in this example].
2. Accessing CLI of Raspberry Pi
Now go to JuiceSSH.
Connect using Quick Connect, enter host as 192.168.48.21:22. Now you get a terminal. Login with password raspberry.
3. Turn On Wi-Fi
In the terminal type sudo ifconfig wlan0 up.
[ If you get an error SIOCSIFFLAGS: Operation not possible due to RF-kill, then type sudo rfkill unblock all. Check the state by using command cat /sys/class/net/wlan0/operstate if the state is up Wi-Fi is working properly.]
4. Turn On VNC to access GUI
In the terminal type sudo raspi-config. Then go to interfacing options and turn on VNC. Now go to VNC viewer and connect using the IP address ( 192.168.48.21 in this example) of Raspberry Pi and default password raspberry.
Now the Wi-Fi is turned on. Now you can repeat the steps for connecting RPI to VNC via Wi-Fi.


Comments