


We’ve received many support tickets for asking how to make Raspberry Pi B+ 2.8 TFT Add-on V2.0 touchable. In this passage, we will demonstrate how to make Raspberry Pi B+ 2.8 TFT Add-on V2.0 show desktop upon Raspberry Pi B+ and its touch function.
Preparation- Download Raspbian-2015-2-15.img into SD card, then launch Raspberry Pi B+
- Ensure your network connection working well
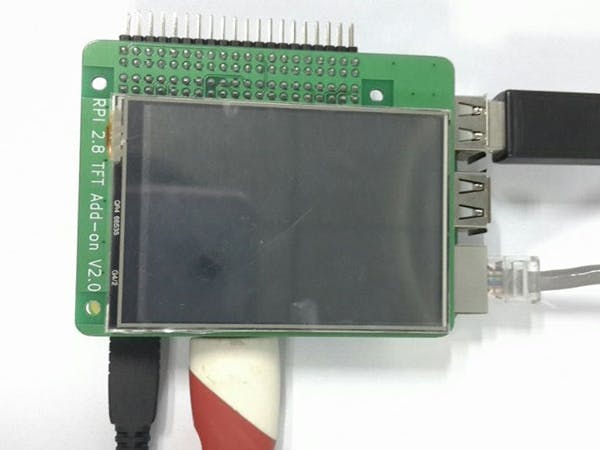
- Connect Raspberry Pi B+ 2.8 TFT Add-on V2.0 to Raspberry Pi B+ correctly
1.Before install the needed software, please do the configuration first.
Enable Device Tree,SPI
2.Enter into the file /etc/modprobe.d/raspi-blacklist.conf
3.Comment the mask of spi out
4.Install the necessary software
5.Download the fbtft driver, and you may need to run the following command three times:
Finnally got the codes: (Please refer to the latter part of the code)
Configure the file /usr/share/X11/xorg.conf.d/99-fbdev.conf
sudo touch /usr/share/X11/xorg.conf.d/99-fbdev.conf
Configure content as below:
Section "Device"
Identifier "itdb28"
Driver "fbdev"
Option "fbdev" "/dev/fb1"
EndSection
Load the tft display driversudo modprobe fbtft_device name=itdb28 gpios=reset:5,dc:6,wr:12,cs:13,db00:20,db01:21,db02:22,db03:23,db04:24,db05:25,db06:26,db07:27 rotate=90 fps=50
startx &
Now, the desktop of Raspberry Pi B+ is demonstrated on the 2.8 TFT Add-on V2.0. However, you can’t use the touch function by now. Let’s do the following steps to make it can do.
Load the touch driver (refer to code part)1.Add the following contents to file /boot/config.txt
2.Reboot Raspberry Pi B+
3.Load TFT display driver
4.start up X Server
Adjust the X&Y directions of this touch screenDISPLAY=:0 xinput --set-prop 'ADS7846 Touchscreen' 'Evdev Axis Inversion' 0 1
Test·Check the event’s number which is in accord with the touch screen.
cat /proc/bus/input/devices
This event’s number here is event3, then you need to execute the following command to do the calibration and test touch screen according to the event’s number you’ve got. When do calibrating, you’d better use touch pen to click the cross’s center unless you want a rough calibration result.
·Touch screen calibration
sudo TSLIB_FBDEVICE=/dev/fb1 TSLIB_TSDEVICE=/dev/input/event3 ts_calibrate
Now, press ctrl+c to return back to the Raspberry Pi desktop, and you are free to use mouse or touch pen to control the cursor.


Comments
Please log in or sign up to comment.