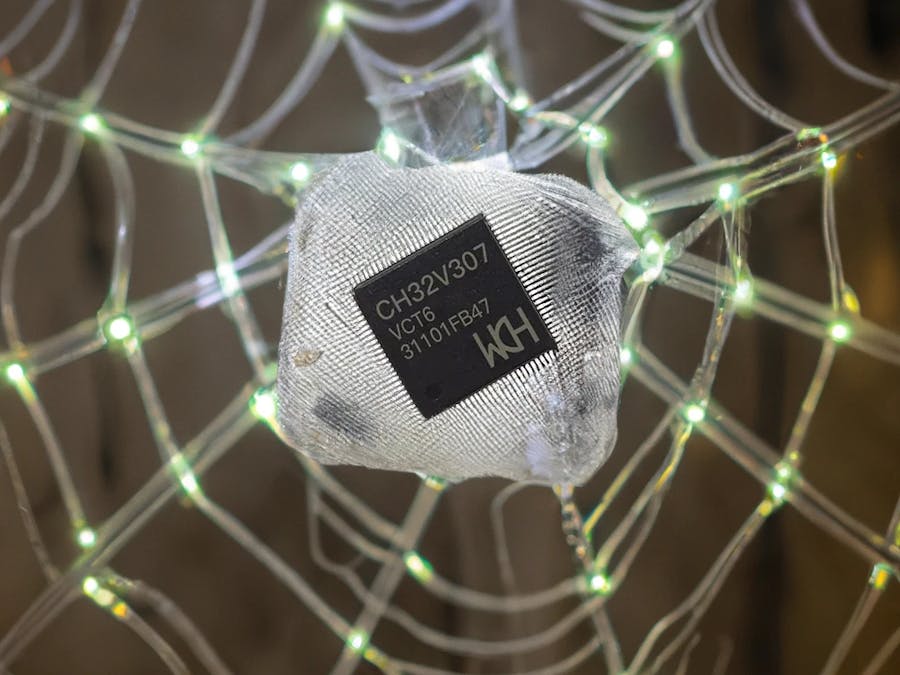
The growing ecosystem of networked microcontrollers does not need to remain hidden within plastic enclosures, disguised as mundane peripherals. The modern enthusiast, living during a revolution of chip architecture and of clever edge computing, wants to show off her creations and her evolving symbiosis with hardware. On-screen notifications are relics of decades past. She wants to see, hear and touch the status of her local digital biome.
I am a proud geek with a naked RISC-V chip on my wall and the guide below will offer you tips on how you can be a geek too!
The ThreadsMy goal for this project was to stress the CH32V307VCT6. I have plans to manufacture an IoT project and I am hunting for suitable microcontrollers. This is why I tried to populate every pin and utilize all of its features.
Developing an application in terms of threads lets you add functionality with very little forethought and planning. As long as pins and memory are available, you can keep adding functionality.
Following the brilliant example by Jacob Beningo as part of the 2022 RT-Thread IoT OS Global Tech Conference, I defined a structure for initializing tasks.
typedef struct
{
  TaskFunction_t TaskCode;        /* Pointer to the Task function. */
  const char * const TaskName;     /* String name of task. */
  const uint32_t StackSize;       /* Stack size of task in bytes */
  void * const TaskParameters;     /* parameter of the task */
  UBaseType_t TaskPriority;       /* priority of the task */
  TaskHandle_t * const TaskHandle; /* Task handle to keep track of created task */
} TaskInitParams_t;
Then I appended each task to an array as I progressed.
 TaskInitParams_t TaskInitParameters[] =
{
  {(TaskFunction_t)Task_LED_1,"LED_1",TASK_SIZE,NULL,5,NULL},
  {(TaskFunction_t)Task_LED_2,"LED_2",TASK_SIZE,NULL,6,NULL},
  {(TaskFunction_t)Task_Gamer_RGB,"Gamer_Lights",TASK_SIZE,NULL,7,NULL},
  {(TaskFunction_t)Task_Flag_Pole,"Flag_Pole",TASK_SIZE,NULL,8,NULL},
  {(TaskFunction_t)Task_LAN_Comm,"LAN_Comm",TASK_SIZE,NULL,9,NULL},
  {(TaskFunction_t)Task_RTC,"RTC_Clock",TASK_SIZE,NULL,10,NULL},
  {(TaskFunction_t)Task_Touch,"Touch_BTN",TASK_SIZE,NULL,11,NULL}
};
As you can see I had a lot of ideas. Even though some tasks would fail, the others kept running unaffected. All the tasks are initialized at once in a loop.
const int TasksToCreate = 7;
/* increase this whenever you add a task; doing it through code is a silly waste of effort which may throw errors */

void initTasks()
{
    printf("Initalizing tasks ...");
    for(int TaskCount = 0; TaskCount < TasksToCreate; TaskCount++)
    {
        (void)xTaskCreate(TaskInitParameters[TaskCount].TaskCode,
                            TaskInitParameters[TaskCount].TaskName,
                            TaskInitParameters[TaskCount].StackSize,
                            TaskInitParameters[TaskCount].TaskParameters,
                            TaskInitParameters[TaskCount].TaskPriority,
                            TaskInitParameters[TaskCount].TaskHandle);
    }
    printf("done.\r\n");
  /*
   * TODO: instead of void, handle the returned error somehow
   */
}
And that's it. With this simple setup you can run isolated tasks within their respective function. Below is a task to blink an LED on the development board, assuming you bridged LED1 and PA0 with a wire.
void Task_LED_1 ( void * pvParameters )
{
  GPIO_InitTypeDef  GPIO_InitStructure={0};

  RCC_APB2PeriphClockCmd(RCC_APB2Periph_GPIOA,ENABLE);
  GPIO_InitStructure.GPIO_Pin = GPIO_Pin_0;
  GPIO_InitStructure.GPIO_Mode = GPIO_Mode_Out_PP;
  GPIO_InitStructure.GPIO_Speed=GPIO_Speed_50MHz;
  GPIO_Init(GPIOA, &GPIO_InitStructure);

  for(;;)
  {
      GPIO_SetBits(GPIOA, GPIO_Pin_0);
      vTaskDelay(1000);
      GPIO_ResetBits(GPIOA, GPIO_Pin_0);
      vTaskDelay(1000);
  }
}A feature of the CH32V307VCT6 is the advanced-control timer module (ADTM) for measuring pulse width or generating a PWM wave. To test this fully, I decided to take apart a Gillette vibrating shaver and use the tiny motor inside. This DC motor is ideal since it can be safely powered off of the development board's pins because it doesn't draw more than 500 milliamps of current.
I added some stylish flags to honor the contest organizers and a yellow LED to debug the PWM signal.
It was difficult to discover which pins correspond to the TIM1/8/9/10 mentioned in the datasheet. I ended up following the paths on the schematic to see where I could output a PWM signal. The result was very fun and I triggered the win condition via serial COM port from within MounRiver Studio and via ethernet.
In the video below I just won a chess match. I published a string WIN:TRUE to a local host webpage, while the Gamer Thread periodically monitored that page; doing nothing if it read WIN:FALSE.
Gamer LightsNext I wanted to stress the clock speed with a very demanding task. It is popular for modern games to assume control over lights within the computer case. I wanted to expand this idea and have the Corsair iCue software communicate with my Gamer Thread which in turn addresses 200 RGB LEDs mounted on the wall behind my PC.
To expedite development, I modified the genius script Corsair Lighting Protocol by Leon Kiefer to work with a RISC-V chip instead of an ARM or Arduino one. This was more difficult than I expected and took up the majority of this project. Eventually it worked, as you can see in the video below, however this task prevented all the other tasks from running. I am not sure why this is and I hope WCH and RT-Thread will add support for the Arduino ecosystem so amateur enthusiasts like me can build creative projects.
FutureI'll continue to work on this project, adding functionality. My next goal is to mechanically articulate the 200 LEDs into a morphing structure responsive to a variety of my PC's statuses. I hope my prototypes inspired your own creations. Thank you!


Comments
Please log in or sign up to comment.