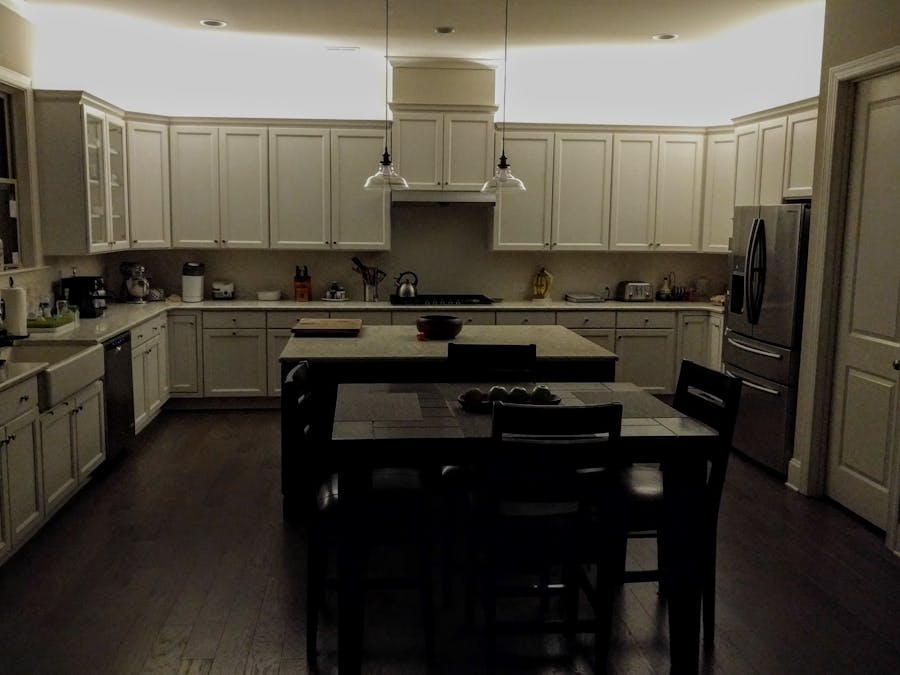
My family recently moved into a home that was new to us, but already complete. My wife wanted over cabinet lights for the kitchen, but the electricians said that they would have to rip up the beautiful backsplash tile in order to put the appropriate switches. The real problem was not a power source (there is one in the center upper cabinets) but the ability to control the lighting. I knew there had to be a less expensive way, so I started to think about what could be possible using my Arduino hobby skills.
Using the Spark Core to control an LED stripMy initial idea would be to simply control an LED light strip with a microcontroller. I didn't want to appear as bright LED's sometimes appear if pointed directly towards the eye. I decided to install the lights on the top of the cabinets, pointing at upper walls and let the wall and ceiling disperse the light. I used my preferred micro: an original Spark Core (now called Particle) because it has a full RESTful interface and could be accessed via the web. At first I was only able to turn the LED strip on and off using cURL. The Spark Core can easily execute code based on HTTP POST commands.
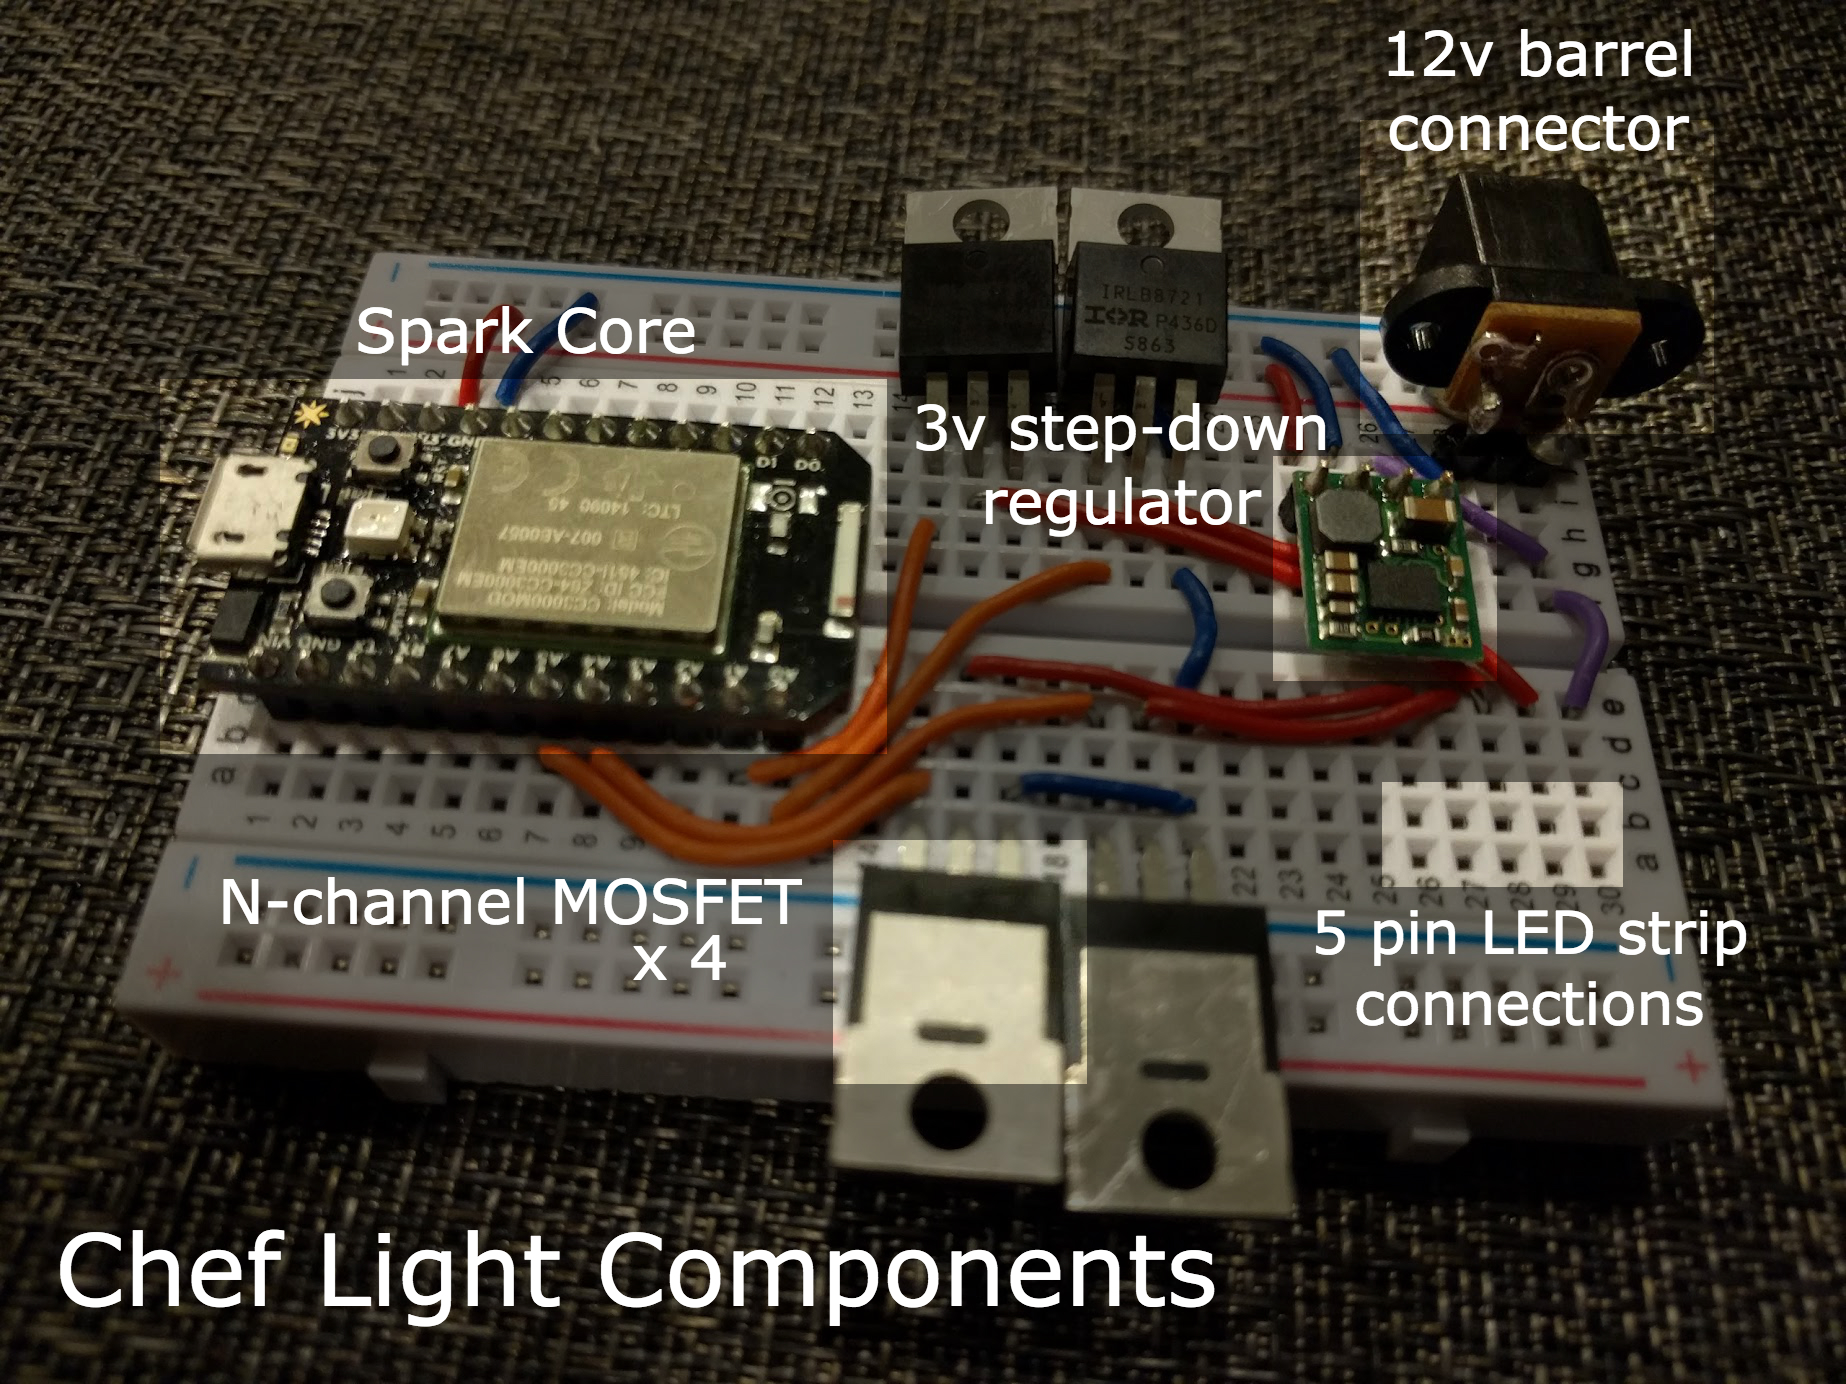
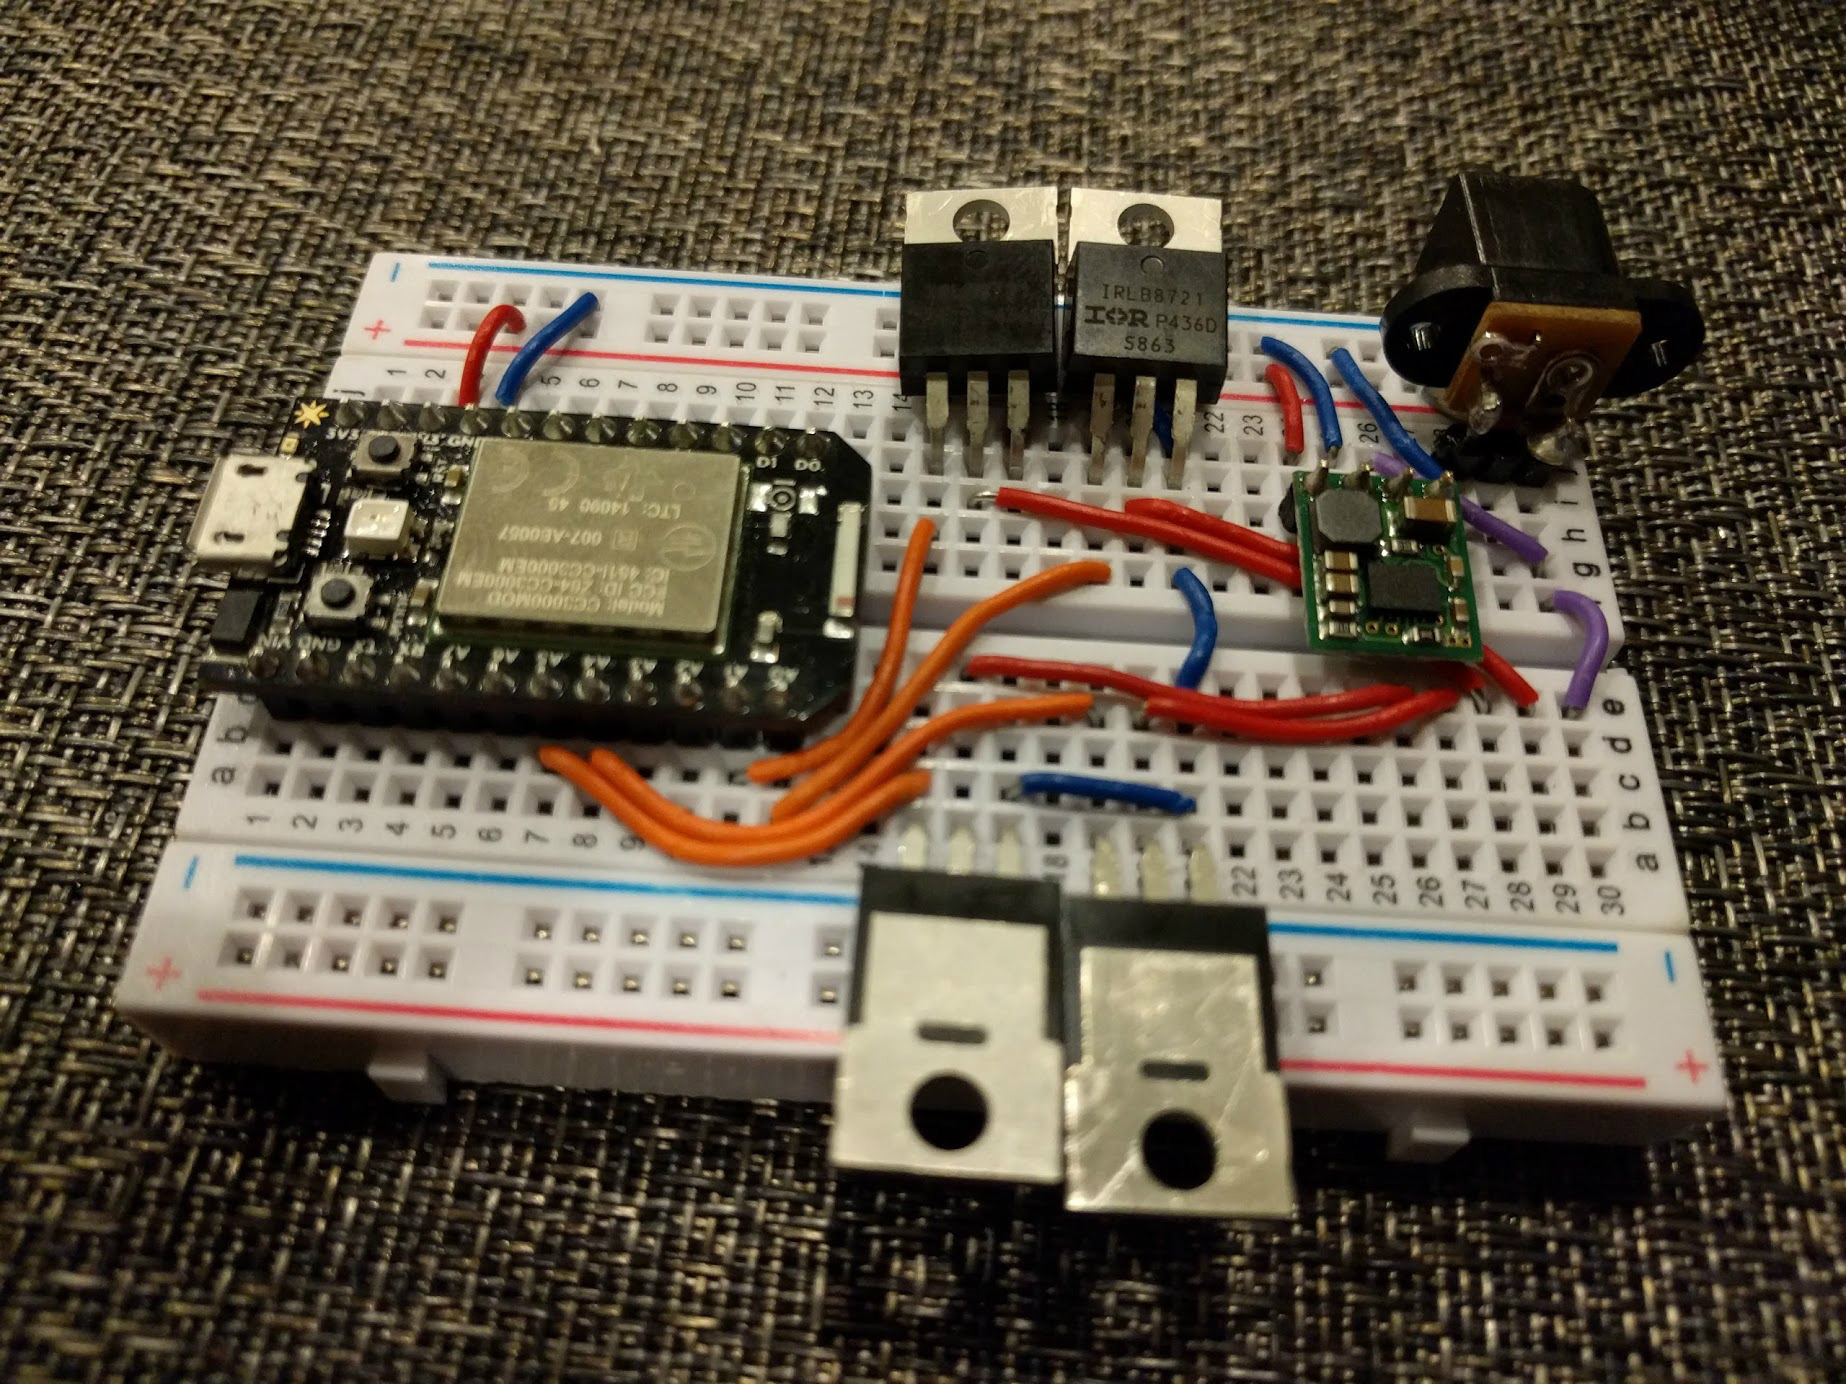
I wired up a Spark Core to LED RGBW light strips with a few MOSFETS to control the higher powered 12v strips. The LED strips I am using are analog and so they can be set to any color via PWM, but not individually controlled. The analog strips perfect for this application because it gives me complete control over the color choice and brightness of the ambient lights. I did not really need individual LED control for this application, and the Spark Core had plenty of analog pins with PWM I needed for these LED strips (one for each of the RGBW pins).
The LED strips run at 12v and the Spark Core runs at 3.3v so I used a step-down regulator to convert the 12v input to the 3v needed on the Spark Core. This way I only needed the single power supply to run both.
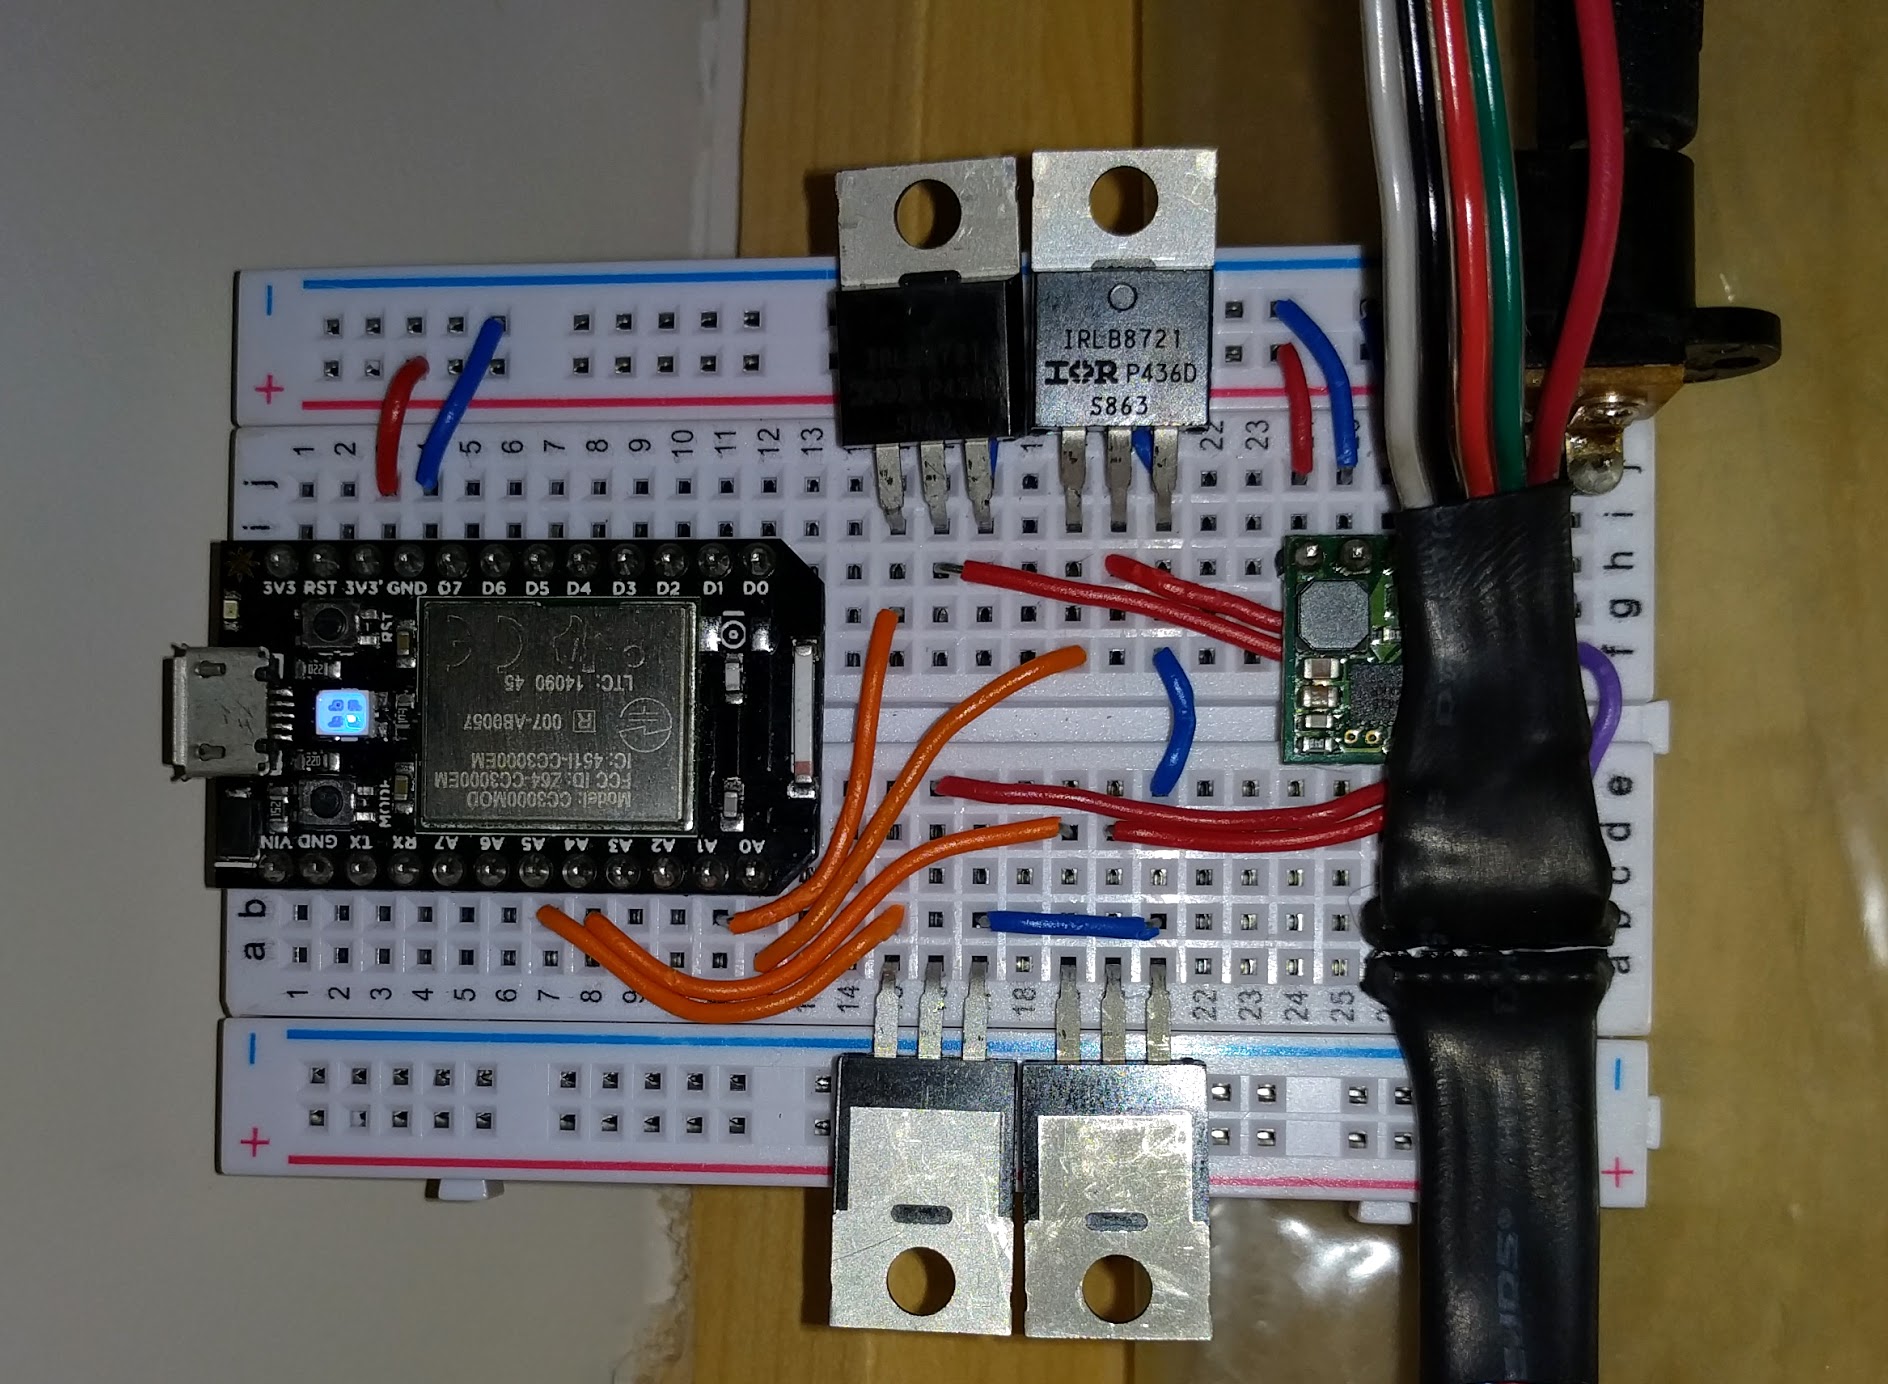
The orange wires are 4 analog out (PWM) from the Spark Core (A0, A1, A4, and A5) going to control the MOSFETs. The 4 red wires are the grounding from the MOSFET to the LED strips. The barrel connector feeds the 12v source into the LED strip as well as the step down regulator.
The basic wiring diagram for hooking up a PWM to an LED strip using MOSFET:
https://learn.adafruit.com/rgb-led-strips/usage
(from Adafruit's amazing tutorial collection)
Spark Core CodeThe code I am running on the Spark Core (replace the DEVICE ID and ACCESS CODE placeholders with your own cURL command operation, of course):
https://github.com/contractorwolf/sparkcore-chef-light/blob/master/chef-light.ino
The code contains several public functions that can be called through the Spark Core's RESTful interface. After I had the wiring complete, I could control the lighting above the cabinets with a simple cURL command in a Terminal to test like this:
curl https://api.spark.io/v1/devices/[YOUR-DEVICE-ID]/turnLedOn -d access_token=[YOUR-ACCESS-TOKEN]
Or to turn off:
curl https://api.spark.io/v1/devices/[YOUR-DEVICE-ID]/turnLedOff -d access_token=[YOUR-ACCESS-TOKEN]
While control of the lights was what I needed, cURL commands are not very user friendly. Initially I wrote a quick Android application using MIT App Inventor 2 (a web based interface for writing android apps using simple visual Scratch blocks) that could turn the lights to the appropriate levels with this simple block:
You can easily operate any of the Spark Core RESTful functions with a block like the one shown above.
MIT App Inventor is a good program for mapping up an idea that you want to turn into an APK file that you can run as an actual app on a mobile android app. It is especially good for IOT ideas if you want to just mockup an idea like a button that can turn on/off a light using Android. I just needed to control one device, so a simple app is perfect for me. This was good for testing, but I really needed to make it easier for my wife, so I decided I would try and write it as an Alexa app, using AWS Lambda.
Using the Amazon Echo for Voice CommandsI wanted to make it a truly modern experience and I thought using my Amazon Echo to execute the RESTful interface on the Spark Core would be an easy way for my wife to use it.
The Amazon Echo is a voice-controlled, web-connected device that does basic functionality (like timers, weather, news, music), but you can also write your own "skills" for it in Node.js. Your Node.js code runs via AWS Lambda, and you can include your own npm modules. You are writing code that responds to the basic Amazon Echo interactions.
Amazon Alexa Skill CodeThis is my Github project that shows the code that you have to upload to your AWS Lambda account:
https://github.com/contractorwolf/alexa-chef-light-public
To create your new Alexa Skill you will need to have an AWS account and create a new skill:
https://developer.amazon.com/edw/home.html#/skill/create/
And you will need to create an AWS Lambda with Alexa Skill Kit trigger:
https://console.aws.amazon.com/lambda/home?region=us-east-1#/create/configure-triggers
After you have created both you will need to upload the code from my alexa-chef-light project (just the stuff in the src folder, not the full project). In my speechAssets folder there is the interaction text that you have to put in for your Alexa Skills Kit Interaction Model.
I created an Alexa Skill that has a Invocation Name: "chef light".
So when when I say this:
"Alexa tell Chef Light to turn ON"
Alexa is the keyword that tells the device to listen, "tell" directs the device to look at the list of AWS Lamda applications connected to your account. The sample utterances below wire the possible choices of things you can say to the device and values that will be connected.
Sample Utterances
ChefLightIntent turn {on|lightStatus}
ChefLightIntent to turn {on|lightStatus}
ChefLightIntent turn {off|lightStatus}
ChefLightIntent to turn {off|lightStatus}
Intent Schema
{
"intents": [
{
"intent": "ChefLightIntent",
"slots": [
 {
   "name": "lightStatus",
   "type": "LITERAL"
 }
]
},
{
"intent": "HelpIntent",
"slots": []
}
]
}
I am currently just running this on my own device, and you can customize it and run it on your Amazon Alexa, you just need to configure it for your Spark Core (using the Device Id and Access Code for your Spark Core). To configure this code to work with your app and Spark Core you will need to set those appropriate values on the 3 lines of code starting here:
https://github.com/contractorwolf/alexa-chef-light-public/blob/master/src/index.js#L10
(make the changes before uploading the code to AWS Lambda)
Feel free to ask me questions if you hit a snag. Thanks for checking out my project!


Comments