Overview:
Here is a brief video describing the project.
Project Highlights:
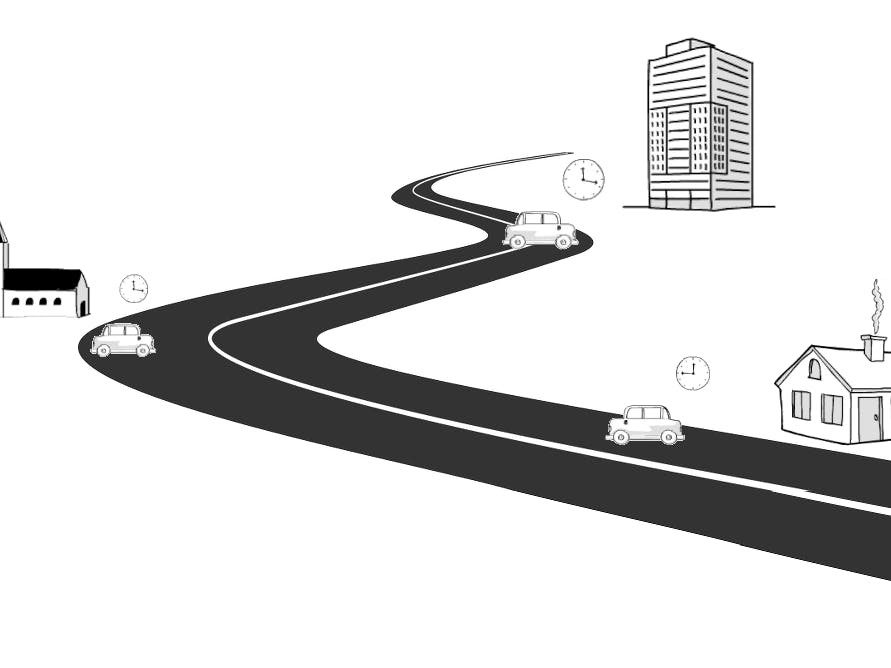
- The AutoBit automatically tracks how long you spend driving on all your trips in addition to tracking how long you spend at each destination.
- A custom designed 3d printable case for the LinkIt One is provided. If you do not have access to a 3d printer, you can use the design at a internet accessible printer (example: 3dhubs.com)
- A fully featured reporting and analytics web application is provided, allowing you to make informed decisions on where you spend your time.
- Once you tag a visit to a location, the AutoBit automatically tags all future visits to that location within 50-100 yards of that original visit.
The project comes in 2 parts:
1) The AutoBit device that plugs into your car's USB port for power.
2) A backend service connected to your home network that can run on your existing laptop/computer or on something as simple as a Raspberry Pi.
Detailed instructors for setting up and deploying each piece can be found in the GitHub site below.
Here is a demo of the AutoBit device
Here is a demo of the AutoBit backend service
Steps to setup:
1) Install, configure and deploy the AutoBit Backend Service (see github site for more details)
2) Print case, Install, configure and deploy the AutoBit device to the LinkIt One (see github site for more details)
3) Place the AutoBit device in your car, plug into your car's USB port and start tracking your time. Use a USB port that turns off power when the car is turned off. (Dont want to drain your car battery)
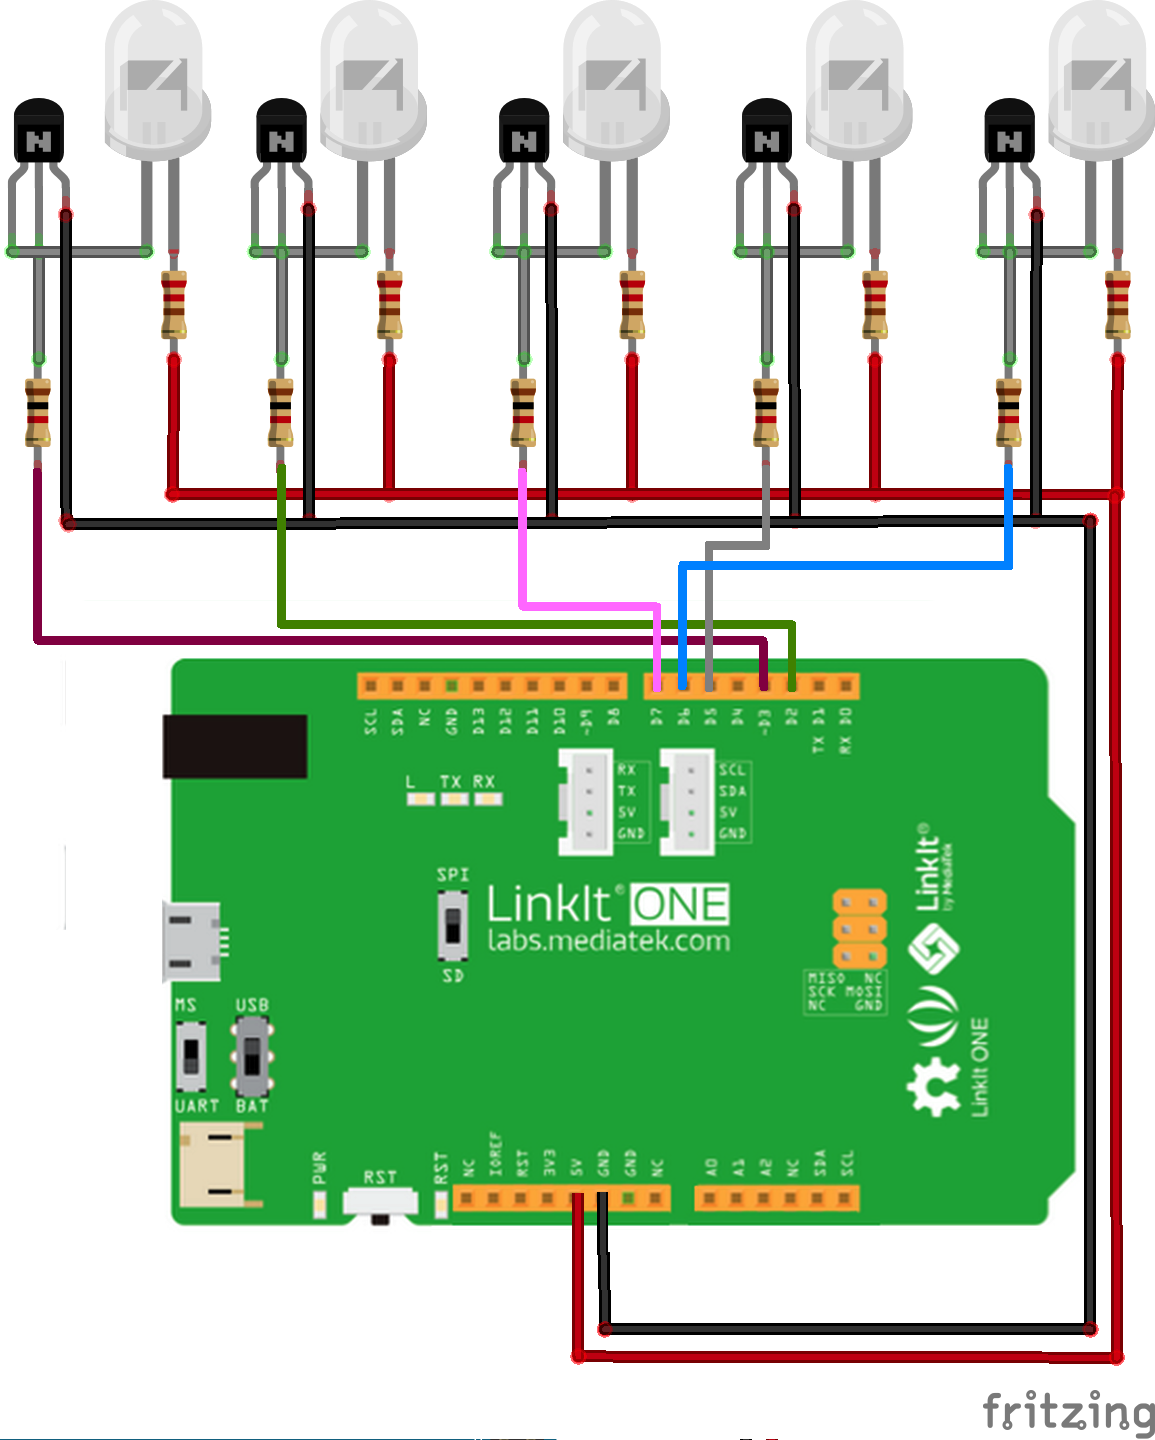
The AutoBit device and 3D Printable case:<
>
Quick Thoughts on Lessons Learned while working with the LinkIt One:
- The LinkIt One is a fantastic all in one micro-controller that gives you a ton a functionality in a small form factor at 1/2 the price of another micro-controller with all the subsequent shields. I highly recommend a case. Either printing a case, or reuse the box the LinkIt One comes in as a makeshift case.
- The libraries for the LinkIt One are fully featured and work well in the Arduino IDE. The MediaTek forums site http://labs.mediatek.com/forums/forums/list.page is where I found the most useful sample code and examples. The API documentation was also very useful at http://labs.mediatek.com/site/global/developer_tools/mediatek_linkit/api_references/Core_Digital.gsp
- The GPS data coming from the LinkIt One needs to be converted to Degrees, Minutes and Seconds in order to work with Google Maps api. See the source code in the AutoBit project for an example of this. If you find that your location is 10-15 miles off (ie in the right area of the city but not even in the same town) this is likely your problem.
- Writing to the SD Card is a non-blocking call. If you find yourself in a situation where you are creating a file and then checking to see if the file exists quickly there after, the library will show that it doesn't exist. You need to create a processing delay between those calls for the file write to complete.
- Be careful while attaching the WIFI, GPS, and GPRS antennas. Make sure the connectors are lined up. Also do not use too much force, as the connector will snap off the board. (Unfortunately that happened with my GPRS)
- If you are connected to a WIFI network and then step out of range, the WIFI library does not show as disconnected right away. It takes 10-20 seconds for the library to identify that it is no longer connected. Keep that in mind when writing your network code to constantly check for connectivity to your backend.
- The LinkIt One does not come with a realtime clock, but with the GPS, it has the ability to grab real time clock data from GPS satellites once it squires a GPS fix. Very cool.


Comments
Please log in or sign up to comment.