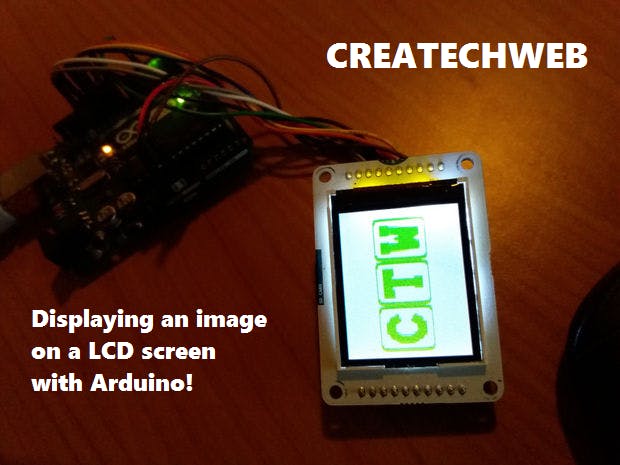
In this article, I will show you how to get an image on a TFT screen with Arduino!
Read the tutorial below or watch the youtube video.
Wiring Diagram- 5V (LCD)
- 5V Arduino MISO (LCD)
- Pin 12 Arduino SCK (LCD)
- Pin 13 Arduino MOSI (LCD)
- Pin 11 Arduino LCD CS (LCD)
- Pin 10 Arduino SD CS (LCD)
- Pin 4 Arduino D/C (LCD)
- Pin 9 Arduino RESET (LCD)
- Pin 8 Arduino BL (LCD)
- 5V Arduino GND (LCD)
- GND Arduino
Keep the following in mind:
- The image must be a .bmp file
- Don't make the image larger as 160 x 128 pixels
- Make sure the image has arduino.bmp as filename and must be placed in the root domain of your SD card!
- The Arduino & TFT screen has to be voltage-free when assembling the SD card.
Copy the Arduino code below & upload it to your Arduino.
End resultOpen the serial monitor in your Arduino program. Your .bmp image is now displayed on the TFT screen. Or watch the video for the result.


_ztBMuBhMHo.jpg?auto=compress%2Cformat&w=48&h=48&fit=fill&bg=ffffff)


Comments
Please log in or sign up to comment.