Ever wanted to make your very own Raspberry Pi Tablet? If you're like me and don't have a 3D printer or your wood working skills aren't that great then this project is for you! All you need is the parts listed on this project and you'll be able to build your very own Raspberry Pi based table, or as I'm calling mine, IoTablet.
Just follow these steps:1. Flash your favorite OS onto the Micro SD Card.
NOTE: In my case I'm using the latest release of Windows IoT Core so I can use my IoTablet for some IoT development work. You could easily use Raspbian or any other OS that supports the Raspberry Pi and Touchscreen display.
2. Insert the Micro SD Card into the Raspberry Pi 3.
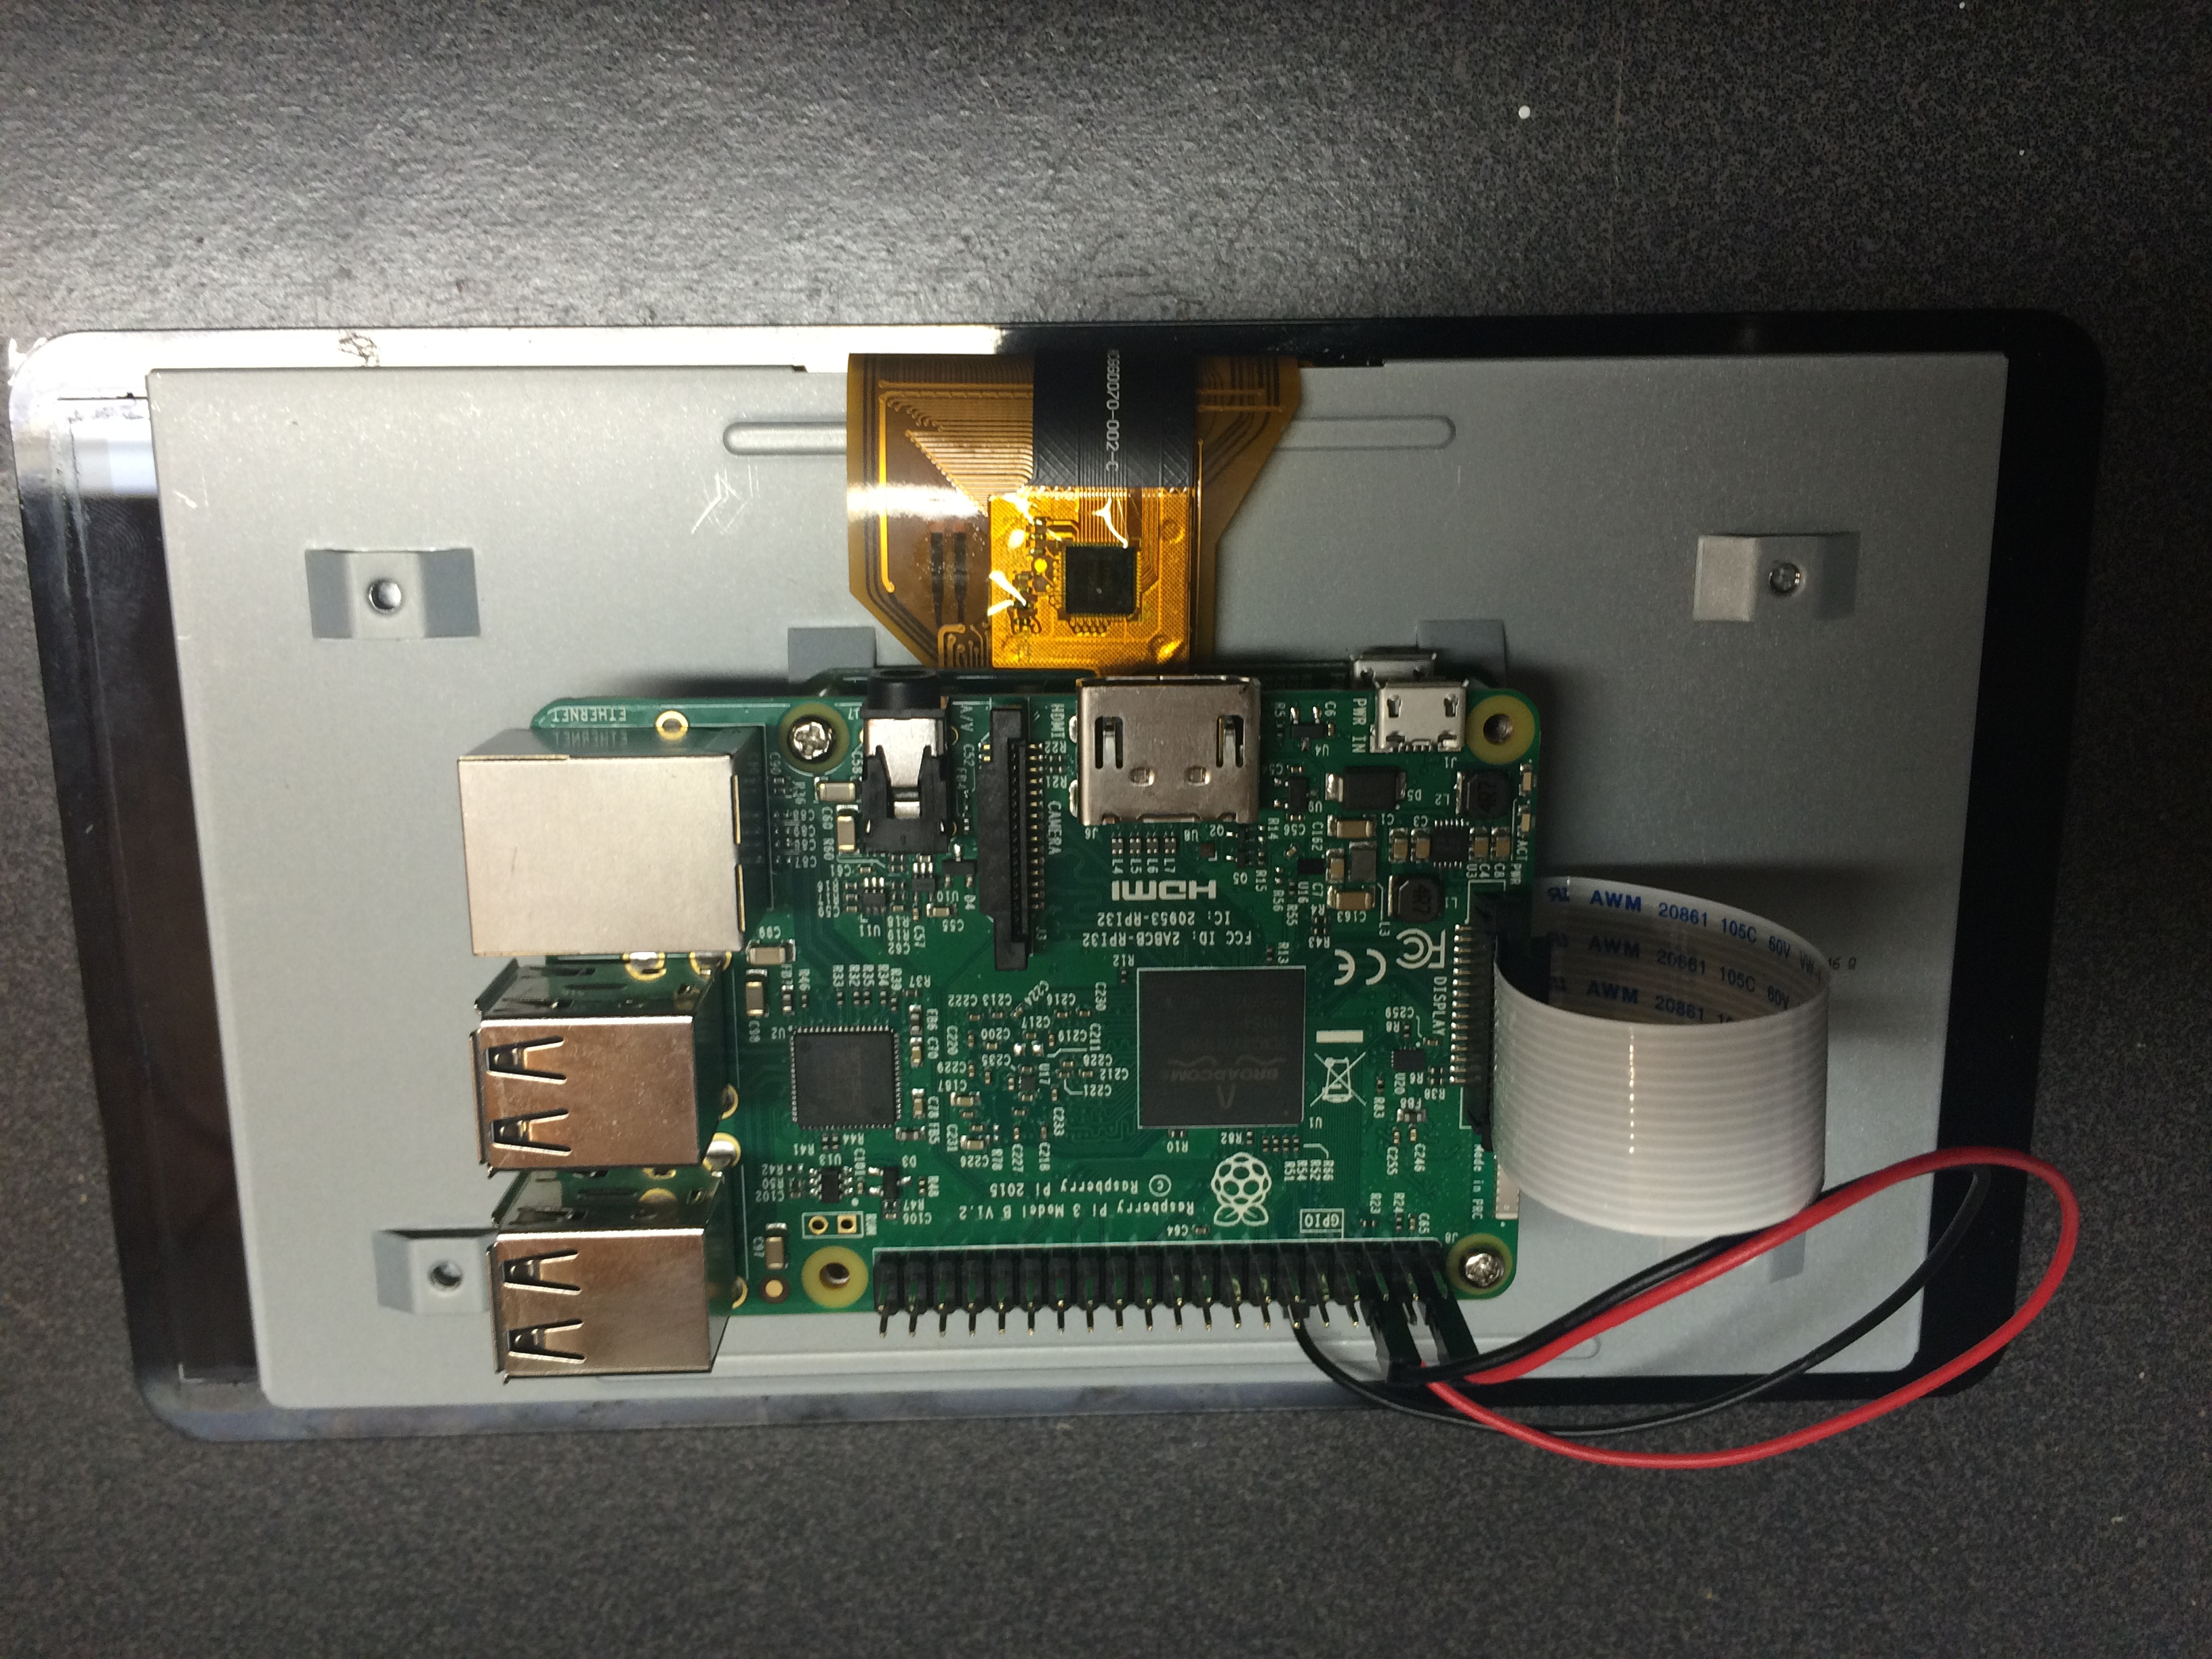
3. Connect the Raspberry Pi to the Raspberry Pi 7" Display using the display cable and power wires.
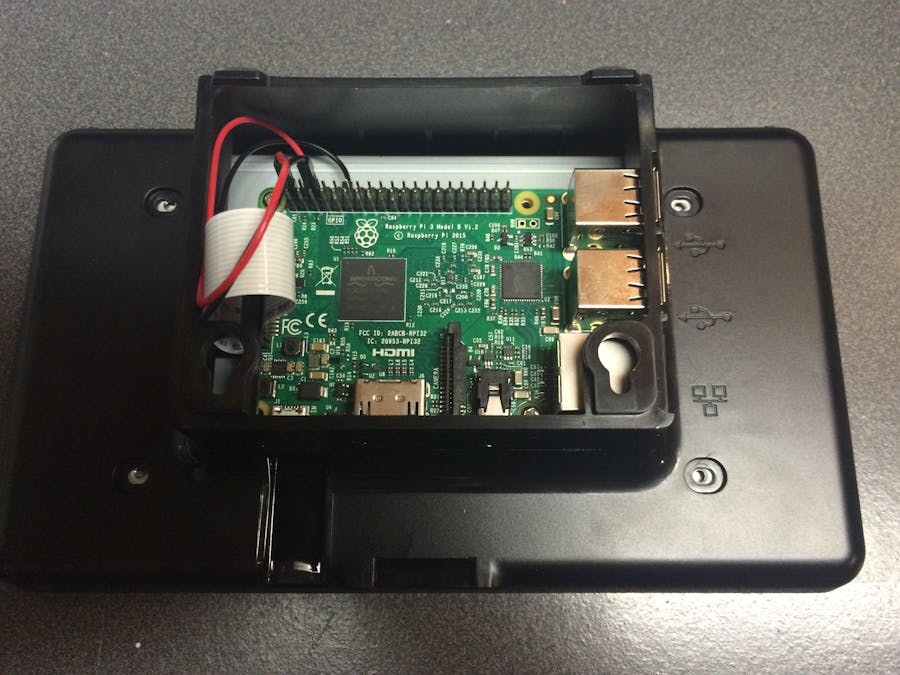
4. Screw in the Raspberry Pi to the Display.
5. Slide the Case over the Raspberry Pi and Display, making sure to orient the Ethernet and USB ports correctly. It's a slight tight fit, so just be patient until the Ethernet, USB and HDMI ports snap into their respective holes. Make sure to remove the back cover panel of the Case before doing this so you can easily see where things line up.
6. Insert and tighten the screws to the back of the Display to secure everything into the Case.
7. Snap the back panel back onto the Case.
8. Grab the USB battery and connect a Micro USB cable to provide power and turn on the Raspberry Pi "IoTablet".
NOTE: The reason I chose such a big USB battery is to maximize the overall battery life. At this point I'm really not sure how much power the "IoTablet" will need.
9. Happy computing!
Oh yeah, you can still connect a keyboard and mouse to use this as a really portable desktop computer as well!


Comments
Please log in or sign up to comment.