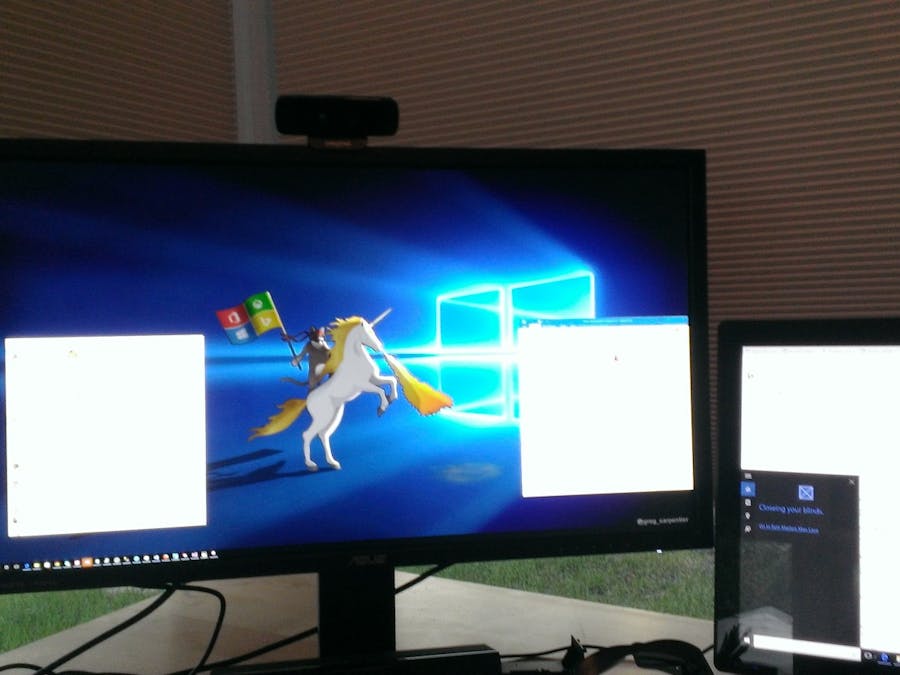
I've got a great place to work! Lot's of windows and open areas, my desk faces the south west corner of my office and about 5PM each day, when the sun sets, the light shines in and it's very difficult to see my computer screen.
Before getting into the details, check out this 3 minute video that gives a live demonstration
The Background
With all the windows in my office I really wasn't interested in a manual process to open and close all the blinds so I want to an on-line store and ordered some motorized blinds thinking problem solved.
Well after installing them I found that I could program them to different channels so that when I wanted to block the sun I could still leave other blinds open, this worked well, but again, I wanted something better.
The Solution
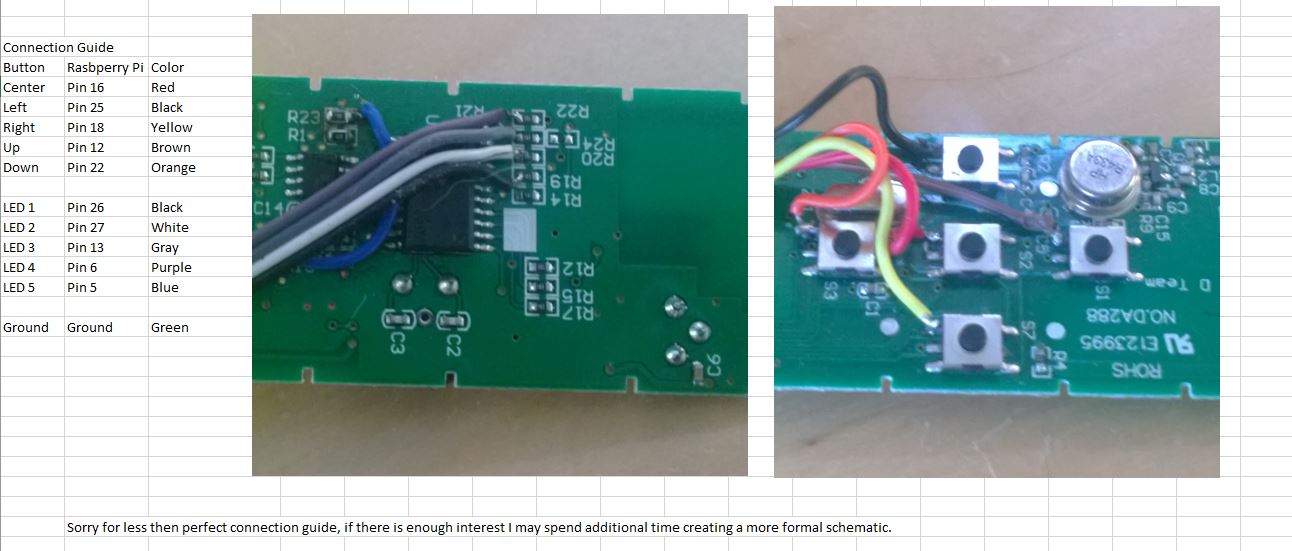
Enter the Raspberry PI 2 and Windows 10 IoT core, I knew I could do something to control the blinds with this device. The remote control was RF, not IR so my solution wasn't as simple as creating a simple IR blaster, I tried to create a little RF transmitter, but really didn't have the right tools to accomplish this goal. I settled for a real hack, just disassembling the existing remote control and connecting it to the Raspberry Pi via General Purpose I/O pins or GPIO.
The remote had 5 buttons on it, left and right that selected the blind, up and down that moved the blind up or down and finally the stop button in the middle to stop the blind in the current position.
In addition the remote had 5 LED's across the back of the unit, these displayed which Blind was being controlled and if all 5 LED's were on, it meant that all five channels would be used to lower/raise the blind.
My task was simply to connect the Outputs from the Raspberry PI 2 to simulate the button pushes on the remote.
My next task was to connect the LEDs to the Inputs on the Raspberry PI 2. This way I could tell which blind was currently being controlled.
The Way It Works
The process is initiated by a Windows 10 UWP Application. This Application hosts a Background Service that gets called when Cortana is engaged. This background process will then listen for the key words such as which blind should be manipulated as well as if it should move up or down.
Once it knows which blind should be selected and the direction it needs to go, it invokes a simple REST end point on the Raspberry PI 2. The format of the end point is similar to
http://[RASPBERRYPI]/blinds/[BLINDNUMBER]/[DIRECTION]/[SECONDS]
Note the final parameter [SECONDS] is optional, but if provided will move the blind for the specified seconds. This will allow for only partially closing the blind.
Now we now have which blind to manipulate,which direction to go and optionally amount of time.
First step is to make sure the right blind is selected. To do this we simply do a quick press of the right button, this will light the LED corresponding to the proper blind. We then read in the value of the LED from the Input Port on our Raspberry PI and compare that to the blind we want to open. If they match, we can move the blind up/down if not, we press the right button again and repeat the process until we find the correct LED.
After that, all we need to is toggle an out put to simulate pressing the to or bottom button to raise or lower the blind. If we have a timed amount we delay for that many seconds and then press the stop button.
It really is that easy!
-twb


Comments
Please log in or sign up to comment.