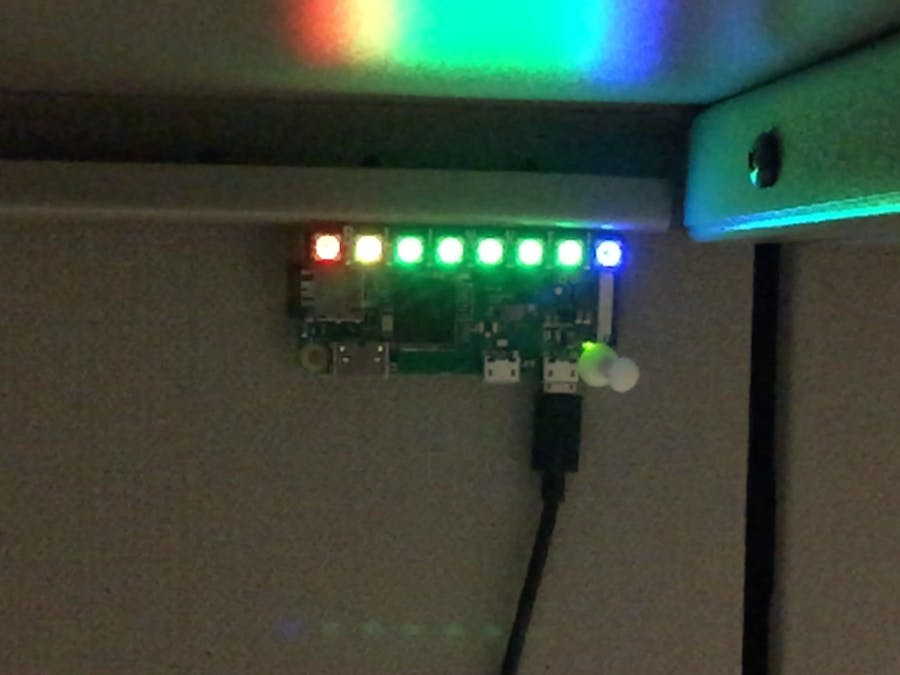
The Unicorn pHAT comes with a set of female headers that needs to be soldered before it can be plugged into your Raspberry Pi. Go ahead and solder on the headers; I'll wait. Also, if your Raspberry Pi did not come with headers already soldered on, now would be a great time to do that too.
Preparing the Raspberry PiThe first thing you will want to do is head over to resin.io and create an account. Once you have an account create an application by selecting your device type (I used a Raspberry Pi Zero W) and giving your application a name (I named mine BuildLED). If this is the first time you have used resin.io go ahead and follow the steps under Adding an SSH Key so that you will be able to push the code later on in the tutorial.
After you have created the application download the resinOS image and flash it onto your SD card using Etcher. After flashing if the SD card was automatically ejected, remove and reinsert the SD card so that the boot partition is visible.
To configure the Raspberry Pi to connect over cellular you will need to create a configuration file that tells the Raspberry Pi how to connect to the Hologram network. Create a file with the below settings saving it to /resin-boot/system-connections/hologram on the boot partition of the SD card.
[connection]
id=hologram-cellular
type=gsm
autoconnect=true
[gsm]
apn=hologram
[serial]
baud=115200
[ipv4]
method=auto
[ipv6]
addr-gen-mode=stable-privacy
method=auto
I would also recommend to go ahead and create a configuration file for connecting your Raspberry Pi to WiFi because before the application can run on the device a large base image (500MB) needs to be downloaded. Details for configuring WiFi can be found here.
After configuring the cellular modem and optionally Wi-Fi (highly recommended) eject the SD card from your computer, plug it into the Raspberry Pi and hookup the Pi to the Hologram Nova and a USB power adapter.
Now that you have your Raspberry Pi up and running you should see it show up on the resin.io dashboard. Go ahead and clone the GitHub repo containing the source code by running:
git clone https://github.com/deisterhold/BuildLED
After the repository has been cloned, navigate into the directory and add resin as a remote repository. The second command below is specific to your resin.io account and is shown in the top right corner of the resin.io dashboard when viewing your application. After you have added resin as a remote go ahead and push the code. When you push the code resin.io will start building an image from the included Dockerfile and then download and run the image on your device.
cd BuildLED
git remote add resin username@git.resin.io:username/buildled.git
git push resin master
The final steps are to configure the application to point to your instance of Visual Studio Team Services. This is done by specifying environment variables through the resin.io dashboard. On the left hand side of the dashboard click ENV VARS and add the following keys customized to your specific setup. You will need to enable Alternate Credential support in VSTS by following the steps here.
VSTS_ACCOUNT     account
VSTS_PROJECT     My Project
VSTS_BUILD_ID    23
VSTS_USERNAME    your_username
VSTS_PASSWORD    your_password
You can find these settings by navigating to a project within VSTS, choosing Builds under Build and Release, then by clicking on one of the build definitions you have created.
For Example:
https://{account}.visualstudio.com/{project}/_build/index?context=mine&path=%5C&definitionId={build_id}&_a=completed


Comments
Please log in or sign up to comment.