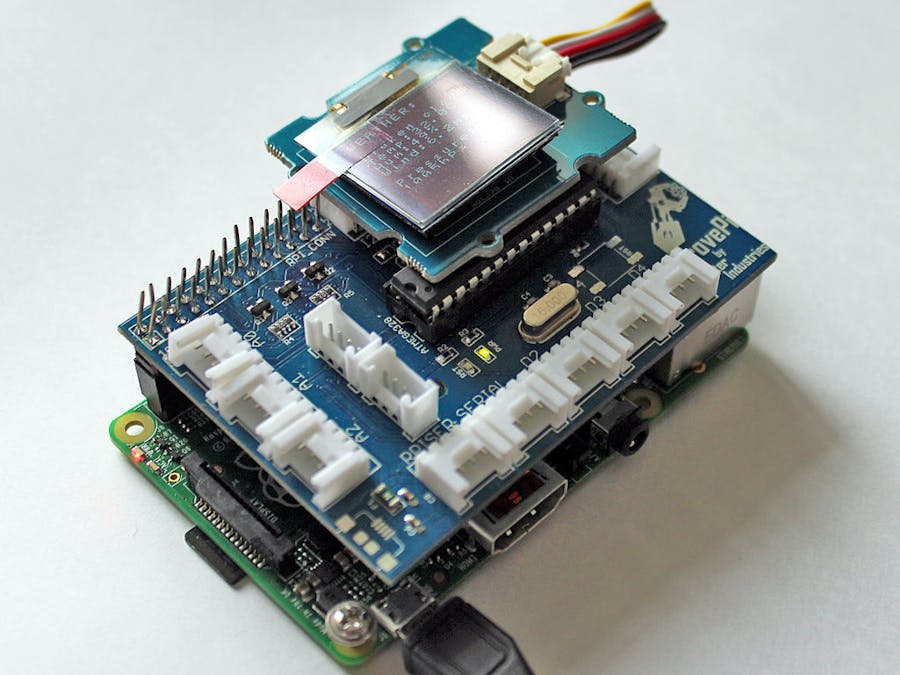
The Raspberry Pi is a great little board and packs a lot of punch. But many times you just need a small display to show some information from your project. It can be the local weather, system status, an interactive menu or anything that you can think of.
Lugging around a big display is not possible all the time. They take a lot of pins and a lot of power too and this hurts portable projects a lot which run on battery.
So here is a project where we show you how to use a cheap and Low powered OLED display with the Raspberry Pi.
Step 1: Hardware Required- Raspbery Pi
- Grove Pi
- Grove 96x96 OLED
- A grove connection wire
First mount the GrovePi on the Raspberry Pi. Then take the Grove OLED and connect it any of the four I2C ports of the GrovePi. Now power on the Raspberry Pi.
Step 3: Setting up the SoftwareClone the Grove Pi repository to the Desktop on your Raspberry Pi.
git clone https://github.com/DexterInd/GrovePi.git
Once you have downloaded the repository, go to the /Projects/OLED Weather Display folder in the GrovePi folder.
cd GrovePi/Projects/OLED\ Weather\ Display/
Just run the Python program and it'll print the weather Data on the OLED display.
sudo python weather.py
You can easily adapt this code to print any other information that you want to show on the Display.


Comments
Please log in or sign up to comment.