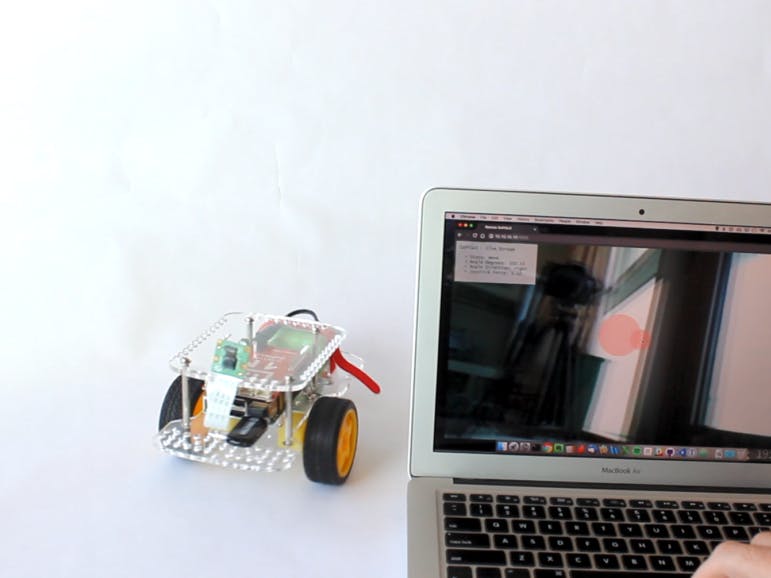
In this advanced project with the GoPiGo3 we build a browser video streaming robot which streams live video to a browser and can be controlled from the browser.
In this project we use the Raspberry Pi Camera module with the GoPiGo3. You can control the robot using a controller on the browser as the live video streams directly on the browser. The video quality is very good and the latency of the video is low, making this ideal for live video streaming robot projects.
- A Raspberry Pi
Attach the Raspberry Pi camera module to the port on the Raspberry Pi. For more details on how to attach the camera, see our tutorial here.
Setting up the GoPiGo Video Streaming RobotYou should have cloned the GoPiGo3 github code onto your Raspberry Pi. Install the Pi Camera dependencies and Flask by running the install.sh script:
sudo bash install.sh
Reboot your Pi.
You can run the server on boot so you don’t have to run it manually. Use the command install_startup.sh
and this should start the flask server on boot. You should be able to connect to the robot using “http://dex.local:5000” or if using the Cinch setup, you can use “http://10.10.10.10:5000”
You can setup Cinch, which will automatically setup a wifi access point, with the command:
sudo bash /home/pi/di_update/Raspbian_For_Robots/upd_script/wifi/cinch_setup.sh
On reboot, connect to the WiFi service “Dex”.
Running the ProjectStart the server by typing the following command:
sudo python3 flask_server.py
It’s going to take a couple of seconds for the server to fire up. A port and address will be shown in there. By default, the port is set to 5000
.
If you have Raspbian For Robots
installed, then going to http://dex.local:5000
address will be enough. Be sure you have your mobile device / laptop on the same network as your GoPiGo3. Otherwise, you won’t be able to access it.


Comments
Please log in or sign up to comment.