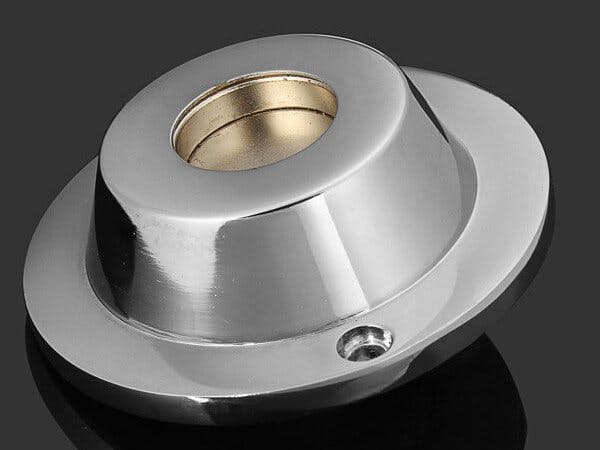
Now, you might be wondering what this ridiculously small tag can do? The answer is, a lot!
This tag will be made up of a high power magnetic material for sensing purposes and would be made in such a way as to make it attachable to a wide range of things.
Application 1: People CountingThis is a very important and useful application in both the industries and retail. In the beginning, retail was the obvious market for people counting systems as a main component to conversion ratio is knowing how many people enter a store. Libraries and government facilities were also early adopters for people counting technologies as government funding is based on usage statistics. In the digital era, circulation data is no longer a sufficient source for library usage stats because a large portion of patrons are using the facility for purposes other than checking-out materials.
As people counter technologies advanced and became easier to use, maintain and install more industries and applications were uncovered.
The basic working is same as the conventional people counters we see today, but with a little change.
The magnetic tag we use will be pinned to a person's clothes and then when a person passes through our system which uses the Infineon's 3D Magnetic sensor, it will detect each time a person enters or leaves through it. It will be programmed to count accordingly. If this technology is implemented, the main advantage is its cost effectiveness. The currently available systems are very costly and can't be afforded by all of the retail sector, but with this amazing sensor, we can bring a change in the society.
So this is also an existing application, which is utilized in malls and supermarkets to avoid theft of their products. Now, the interesting thing is that this works on the same principle as people detection, so we can use the same project as shown above for this application too.
This is very important as currently we have 2 separate machines working for the above two mentioned applications which could be done by a single system if we use my machine.
The image shown below is the current system used for product detection in malls.
The basic principle of how this works is that we collect the data obtained from out sensing systems, cumulatively analyse them, and predict the traffic conditions for the future days so that this is helpful to the travelers who have a time constraint.
My tags would be attached to a area of the vehicle that is exposed to the sensor system at the traffic signals. This data then would be sent to the main server which then analyses the traffic patterns for different days and predicts the future traffic patterns.
This would be a very important and cost effective solution to maintain the traffic conditions of metro cities.
Application 4: Monitoring of a Machine or SystemOnce you have tagged a machine part the you would like to monitor, you just have to fix the position of the 3D sensor such that it can sense any change in the position, and then the change is sent to a micro-controller which then sends this data(Status) to a IoT cloud so that it can be viewed from anywhere using a web page or an android app.
An excellent example of this is the one shown by infineon on its contest page, that is for automobiles. Each time we push the button of move the joystick, as shown in the demo video, there is the change in the position of the magnet which is sensed by our sensor, which in turn is displayed on the screen. Please do see the video for better understanding.
So, this was it. These are the applications for the latest 3D sensor be Infineon.
The tag can be of any size, and is chosen according to the application in which we want to use. For instance, for monitoring of smaller machine parts, we need a very small magnetic tag and for vehicle tracking, we need a large enough magnetic tag for the task.
Steps to Get Started with the Sensor:Step 1First thing were going to do is go to Infineon's 3D Magnetic Sensor webpage and download the GUI for 3D Magnetic Sensor 2 GO, this will be the first software we use to determine that our sensor functions properly and to get a sense of its capabilities.
Step 2Our next step is to go to SEGGER Downloads and download the J-Link related software that we will be using to program our sensor.
Step 3Now Download the latest version of arduino IDE from the link given below.
https://www.arduino.cc/en/Main/Software
Step 4Now open Arduino IDE and go to File -> Preferences.
Paste the following URL into the 'Additional Boards Manager URLs' input field under File > Preferences to add Infineon's microcontroller boards to the Arduino IDE.
https://github.com/Infineon/Assets/releases/download/current/package_infineon_index.json
To install the boards, please navigate to Tools > Board > Boards Manager...and search for XMC. You will find options to install the board files for the microcontrollers. Click "Install" to add the boards to your Arduino IDE.
In the boards list Tools > Board, the XMC micro controller boards are added and can be used from now on.
Now you are all ready to get started with the coding of your sensor.
Credits to George Kartsonas for a wonderful explanation of software part.
This is the end of my project. Feel free to contact me if you have any doubts with the project.


Comments
Please log in or sign up to comment.