


Hardware components | ||||||
| × | 1 | ||||
| × | 1 | ||||
| × | 1 | ||||
| × | 1 | ||||
| × | 1 | ||||
| × | 1 | ||||
Hand tools and fabrication machines | ||||||
| ||||||
| ||||||
| ||||||
| ||||||
Today in this article we will talk about How to make a Bluetooth Controlled vehicle utilizing Arduino so without burning through whenever we should make the Arduino vehicle. Arduino Bluetooth control vehicle is a straightforward robot vehicle that can be constrained by your cell phone. This Smartphone gives a Bluetooth sign to the vehicle and from the sign, the vehicle works.
0 Profit selling KN95 masks and Infrared Thermometer from UTSOURCE.net: https://www.utsource.net/home/healthcare
How might I make my robot vehicle Bluetooth?
Arduino Bluetooth control vehicle is a straightforward robot vehicle that can be constrained by your cell phone. This Smartphone gives a Bluetooth sign to the vehicle and from the sign, the vehicle works.
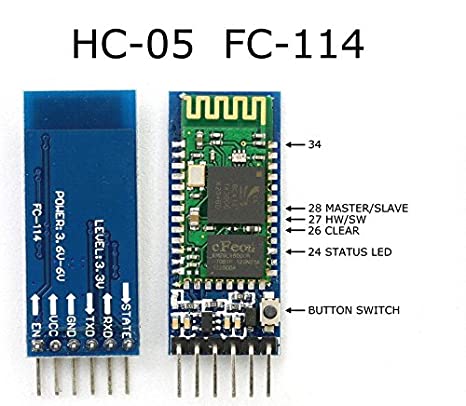
For running the vehicle remotely we are utilizing the HC-05 Bluetooth module. We interface your telephone with the BlueTooth module. At that point, the telephone sends some arbitrary characters which are expressed for running the vehicle.
When all is said in done, case, F is utilized for sending vehicle development. B is utilized for a retrogressive vehicle second. So also, Other characters are utilized for different headings which are referenced in the Arduino code.
Make Bluetooth Controlled vehicle utilizing Arduino:
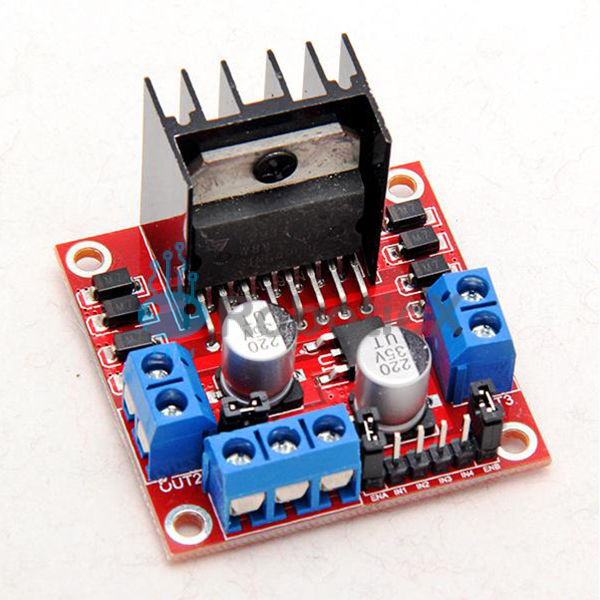
For controlling the Motors we are utilizing an l298n engine driver. you can likewise utilize l293d too. I picked l298n in over l293d on the grounds that it has high force yield. In the event that you are keen on l293d Bluetooth vehicle, at that point ensure you buy into our YouTube channel.
Presently for running the vehicle clearly we need a force source. In this way, For the force source, we are utilizing 18650 Lithium-particle cells. You can likewise utilize whatever other battery which is recorded beneath
Video Tutorial:Watch the YouTube video from Make DIY And I trust you will get everything.
Note:
You should realize that when you are transferring the code to the Arduino. You should unplug the RX and TX pin of the Bluetooth module. Else, you won't have the option to transfer the code to the Arduino.
Arduino Bluetooth vehicle circuit graph:
Programming/Coding part:
For transferring the code pick the correct board. At that point pick the compose com port and afterward aggregate first and afterward transfer to Arduino. As straightforward as that.
Presently introduce the application in your Android gadget and afterward open it and interface it with the Bluetooth HC 05. Presently you can see the red flickering however will be changed in green. In this way, It implies that you are associated with the Bluetooth vehicle robot.
Next, you can play out the forward-in reverse Left Right capacities and you can see the inquiries working.
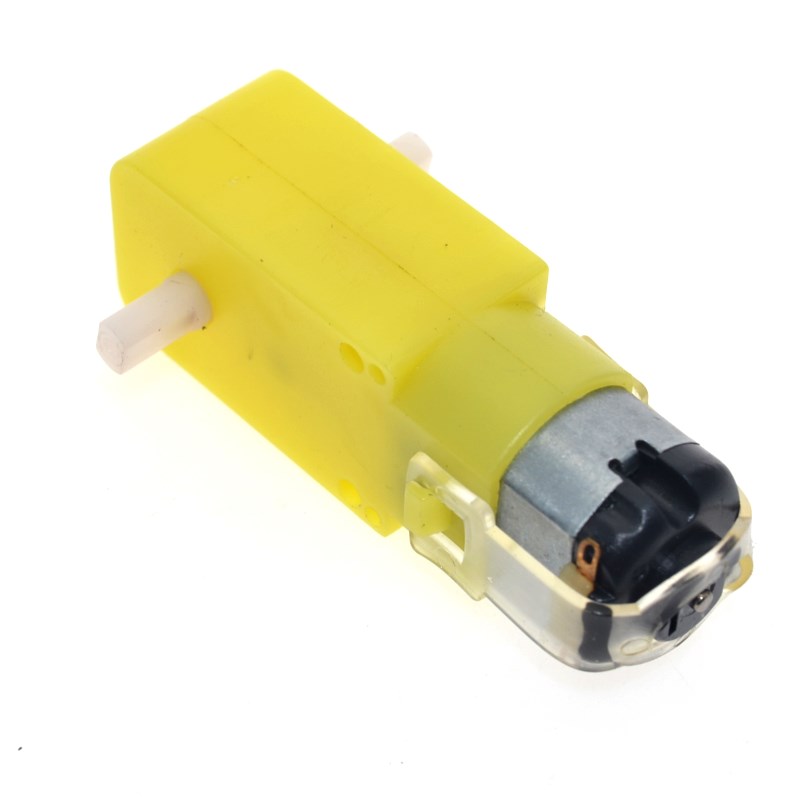
Motor
Motor Driver
For the engine driver, I am utilizing a l298n H Bridge engine driver. This is some acceptable force yield so I am utilizing it. Presently simply associate two-sided engine links with the engine driver.
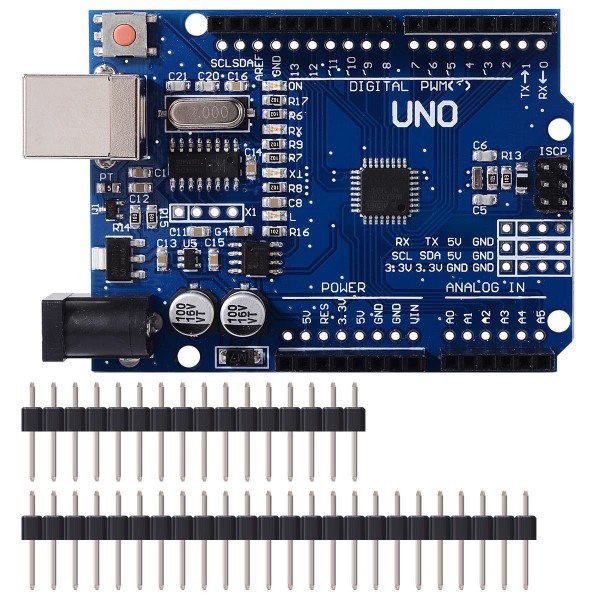
The primary controller Arduino Uno R3:


Comments
Please log in or sign up to comment.