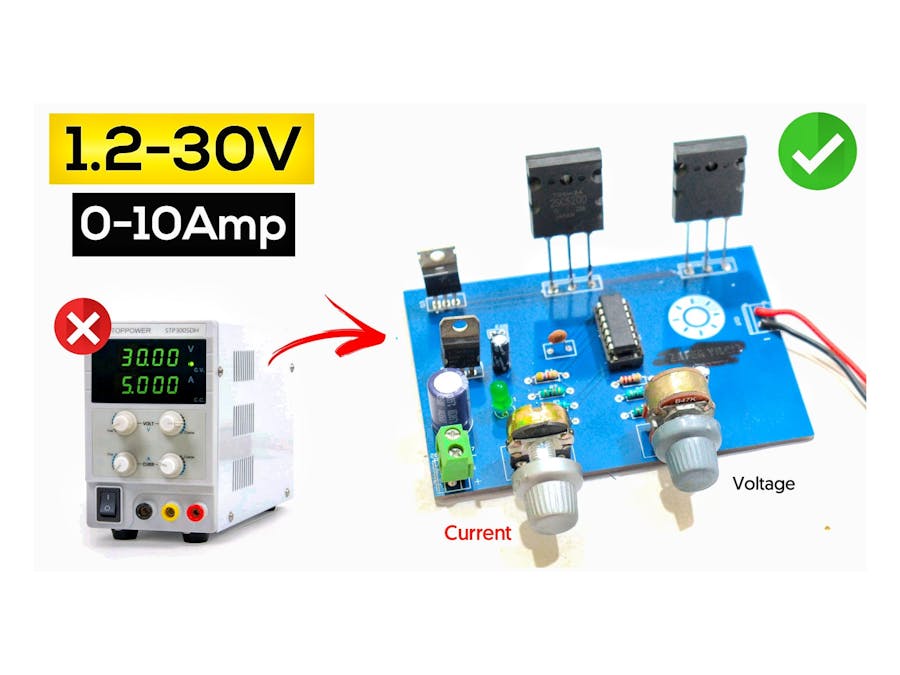
So hey guys in today's article we are going to make a DIY lab bench power supply circuit. As you know using this circuit we can adjustable the voltage but we can also adjust the current at 10 amperes. And if you are reading this article then I bet you. You are an "Electronics Hobbyist" Who may be thinking of buying a new lab bench power supply. Or maybe you are thinking of making a circuit of your own. That's why you came here to read this article.
Sorry to say but this time I am not going to explain too much like my previous article FM Transmitter Circuit and by the way if you did not read you can read.
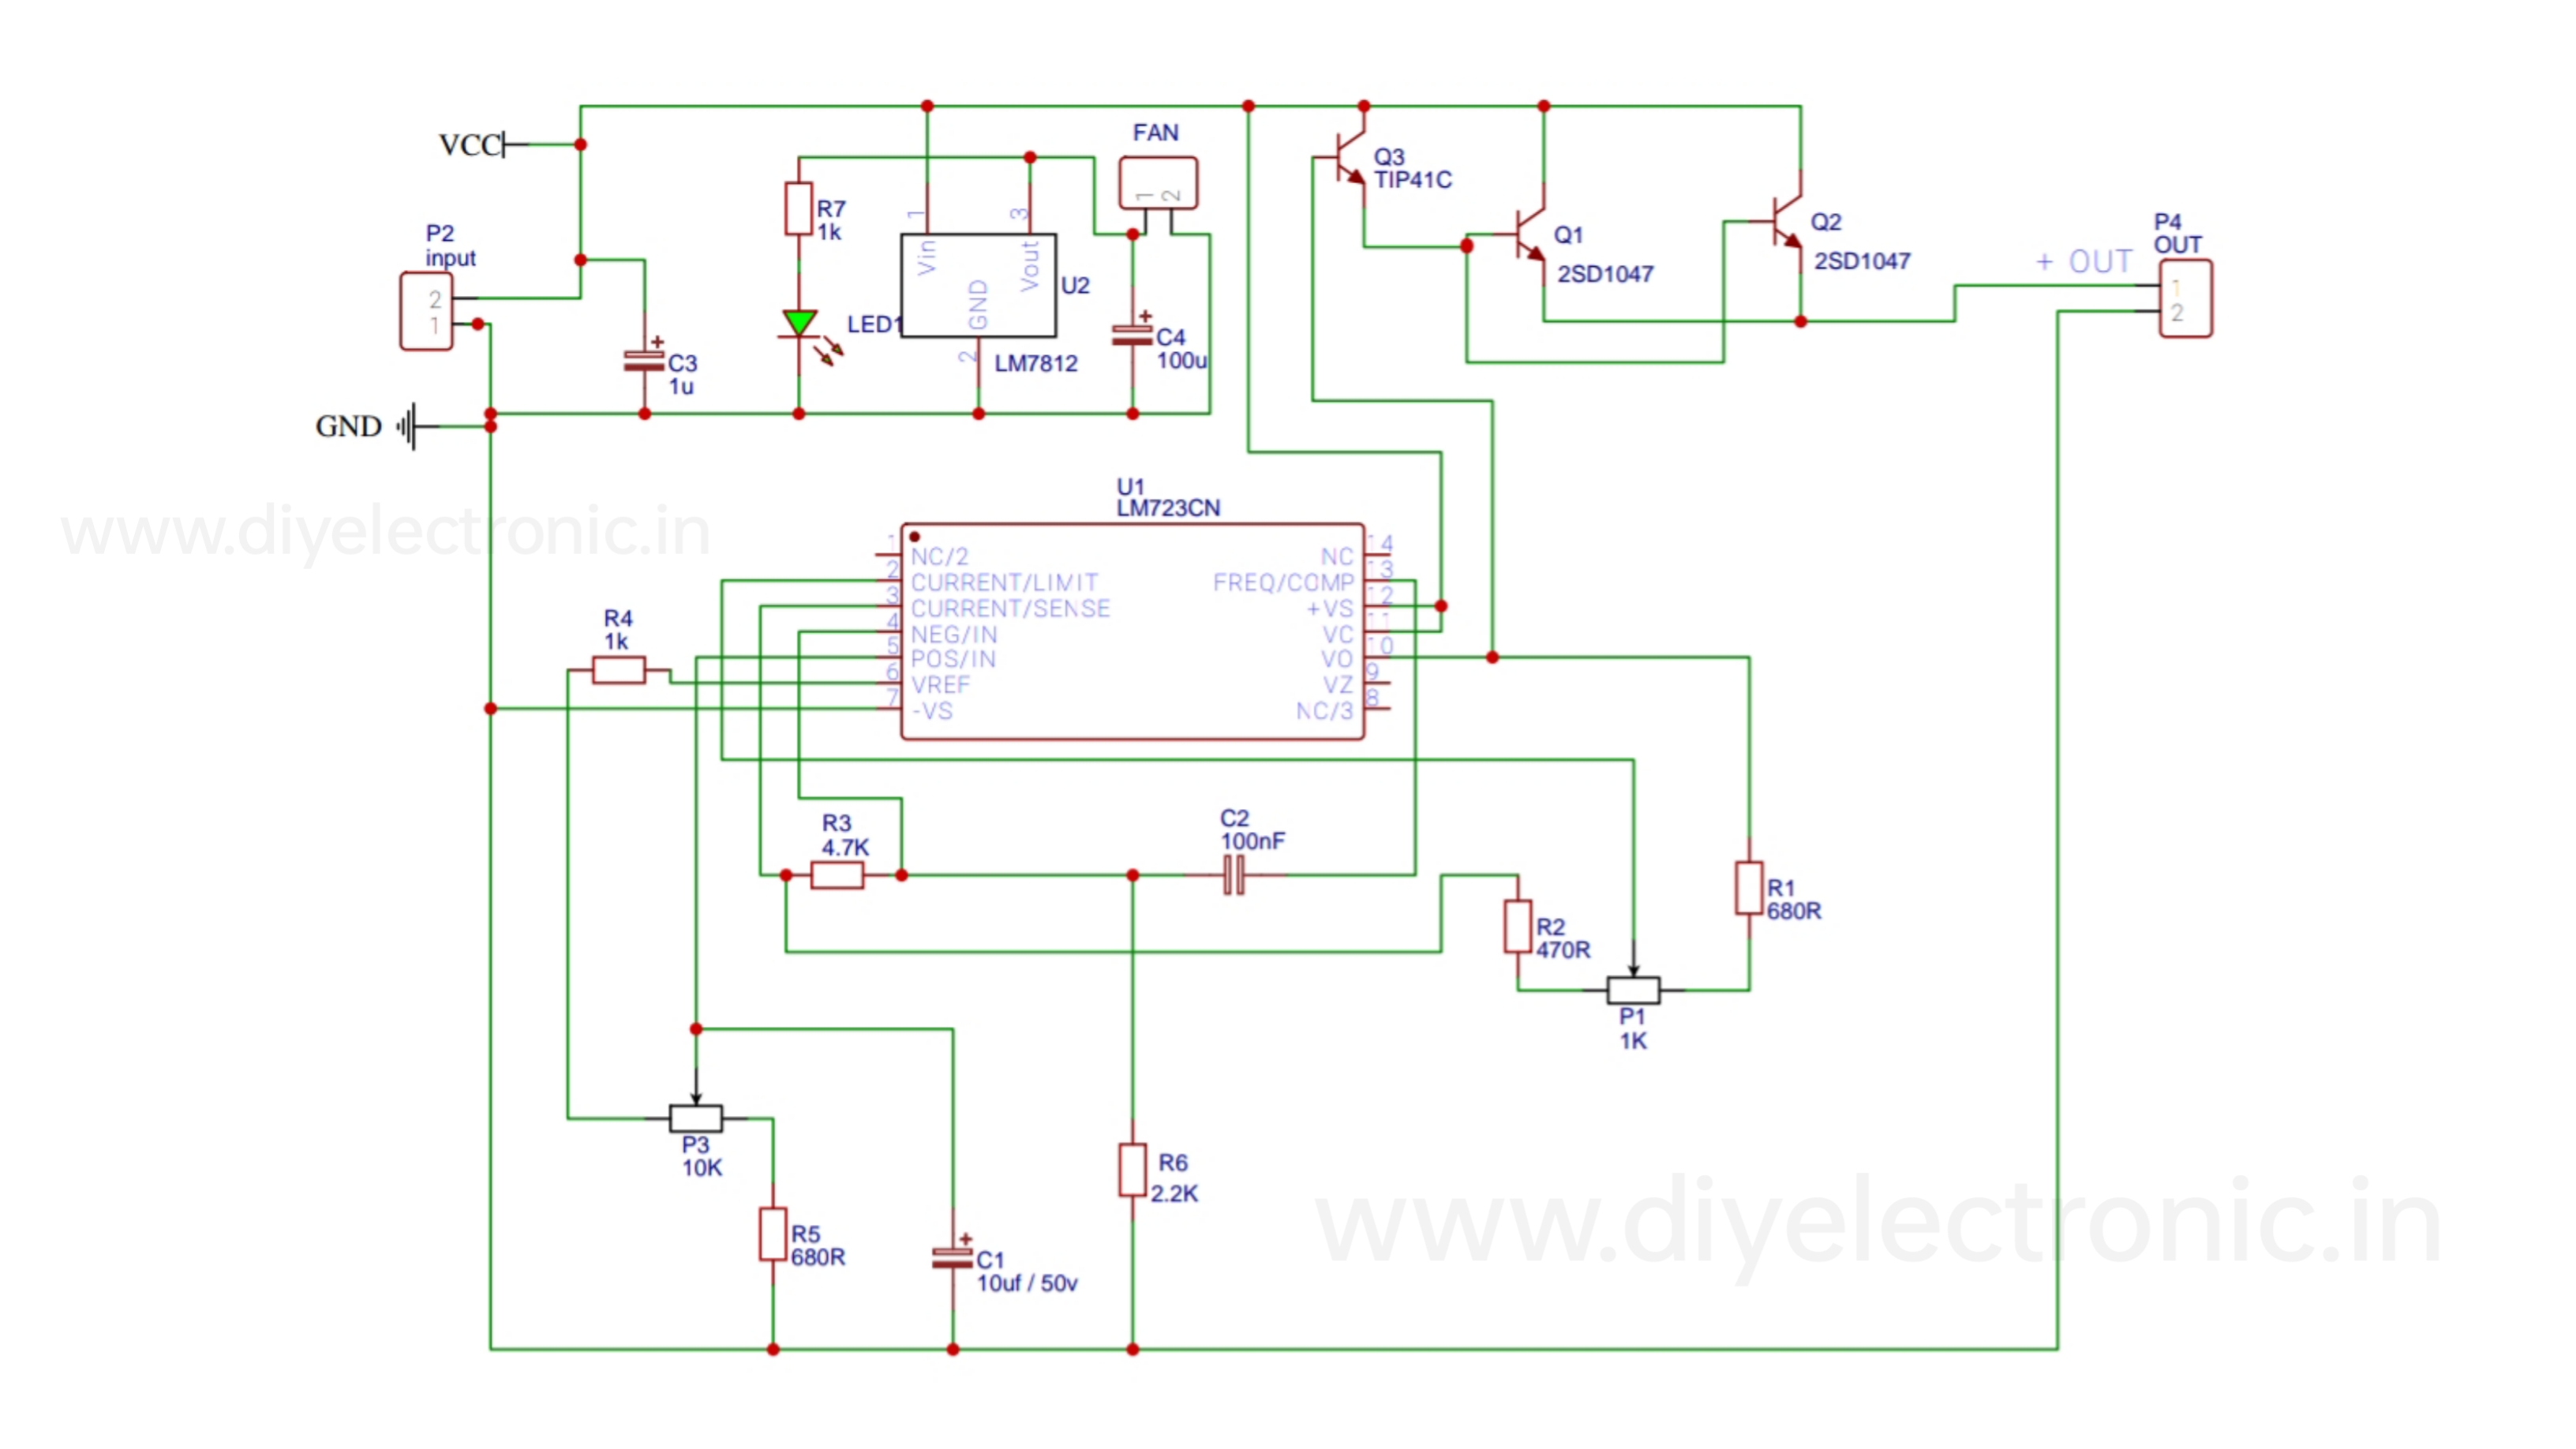
For building, this circuit below components is needed. These are easily available in the market.
Transistor -: TIP2N3055 Transistor, TIP41 Transistor
Resistor -: 680Ω *2, 470Ω, 4.7K, 2.2K, 1K *2
Capacitor -: 1Uf, 100Uf, 10Uf 50V, 100nf (Code 104)
Potentiometer -: 10K, 47K
7812 Voltage Regulator
LM723 IC
Green LED
So for making a Lab Bench Circuit, I am using a custom-made PCB, without PCB you can make in zero PCB But it will not look so good in appearance.
In custom-made PCB. you already know you have to just put all components and after soldering your circuit is ready to go.
So if you are thinking about making a Variable Power Supply Circuit then I will highly suggest you make this circuit in PCB.
And by the way, I am giving you the GERBER file so you can download and use it for free. For PCB orders you can use JLCPCB You can order your custom-made PCB From JLCPCB If you are a new user register on the website through our link: https://jlcpcb.com/IYB, and you can get a $30 new user coupon code that you can use in your first order shipment and SMT service. I would definitely say to use this coupon code.
Click Here 👉 (Gerber) to Download Gerber File.
Visit JLCPCB Website.
$2 for 5pcs PCBs, PCBA from $0, Register to Get Coupons Here:
So If you follow all the steps, you can easily make this DIY Lab Bench Power Supply Circuit.


Comments
Please log in or sign up to comment.