


Hardware components | ||||||
 |
| × | 1 | |||
 |
| × | 1 | |||
 |
| × | 1 | |||
Software apps and online services | ||||||
 |
| |||||
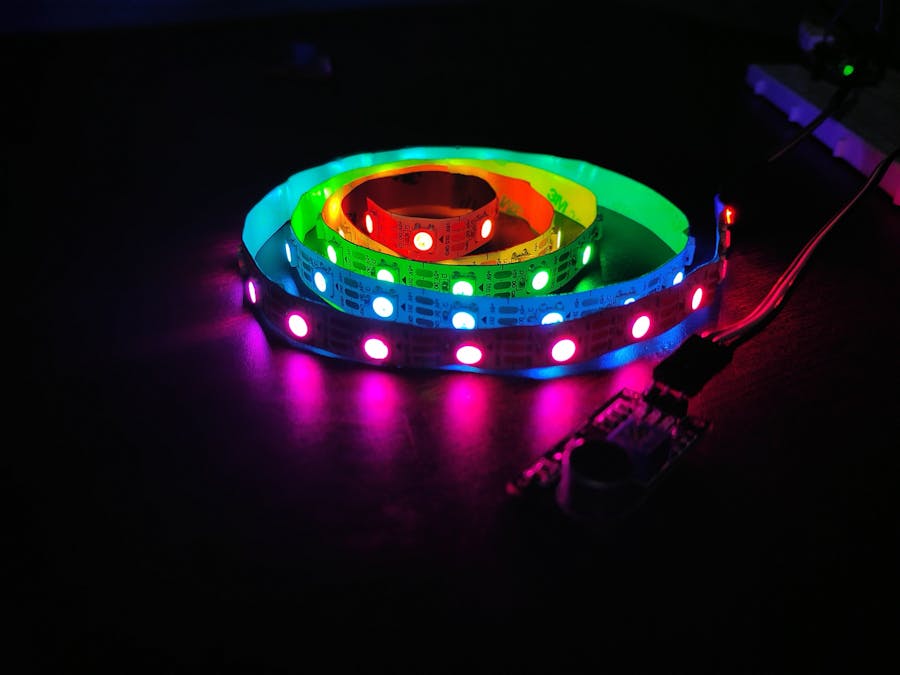
In this project I will be showing you How To Make DIY Music Relative Led Strip Light Using Arduino Nano Let's get started!
1st 🙏🏻Thanks🙏🏻 to NEXTPCB for sponsoring this video Visit NEXTPCB
to get professional PCBs for low prices Get start PCB From 0$ And Sign up This Link And Get Extra Coupan 👌
You Will Need Some Componenets For Make This Project
👉Parts list (): -👈 👇 Arduino UNO - https://amzn.to/3fljESD Arduino Nano - https://amzn.to/30a5VI3 RGB strip LED :- https://amzn.to/3gXEAPZ Sound Sensor :- https://amzn.to/38VsO5K Jumper Cable - https://amzn.to/2Zyt2vj
Componenets :-
The WS2812 however is a WS2811 placed inside a 5050 LED package.The 5050 LED is a very common 3 LED (Red, Green, Blue) package, in one 5mm x 5mm case.A WS2812 is the same package but with an additional WS2811 LED driver IC on board.
In the illustration below you’ll see the difference:On the left a 5050 RGB LED, on the right a WS2812 which combines a 5050 RGB LED with a WS2811 controller.Note how the layout of the “silver” tracks are almost identical in both images, yet the black (IC) block and the tiny wires are different (right).
5050 RGB LED (left) and WS2812 (right)
ANALOG LED STRIPSThese are NOT the kind of LED strips we use in this project!
In the illustration below we see first (top) a strip of single color LED’s – typically white, but can be purchased in different colors. The one below that is a multicolor strip (RGB pins are a give away) which allows us to set the color for the entire strip.
On each of these strips you’ll see (from left to right) first the LED as a white block, followed by an SMD resistor as a tiny back block.The examples below require 12V to operate.
Analog LED strips – Single color (top), Multicolor (bottom)
DIGITAL RGB LED stripsThe digital strips are the ones we will use in this project.In particular: we will use the WS2812 in our project.
The cool part of a digital strip is that you address each LED individually, making very cool effects easy. Obviously the kind we’d like to use in our projects.
In the illustration below you can see the physical differences between the WS2801 and the WS2811/WS2812 strips.Unlike the analog strips: Most Digital RGB strips operate on 5 Volts!
Note:
- Not all strips of the same “model”, look the same, but have typically a very similar layout.
- strips can be sold as a white or a black strip (background strip).
- Notice the arrows indicating Data direction.
- WS2801 has 4 pins, where as the WS2811/WS2812 only has 3 pins.
- There are digital strips that look like WS2801/WS2811/WS2812 strip, that are NOT based on any of these LED drivers.
- Strips can be had in waterproof (in plastic “tube”) or for indoor use only.
Digital LED strip – WS2812 (top) and WS2801 (bottom)
WS2801 vs WS2812 pins
PIN
WS2801
WS2812
5V
Power (+5V)
Power (+5V)
CI
Clock signal Input
N/A
CO
Clock signal Output
N/A
DI
Data Input
Data Input
DO
Data Output
Data Output
GND
Ground or Common
Ground or Common
Making the Arduino WS2812 connectionNow that we have a WS2812 strip, time to hook it up to our Arduino (I used an Arduino UNO for this).
PowerCautionA strip of LED’s will pull way too much power for your Arduino to handle, so always consider an additional 5V power supply.
Rule of thumb is : each RGB LED unit pulls about 60 mA (3x 20 mA, for Red, Green and Blue).
LED’s, even though they’re called power efficient, do need juice … and for each WS2812 we need up to 60 mA when the 3 LEDs inside are at maximum brightness at 5V.
Power SupplyYou can use an external power supply for this purpose and even though my 1 meter strip theoretically needs 3.6 A at max brightness, my little 2A power supply managed to handle it – your milage may vary! (1 meter with 60 LEDs/meter = 60 * 60 mA = 3600 mA = 3.6 A max.)
A switching power supply is often ideal and pretty cheap – you might even have one or the other laying around from your old cellphone, just make sure it’s actually giving you 5 – 6V and not weird voltages like 12V or 16V or even more. Verification with a Voltage meter is recommended.
Arduino Connected to your Computer
Commonly, during testing, your Arduino is connected to your computer via a USB cable where the USB cable does not only program the microcontroller but will also provide power for the Arduino.
The DIN (data input) pin of the LED strip goes to Arduino PIN 6 with an optional 470Ω resistor in between.+5V of the LED strip goes to the +5V of extra power supply.GND of the LED strip goes to GND of the extra power supply and to the GND of the Arduino.The USB of the Arduino is connected to your computer.
Arduino & WS2812 – USB and External Power
Arduino Not connected to your computer
Once you’ve completed your prototyping, you could still keep using your Arduino for controlling the LED strip.
In that case you’d typically have the Arduino in a very different location, and thus not connected to your computer. In that case the extra power supply for the LEDs could be used to feed the Arduino as well.
The DIN (data input) pin of the LED strip goes to PIN 6 of the Arduino with an optional 470Ω resistor in between.+5V of the LED strip goes to the +5V of extra power supply and the +5V on your Arduino (or Vin).GND of the LED strip goes to GND of the extra power supply and to the GND of the Arduino.
Connect Strip Light with arduino
if you don't make your PCBs yourself, where do you make them?Personally, I do not have the space and the courage (nor the skill) to do them myself.For SF, I turn to Util-Pocket, because I find that the quality is excellent for the price.For the DF (with metallic holes), I tried several companies, all of which do a good job, but it costs a lot.This time I addressed myself here. I had 3 circuits to do, totaling an average surface of 49 cm2.When I saw that the minimum quantity to order was 5 PCBs, I continued my order out of curiosity, just to see the quote.And when I saw the asking price, I placed the order. nextpcb
Also check out my other social media: Instagram: https://www.instagram.com/diyprojectslab/ Facebook: https://m.facebook.com/DiyProjectsLab/ Pinterest:https://www.pinterest.com/diyprojectslab
_CNoXCSwGlV.jpeg)


_CNoXCSwGlV.jpeg)
Comments
Please log in or sign up to comment.