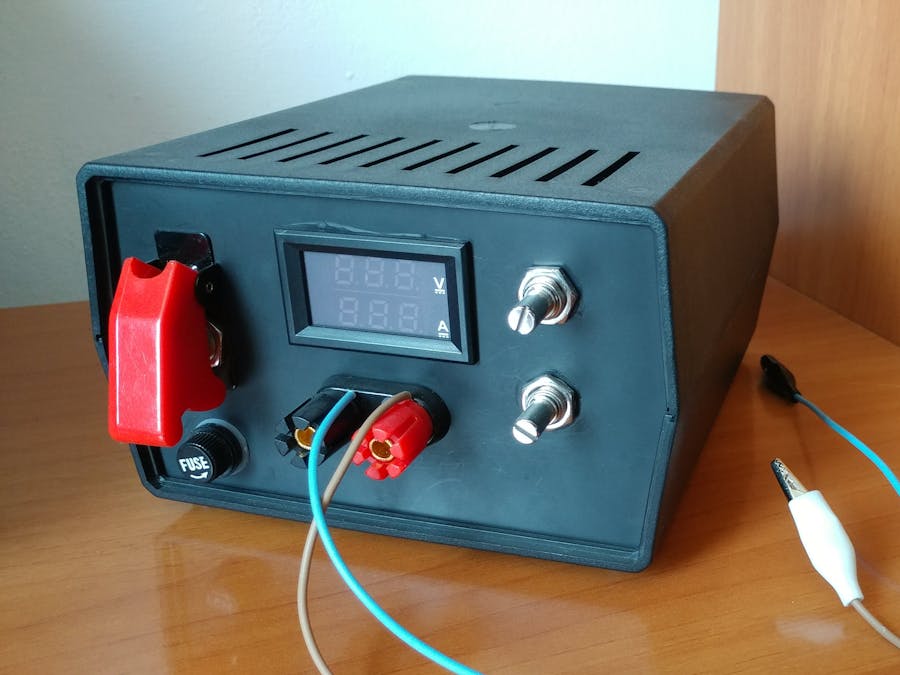
I'll start with the necessary components:
Total price : ~~ 35$
1. ~~ 4$
It is much safer if the box is made of non-conductive material !!!, and it is easier to work with.
2. ~~ 10$
Power supply. I used an old laptop charger ( 19V 3.6A ). Find one that is close to your needs, but don't worry with a cheap step up/down converter you can adjust the output voltage.
3. ~~ 4$
dc-dc step up/down converter depending on you needs.
In my case a step down converter. For the adjustments I replaced the potentiometers with bigger ones which are mounted on the front panel.
4. ~~ 4$
It's nice that you don't need an extra tool (multimeter) to se whats going on.
5. ~~ 3$ ( 2x in my case)
For convenient adjustments on the front of the box and not inside of it.
6. ~~ 2$
For safety
7. ~~ 2$
Convenient and offers multiple ways to connect.
8. ~~ 3$
Don't have to be heavy duty, I just liked the missile cover.
9. ~~ 2$
!!!!!!!!!!!!!!!!!!!!!!!!!!!!!!!!!!!!!!!!!!!!!!!!!!!!!!!!!!!!!!!!!!!!!!!!!!!!!!!!!!!!!!!!!!!!!!!!!!!!!!!!!!!!!!!!!!!!!!!!!!!!!!!!!!!!!!!!!!!!!!!!!!!!!!!!!!!!!!!!!!!!!!!!!!!!!!!!!!!!!!!!!!!!!!! If you never worked with live current ask someone with experience, never work plugged in. !!!!!!!!!!!!!!!!!!!!!!!!!!!!!!!!!!!!!!!!!!!!!!!!!!!!!!!!!!!!!!!!!!!!!!!!!!!!!!!!!!!!!!
Total price
The electric circuit :https://www.youtube.com/watch?v=sirHycTFB9w
ElectroScienceMethod Channel Gives you a good starting point.
The enclosure :
I made a 2D model of the front panel and after measuring the parts I placed them on the drawing. With a 1:1 print of the drawing first I made the panel out of cardboard, to ensure a good fit and placement of the parts. My enclosure was plastic so with a soldering iron and an attached small plate was easy to cut out the holes.


Comments
Please log in or sign up to comment.