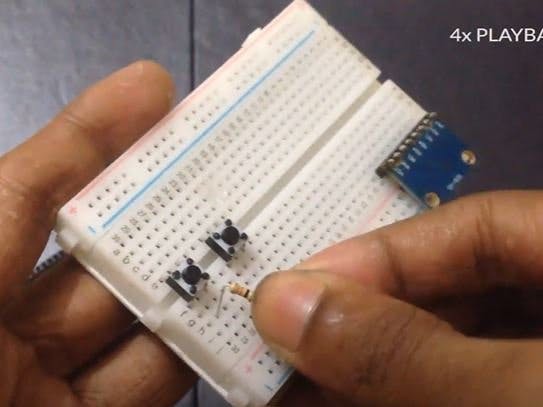
But in this project other type of Arduino dev. kit such as UNO, Mega, Nano won't work. Because, for I2C communication from the board to the computer we'll need a dev. kit which supports native serial USB. So in this project, you'll need these components:
- Arduino Leonardo/ Micro
- MPU 6050 (3-Axis Accelerometer)
- 10K ohm resistor
- Break board
- Push button switch
- Wires
Hope, you already connected the circuit as shown in the diagram & uploaded the code. If this is working well then it's good. But flaws can appear anytime. Let's focus on them.
- #Problem_1: My buttons are auto working. Solution: Then, check the connection again, cause only loose connection causes these kinds of problems.
- #Problem_2: My cursor is not stable it's moving automatically or fluctuating a lot. Solution: Change the calibrating values of X & Y plane as shown in the video according to your sensor. Cause different sensors have different calibration values.
- #Problem_3: My buttons are reversely working. Solution: Check the type whether your buttons are Pull up or Pulldown. If found so then simply reverse the connection.
Read more on: What is an Arduino? What are the application?
Still if got any further problems or question regarding this project lemme know in the #COMMENT section. I'll get back to you ASAP.


_3u05Tpwasz.png?auto=compress%2Cformat&w=40&h=40&fit=fillmax&bg=fff&dpr=2)

Comments