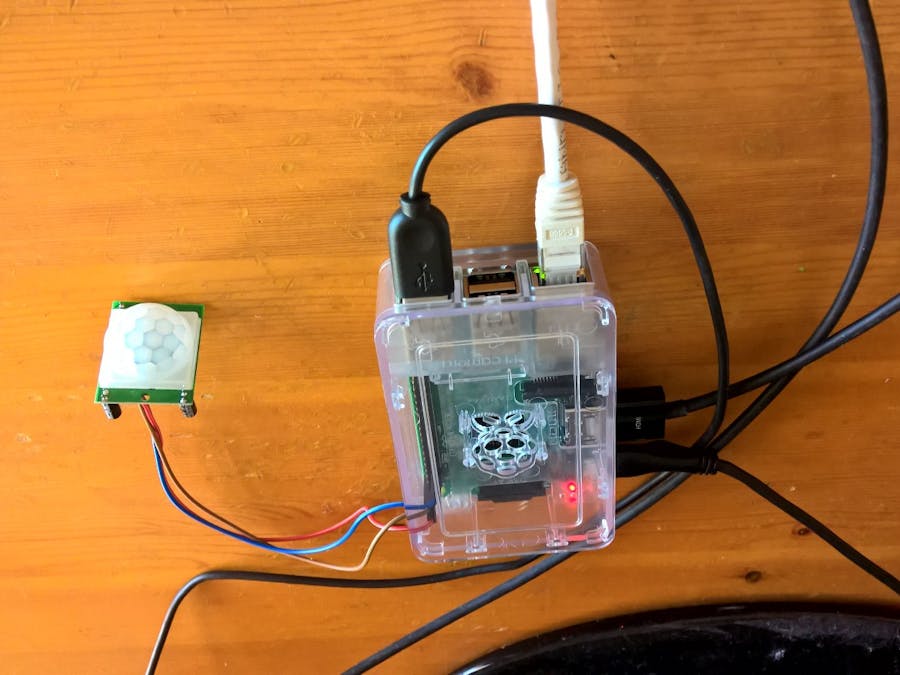
This project was made for extra credit in my measurement and instrumentation class but I also wanted it to be something that I would get some use out of. This allows me to make sure nobody has been into my apartment when I am out of town.
This code is only set up to work with Gmail addresses. If you do not have a Gmail address make one here
So let's get Started.Step 1:
The first thing were going to do is wire our PIR sensor to the Rasberry Pi. On the PIR Sensor there are three pins. A VCC, OUT, and GND. Using female to female jumper cables connect the VCC to 5V, the OUT to GPIO pin4, and the GND to GND. You should also note the 2 orange phillips screw heads. These are the potentiometers that control the sensitivity (Sx) and timing (Tx). You will want the sensitivity on max (max clockwise) and the time on minimum (minimum clockwise). This will be the baseline and can be tuned later to your preference.
Step 2:
Boot your Raspberry PI like normal.
Step 3:
Open up the terminal and create a new file called pirsensor.py by typing:
>> nano pirsensor.py
Step 4:
Enter/ Copy the code into the file.
Step 5:
Edit the to_email_address, from_email_address, and to_email_password to correspond with your desired emails.
Step 6:
Grant you Gmail permission to use less secure apps by following the instructions here.
Step 7:
Press ctrl+O to save and then ctrl+X to quit.
Step 8:
Run your code by typing the following into the terminal:
>> sudo python3 pirsensor.py
Step 9:
You should notice that when motion is detected that the GPIO pin 4 reads HIGH, but when it is not detected GPIO pin 4 reads LOW. When the code reads HIGH your destination email should get an email saying "INTRUDER!".
Step 10:
Press ctrl+C when your done to halt the program. Now Your Done!
EXTRA:
If your interested in attaching a camera to capture the photographic evidence there are instructions here.


Comments
Please log in or sign up to comment.