


Hardware components | ||||||
 |
| × | 1 | |||
Software apps and online services | ||||||
 |
| |||||
1. Log on to https://www.arduino.cc/en/main/software.
2. Choose your OS to proceed.
3. Arduino IDE is an open source software that allows you to download and use it for free.
However, you are encouraged to make a monetary contribution to help them to continue to fund their development. Anyway, you are free to click “JUST DOWNLOAD”.
4. Double click on the downloaded file to proceed.
5. Once installation is completed, the Arduino’s icon will appear. Double click the icon to launch the Arduino IDE.
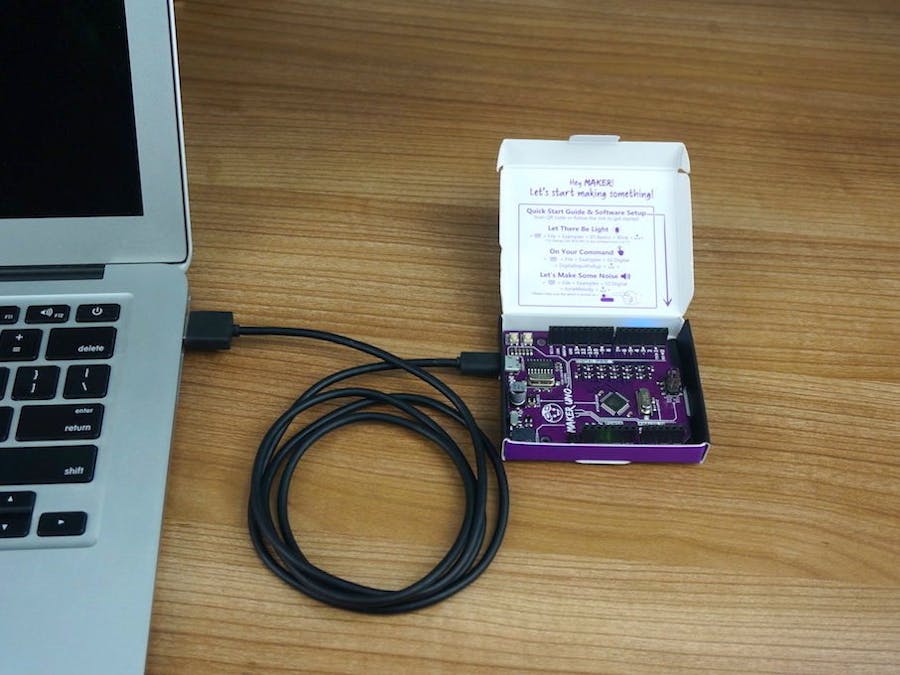
First of all, please ensure your Arduino board is connected to your PC with a micro USB cable.
For Windows users:
1. Download the driver here: https://cdn.cytron.io/makeruno/CH341SER.EXE
2. Double click the “CH341SER” file to begin installation.
3. Click “INSTALL”.
4. Click "OK".
5. Go to window search, search for “device manager”.
6. Expand the “Ports (COM & LPT)”. Check which port the CH340 driver is being assigned to. Remember the com number. (For this example, the com number is com 5)
7. Launch Arduino IDE. Select the right com port. Tools >Ports >COM X (select the COM port that we checked at the previous step)
Note: Please ensure your Arduino board is connected to your PC.
For Mac Users
1. Download the driver here: https://cdn.cytron.io/makeruno/CH341SER_MAC.ZIP
2. Double click the zip file, open the unzip folder then double click the pkg file.
3. Click “Continue” to begin installation.
4. Once done, click “Restart” to restart your Mac.
5. After you have restarted your Mac, launch Arduino IDE. Choose the driver at Tools > Port > /dev/cu.wchusbserial1410
Note: Please ensure your Arduino board is connected to your PC.
Congratulation! You have successfully setting up the CH340 driver. You may start writing your first program to your Arduino now.

Comments
Please log in or sign up to comment.