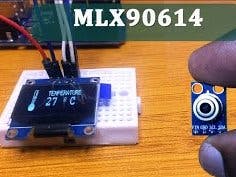
When debugging an electronics circuit or testing a new hardware design, often times I tend to check if the components on the board are getting hot abnormally by touching them. And if something is messed up (which usually is in the first try) these components could get as hot as 80°C or more burning not only the component but also my finger along with it. After burning my fingers for more times than I could remember I decided to build my own Temperature Gun using Arduino and an Infrared Temperature Sensor. This Thermal gun will be built using a non-contact temperature sensor called MLX90614; hence it can not only be used to measure component temperatures but can also be used for measuring body temperature, surface temperature, Heat ventilation and much more. Of course, these thermal guns are readily available in the market from renowned manufacturers like Fluke, Flir etc. But they are not light on your pockets and on top of that what is more fun than building your own gadgets. So let’s get started…
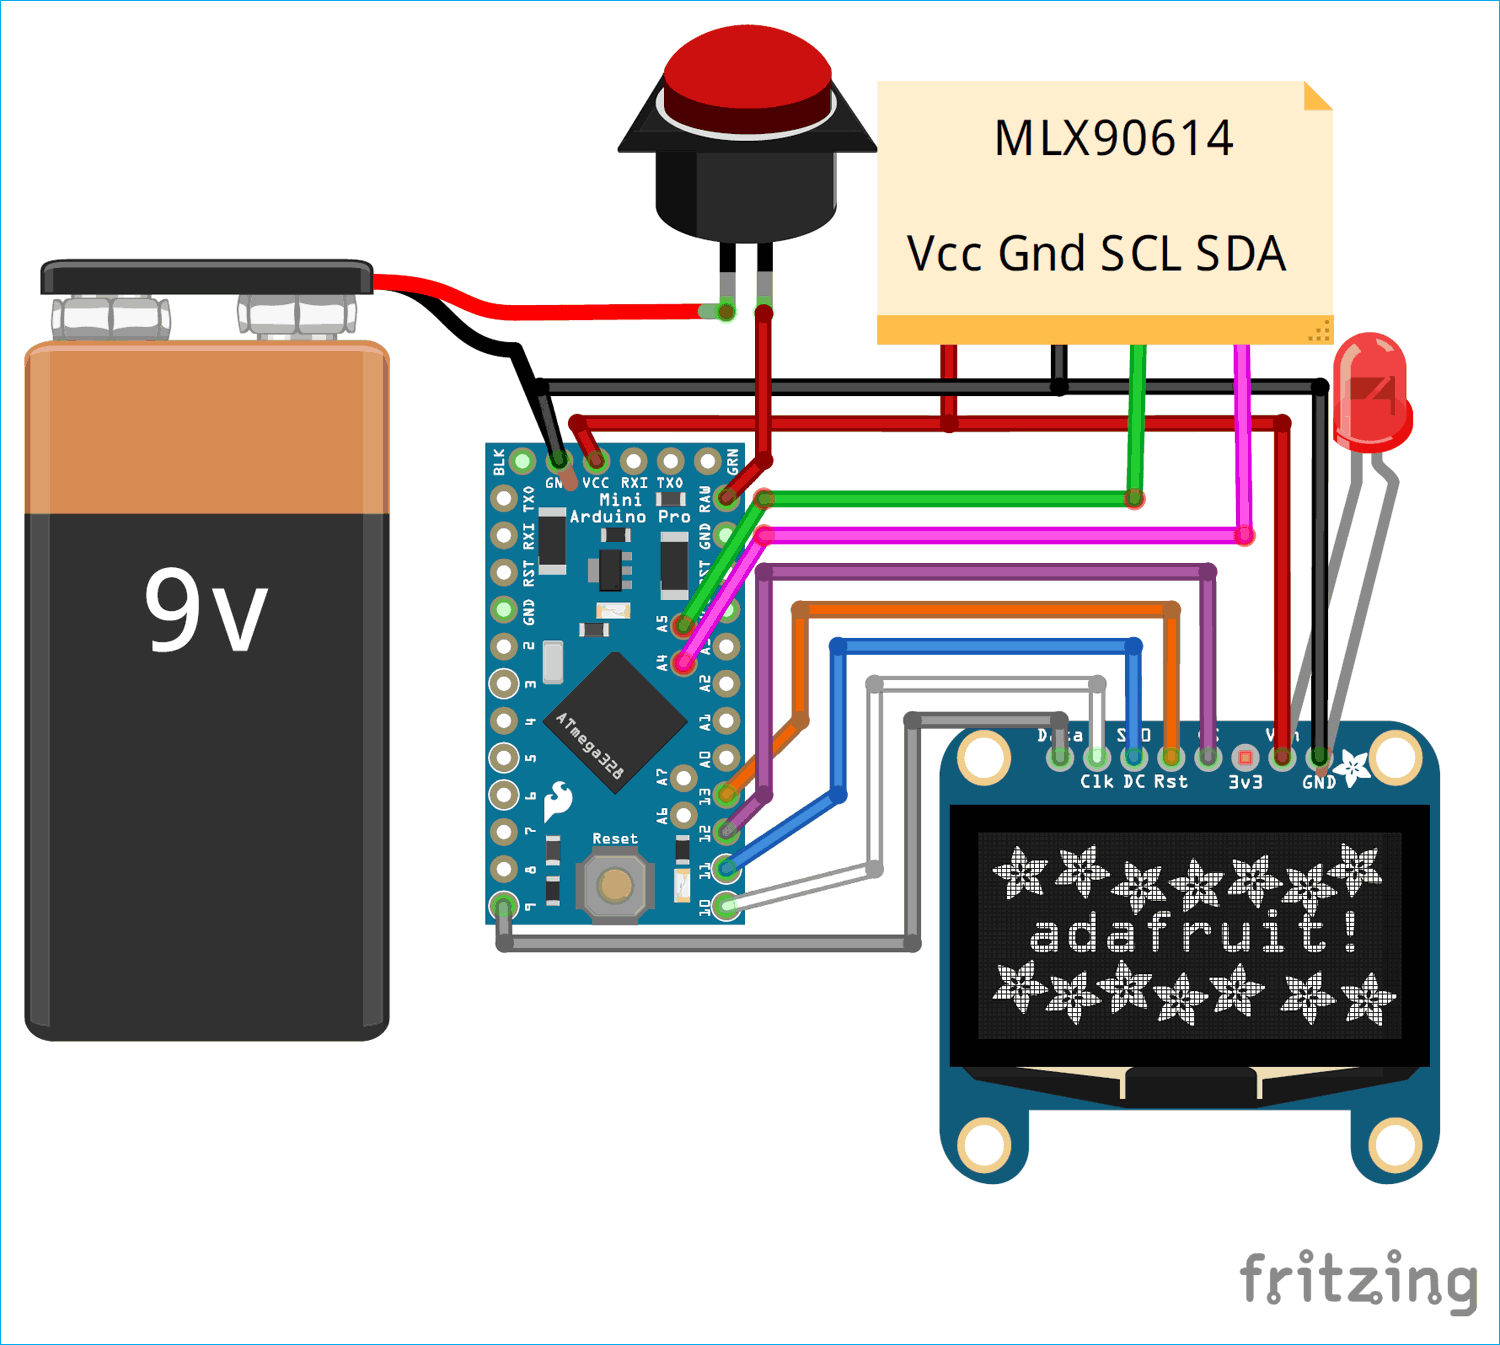
Arduino MLX90614 Thermometer Circuit DiagramThe circuit diagram for Infrared Thermometer is pretty simple. The complete circuit is shown below, it was created using Fritzing software.
Since the Fritzing Software did not support a part for MLX90614 sensor we have used a note to mention its connections as shown above, also we have used a red colour LED in place of a laser diode. The entire circuit is powered by the 9V battery through a push button. When the push button is pressed the 9V battery is connected to the RAW pin of Arduino which is then regulated to 5V using the on-board voltage regulator. This 5V is then used to power the OLED module, Sensor and Laser diode.


_ztBMuBhMHo.jpg?auto=compress%2Cformat&w=48&h=48&fit=fill&bg=ffffff)


Comments
Please log in or sign up to comment.