- Small footprint, affordable and low power consumption with Raspberry Pi at the core.
- Amazon Alexa Voice Service integration allows for voice commands for all of your things.
- MQTT communications means low data consumption, real time data and easy to implement on your things big and small.
- Node-Red logic engine allows you to easily extend the functionality of your system from bridging data sources or calculating and sending alerts, emails, or tweets.
- Node-red web based user interface.
- IFTTT integration for even more extensibility.
The AlexaPi MQTT Smart Hub is a solution for creating an extensive, customizable and affordable home automation system without getting you locked into a proprietary ecosystem. The Raspberry Pi can easily run the Alexa Voice Service, MQTT broker and Node-Red among other things.
The Alexa voice service extends your hub with full voice command integration. The voice service makes your Raspberry Pi function much like the Amazon Tap. You must hold down a button while speaking, voice trigger is not allowed per the TOS.
Node-Red is an easy to use logic engine to handle automating alarms, bridging data, or sending alerts. You can also install the Node-red-dashboard module to achieve a web based UI that you can use on any web browser, even your phone.
IFTTT can do a lot of thing however, for the most part in this example we use IFTTT to bridge Alexa to Adafruit.io's cloud MQTT broker. Node-Red then bridges this data to our local MQTT on the pi, this method is more secure than opening our local MQTT up to the internet.
Lets get started by Installing Alexa Voice Service on the Raspberry PiNovaspirit Tech has an excellent 10 minute video on installing the Alexa Voice service with a project on github. This is not the only way to do it but might be easier for newer users.
Here is a summation of the steps.
sudo apt-get install git
git clone https://github.com/novaspirit/AlexaPi
cd AlexaPi
Go sign in or sign up for an Amazon Developer account
Select Alexa Voice Service
Register new product Type --> device
Enter Device TypeID and Display Name, it is critical that you remember the spelling and punctuation for these.
Create new Security Profile
Go to Web Settings --> Edit --> Add another: Allowed Origins http://Localhost:5000
Add another: Allowed Origins http://<Your device local IP address>:5000
Add another: Allowed Return URLs http://Localhost:5000/code
Add another: Allowed Return URLs http://<Your device local IP address>:5000/code
Go to the Security profile Get your keys. Run setup.sh and enter the Device Type ID Display Name and security keys at the prompts.
sudo ./setup.sh
To run the voice service type in the AlexaPi directory.
python main.py
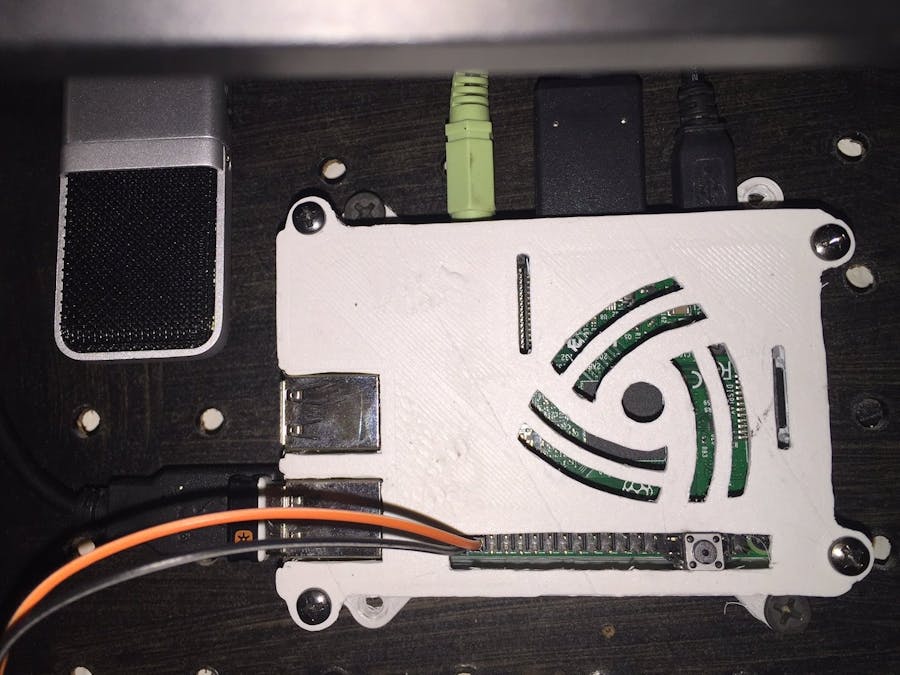
You will also want to connect a button between pin 6 and 12. I soldered the button on some header pins and plugged it in.
You can use node-red as is but the latest node-red-dashboard has a lot of nice features so we need to upgrade.
sudo apt-get update
sudo apt-get install nodered
sudo apt-get install npm
sudo npm install -g npm@2.x
hash -r
cd $HOME/.node-red
npm install node-red-dashboard
Run Node-red by typing...
node-red
Any MQTT broker will work, Mosquitto is fairly quick to install.
mkdir mosquitto
cd mosquitto
get http://repo.mosquitto.org/debian/mosquitto-repo.gpg.key
sudo apt-key add mosquitto-repo.gpg.key
cd /etc/apt/sources.list.d/
sudo wget http://repo.mosquitto.org/debian/mosquitto-wheezy.list
apt-get install mosquitto
To run the voice service and node-red on startup one method is to install GNOME Schedule, which is a gui scheduler. Once installed you can find "Scheduled Tasks" in the start menu.
sudo apt-get install gnome-schedule
Sign up at http://io.adafruit.com and create a feed. You need to remember your feed name, user name, and secret key for setup later. You can access your feed with any MQTT test client, the topic is <your adafruit user name>/f/<feed name>. User name is your adafruit user name, password is the secret key.
ifttt Allows you to create easy custom connections between hundreds of different applications. In this case we want Alexa to send commands to Adafruit.IO.
Connect Alexa and Adafruit to IFTTT.
You can then create a new recipe. ex. If you say "the garage door open" send "OpenGarageDoor" to your Adafruit feed.
You can create a new flow by hand to bridge between Adafruit and local MQTT servers.
If you would prefer you can also just import my flow saved here. Simply go to the Node-Red interface and in the menu import the flow from clipboard.
Now that everything is installed what do we do? Since your application, experience level, needs, and wants are all going to be different I suggest a choose your own destiny learning schedule. Check out some more videos to get you going. Once you get the hang of MQTT and Node-Red your creative juices should get a pumping!
What is MQTT?
If you are New to Node-Red learn about it here.
MQTT Garage Door Opener example device.
TI Launchpad MQTT Device.


_3u05Tpwasz.png?auto=compress%2Cformat&w=40&h=40&fit=fillmax&bg=fff&dpr=2)
Comments
Please log in or sign up to comment.