


Hardware components | ||||||
 |
| × | 1 | |||
 |
| × | 1 | |||
| × | 1 | ||||
 |
| × | 1 | |||
 |
| × | 1 | |||
| × | 4 | ||||
| × | 4 | ||||
| × | 1 | ||||
| × | 1 | ||||
| × | 2 | ||||
 |
| × | 1 | |||
 |
| × | 1 | |||
Software apps and online services | ||||||
| ||||||
| ||||||
| ||||||
| ||||||
Hand tools and fabrication machines | ||||||
| ||||||
| ||||||
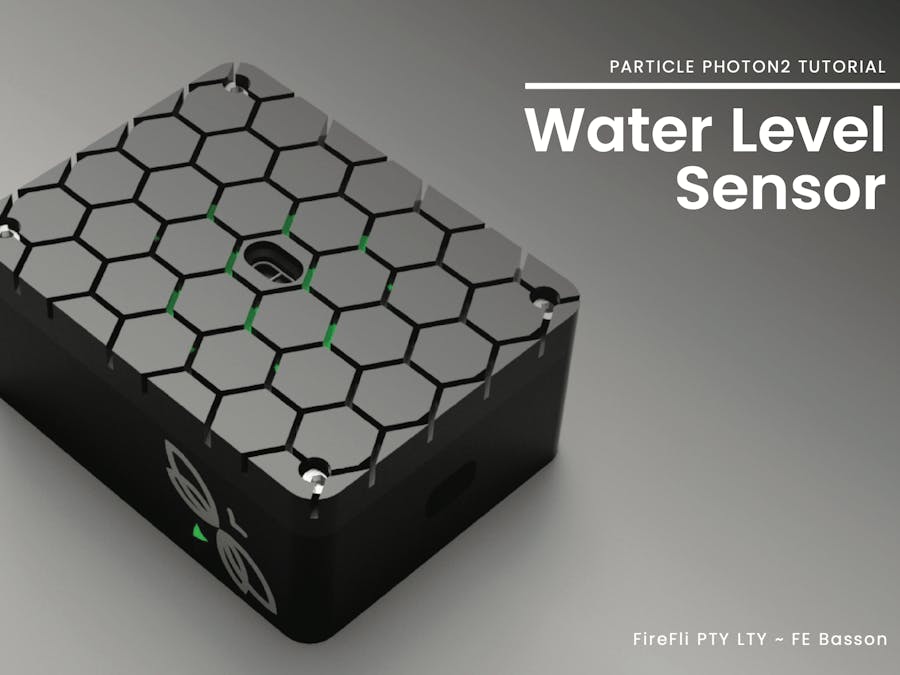
The purpose of this project is to build a simple and robust water level sensor for monitoring water levels in domestic water tanks. The project is based around the Particle Photon2 development board and the VL53L1X-SATEL ToF sensor.
The VL53L1X is essentially a compact, self-contained lidar system with an integrated, safe-for-the-eye 940 nm Class 1 laser. The VL53L1X employs ST's FlightSense technology to precisely measure how long it takes for pulses of infrared laser light to be emitted, travel to the nearest object, and then be reflected back to a detector. This is in contrast to conventional IR sensors, which estimate a distance to an object based on the intensity of reflected light. This method guar- antees measurements of absolute distance regardless of target features (such as color, form, texture, and reflectivity) and ambient illumination conditions, even if these outside factors do have an impact on the sensor's maximum range.
We will post the data to Particle Cloud from where you can use webhooks to integrate with other applications e.g. Ubidots or Blynk.
Prerequisites- You should have a basic understanding of Particle WebIDE or Visual Studio Code and how to import libraries.
- You should have a Particle Photon2 and a Particle account. If you do not have an account, visit https://www.particle.io and register and account.
- You should have at least one Particle Photon2 claimed and active on your account.
Enclosure (optional)
After you printed all the parts of, follow the images on the right for basic assembly.
You should have the lid, base and small bracket to keep the ToF secure. Use a soldering iron to fix the heat inserts in place - Fig 1.1. This will help with securing everything with the machine screws.
Now, let’s place the VL53L1X module in the designated area as indicated in Fig 1.2. Use the M2 screws to mount the bracket over the ToF sensor to secure it in place. DO NOT over tighten the screws as you might damage the sensor.
Insert the TPU seal in place. This will help to provide a more secure seal.
Preparing wiring on the breadboard
We will add some additional LEDs to act as status indicator. Even though these can be controlled directly from digital pins, it is good practise to use a MOSFET Fig 2.1
Place the n-Channel MOSFET and connect as below;
Now connect the ToF sensor Fig 2.3. Detailed wiring follow. You can now mount the breadboard inside the base.
VL53L1 wiring
Place your Particle Photon2 on the breadboard and ensure there are exposed holes on either side as we will be connecting wired on both sides of the Photon2.
Make the necessary connections between die Photon2 and the SPG30 module.
NOTE:
Depending on the jumper wires you selected, it might look a little different but as long as the pin outs match all should be good
Code
NOTE **If you are using Visual Studio Code, make sure to use a USB cable to flash. If you use cloud flash, the libraries hosted on the sever will be used and your display will not function as intended. The library in this project has been amended to accommodate the 2” display
Everything has been done for you. Simply follow the link below and download the entire project from the Github repository.
The repository also includes a folder with STL and STEP files if you want to print the enclosure or need to make some modifications on the design.
The code is quite heavily commented for informational purposes. You are welcome to remove these, but please keep all mentions of contributors in place if you intend to publish this code as some parts are loosely based on existing libraries even though quite heavily amended.
STEP 4:Working principal of the sensor
The idea of the sensor is to advise the user on predefined level changes in the water tank. These levels can be set in the code.
In order to maximise battery life, the sensor will wake up periodically, take the measurement and only publish the information when a level change has occurred.
This is achieved by keeping the device offline and the WiFi radio disabled. The ToF is brought online by pulling the XSHIT pin hight and a reading is taken. If a level change is detected, the WiFi is enabled, device is connected to Particle Cloud and information is published.
After successfully completing this, WiFi is disabled and device is put in ULP mode for the predefined time, set in the code.
Room for imporovement
- Consider using device with Interrupt routine.
Add external watchdog time to reset device if it becomes unresponsive. - Improve enclosure to ensure water tight seal. This is quite a challenge using the ToF as the maxi- mum thickness of a the cover glass cannot exceed 1mm (preferably 0.5mm) with a maximum air gap distance of 0.5mm.
- Once battery life is optimised, use primary cell e.g. Li-SOCL2 or Li-MNO2 cells for safety reasons. Temperatures inside water tanks can increase quite rapidly and it is not advise to operate standard LiPo cell in temperatures exceeding 55°C
- If you intend to use this product , DESIGN A PCB instead of using a breadboard. While breadboards are acceptable means for rapid prototyping, the present many challenges.
Enjoy the project!!

_t9PF3orMPd.png?auto=compress%2Cformat&w=40&h=40&fit=fillmax&bg=fff&dpr=2)


Comments
Please log in or sign up to comment.