I’ve worked hard to automate everything in my home. With a spoken phrase, I turn off my TV, my lights, and start my vacuum cleaner when I leave for work in the morning. Ironically, despite my home automation efforts, it seems like the smartest device in my house—my personal computer (PC)—still requires manual touch control.
As a network-connected device, my PC can easily run programs to access online services. For example, it syncs my files with Google Drive and uploads my pictures to Google Photos. However, out of the box, it doesn't come with the ability to be controlled from Google Assistant.
In this post, I'll cover how I built voice control functionality including a 'Leaving Home' routine for putting my PC to sleep, and support for querying the state of my PC. This integration was created using the Google Smart Home platform. If you’re not familiar with Google Smart Home, I recommend reading the documentation and trying out the codelab.
SYNC ResponseI started out by considering the capabilities I wanted to control. The device definition implements three traits:
- LockUnlock: Enables locking the PC remotely/
- Modes: Sets the PC to ‘Sleep’ or ‘Normal’ mode. I've defined the individual supported mode names as attributes.
- TemperatureControl: Reports the current CPU temperature. The queryOnlyTemperatureControl attribute declares this trait as a sensor that cannot be controlled.
{
    id: nickname,
    type: 'action.devices.types.COMPUTER',
    traits: [
        'action.devices.traits.LockUnlock',
        'action.devices.traits.Modes',
        'action.devices.traits.TemperatureControl'
    ],
    attributes: {
        availableModes: [{
            name: 'mode',
            name_values: [{
                name_synonym: ['mode'],
                lang: 'en'
            }],
            settings: [{
                setting_name: 'Sleep',
                setting_values: [{
                    setting_synonym: ['sleep', 'sleep mode'],
                    lang: 'en'
                }]
            }, {
                setting_name: 'Normal',
                setting_values: [{
                    setting_synonym: ['normal', 'normal mode'],
                    lang: 'en'
                }]
            }]
        }],
        queryOnlyTemperatureControl: true,
        temperatureUnitForUX: 'C'
    },
    name: {
        defaultNames: ['PC'],
        name: 'PC',
        nicknames: ['PC']
    },
    willReportState: true,
    roomHint: 'Living Room'
}The fulfillment for this Action is written using Cloud Functions for Firebase, which provides a fast, reliable endpoint. When the function is called, it reads or updates the device’s state in Firestore.
In my Cloud Function, I implement a handler for each type of command that my integration may receive. For example, here is the code for the SetModes command:
switch (execution.command) {
    // action.devices.traits.Modes
    case 'action.devices.commands.SetModes':
        const currentModeSettings: {
            [key: string]: string,
        } = data!!.states.currentModeSettings
        for (const mode of Object.keys(execution.params.updateModeSettings)) {
            const setting = execution.params.updateModeSettings[mode]
            currentModeSettings[mode] = setting
        }
        await db.collection('devices').doc(deviceId).update({
            'states.currentModeSettings': currentModeSettings,
        })
        states['currentModeSettings'] = currentModeSettings
        break
    // Other command handlers…
    return states
}
The function updates device state in my database and returns the updated state of my PC. As I send voice commands, I can see the contents of the database change in real time.
Client ServiceIn order to modify the PC state, I use the Firebase Admin SDK to listen for changes in the database. As it changes, action is taken based on the latest state. Here’s how sleep is handled on the client:
const sleepMode = require('sleep-mode');
const stateListener = pcRef.onSnapshot(async (docSnapshot) => {
    const {states} = docSnapshot.data()
    if (states.currentModeSettings &&
        states.currentModeSettings.mode === 'Sleep' &&
        states.online && !systemAsleep) {
     console.log('Nighty night!');
     systemAsleep = true
     await pcRef.update({
         'states.online': false,
     });
     sleepMode(async (err, stderr, stdout) => {
     await pcRef.update({
        'states.online': true,
        'states.currentModeSettings.mode': 'Normal'
     });
    systemAsleep = false
  });
  return;
  }
  // Handle other state changes
});
The handler responds to a Sleep command by setting the device state to “offline”, putting the PC to sleep, and registering a callback to reset the online state when the PC wakes up.
In addition to sending commands, I also wanted to add voice support for queries. For example, to find out how hot my PC runs, I can check the device state for the CPU temperature. The CPU temperature updates through a recurring callback function that triggers every five minutes by default. I can configure this interval by modifying the PERIOD_REPORT_CPU_TEMPERATURE_MS constant. Then, when I say “What temperature is my PC set to”, the Assistant will provide me with the correct response.
const si = require('systeminformation');
let cacheCpuTemperature;
const cpuTemperatureLoop = setInterval(async () => {
    const {main} = await si.cpuTemperature();
    if (cacheCpuTemperature === main || systemLocked || systemAsleep) {
        // Don't send CPU temperature if it has not changed.
        // Don't send CPU temperature if the system is unable to.
        return;
    }
    cacheCpuTemperature = main;
    try {
        await pcRef.update({
            'states.temperatureAmbientCelsius': main,
            'states.temperatureSetpointCelsius': main
        });
    } catch (e) {
        console.warn('Unable to report CPU temperature', e);
    }
}, PERIOD_REPORT_CPU_TEMPERATURE_MS);
You can start the client script in your terminal, then let it run in the background during normal usage. When the script starts, it resets its state in the database, as shown in the snippet below:
async function() {
    await pcRef.update({
        'states.online': true,
        'states.isLocked': false,
        'states.currentModeSettings.mode': 'Normal',
    });
    console.log('Connected!');
})()
If a script exit occurs, the script will receive a SIGINTsignal. In this case, the database will be updated so that commands will not work until the client script is restarted. In addition to setting the state to offline, the script closes the Firestore listener and stops checking the temperature:
process.on('SIGINT', async (exitCode) => {
    // Exiting script
    console.log('Disconnecting...');
    stateListener(); // Close Firestore listener
    clearInterval(cpuTemperatureLoop); // Clear loop
    await pcRef.update({
        'states.online': false
    });
});
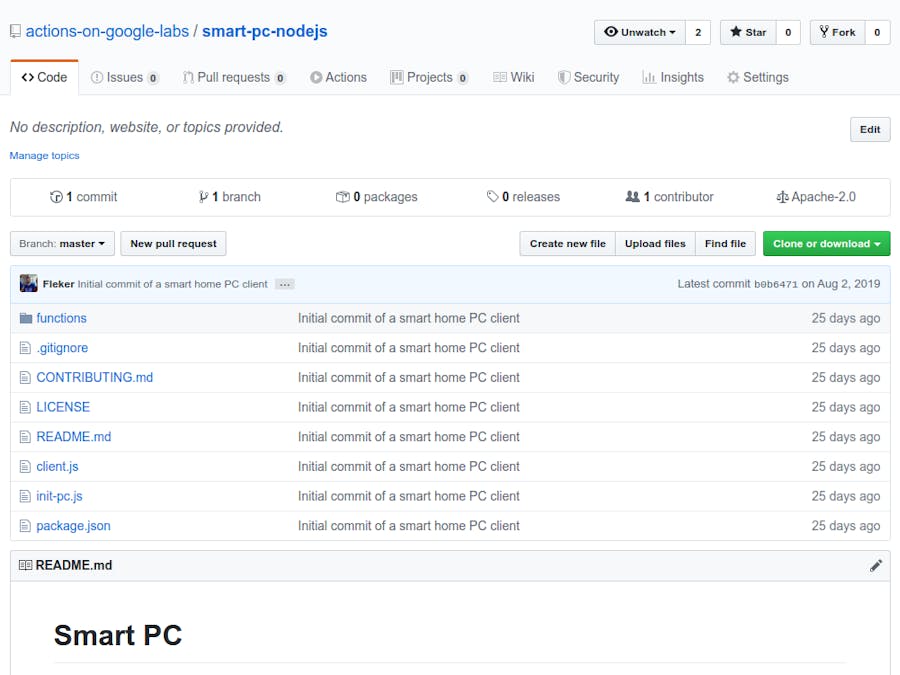
To download the code and try it out yourself, check out the project and follow the README on GitHub. There’s more to explore in the full sample, such as how to incorporate the LockUnlock trait into this project. You can also modify the source code to add your own commands or grab your own sensor information from your computer by following some of the same patterns here.
Feel free to make a pull request on the project. I can’t wait to see what you make!


Comments
Please log in or sign up to comment.