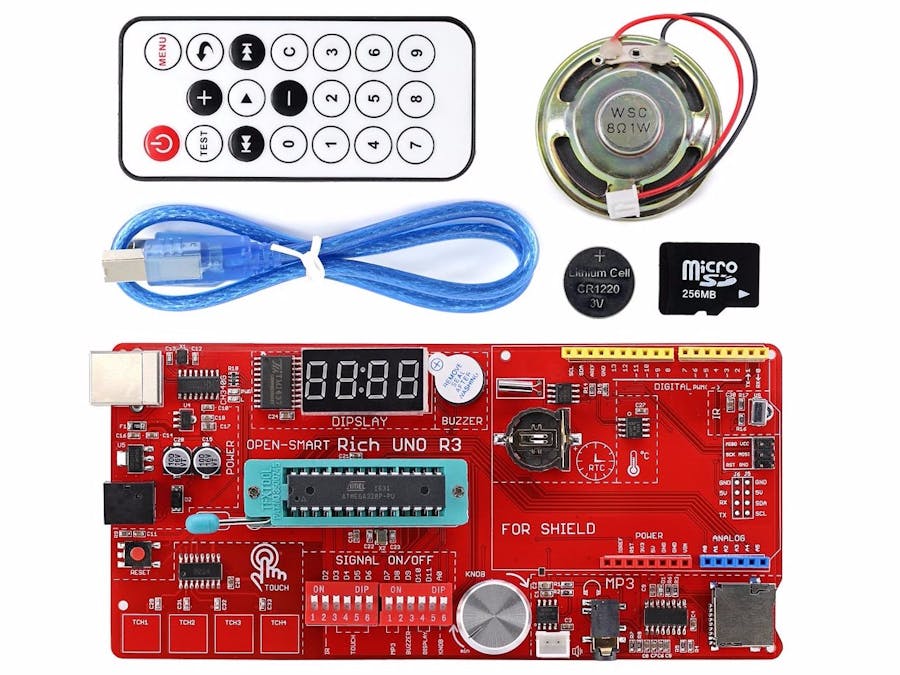
1 x OPEN-SAMRT Rich UNO R3 board
1 x USB cable
1 x 8Ohm 1W Speaker
1 x TF card
Review:Compatible with Arduino UNO R3, OPEN-SMART Rich UNO R3 is an ATMEGA328P-PU development board with rich peripherals.
Peripherals include 4-digit display, DS1307 clock, LM75 temperature sensor, infrared receiver, serial MP3 player, rotationangle sensor, 4-channel touch sensor. Hardware resources are very rich, do not need any DuPont wires, and the usage is very simple. It is very suitable forArduino learners.
What We Will Do:We will learn how to speak the time you get from the DS1307 RTC chip.
We will touch TCH1 area to tell the MCU we want to hear the clock now.
And the MCU reads the time value from DS1307 chip, then tell the serial MP3 to play the voice of the digit according to the name of the file in the TF card.
More docs from:
Step 1: Install CH340 DriverPlease do not plug the USB cable toyour PC at this time.Step 2: Install LibrariesDownload Arduinolibraries for Rich UNO R3.rar and uzip it.
Then put the fourfile folders into the libraries directory of your Arduino IDE.
Mine is D:\arduino-1.6.5-r2\libraries
And then restart theIDE, such as close all the IDE windows and then click arduino.exe again.
Step 3: Get Voice ResourcesYou can get the VoiceResources for TF card.rar by OPEN-SMART Team. That includes 2 songs and some voice for 0~9 and other number.
Unzip it and put 01 and 02 file folder to your TF card root directory with the help of TFcard reader. So that the MP3 chip onboard can speak out according to the voice name.
Then Plug the TFcard into the socket of Rich UNO R3 board.
And then plug the speaker onto the white socket on Rich UNO R3 board.
If you want toget your own voice resources, recommend you use text to speech web that can converttext to speech with 8 kinds of language such as US English / British English / French/ Spanish / German / Italian / Portuguese / Russian. It can be saved as .mp3 file. And the sound quality is good enough for most projects.
Step 4: Upload Sketch CodePlug the USB cable to your PC and the board.
Open the speakclock demo code \arduino-1.6.5-r2\libraries\RichUNO\examples\L21_Speak_Clock
Then select board type: Arduino/Genuino Uno
And then select the write COM number for the board.
Then click uploadbutton to upload the code to the board.
Step 5: Touch and Speak TimeYou can see it display the time on the 4-digit tube.
When you touch TCH1 area, it will tell you the time.


Comments
Please log in or sign up to comment.