


Hardware components | ||||||
 |
| × | 1 | |||
| × | 1 | ||||
Changing fonts with the GxEPD2 library is not as easy as for example with the Adafruit_GFX library which is normally used for displays (LED, OLED, etc.).
In this tutorial you will learn how to use the U8g2_for_Adafruit_GFX library to change fonts on an E-paper display.
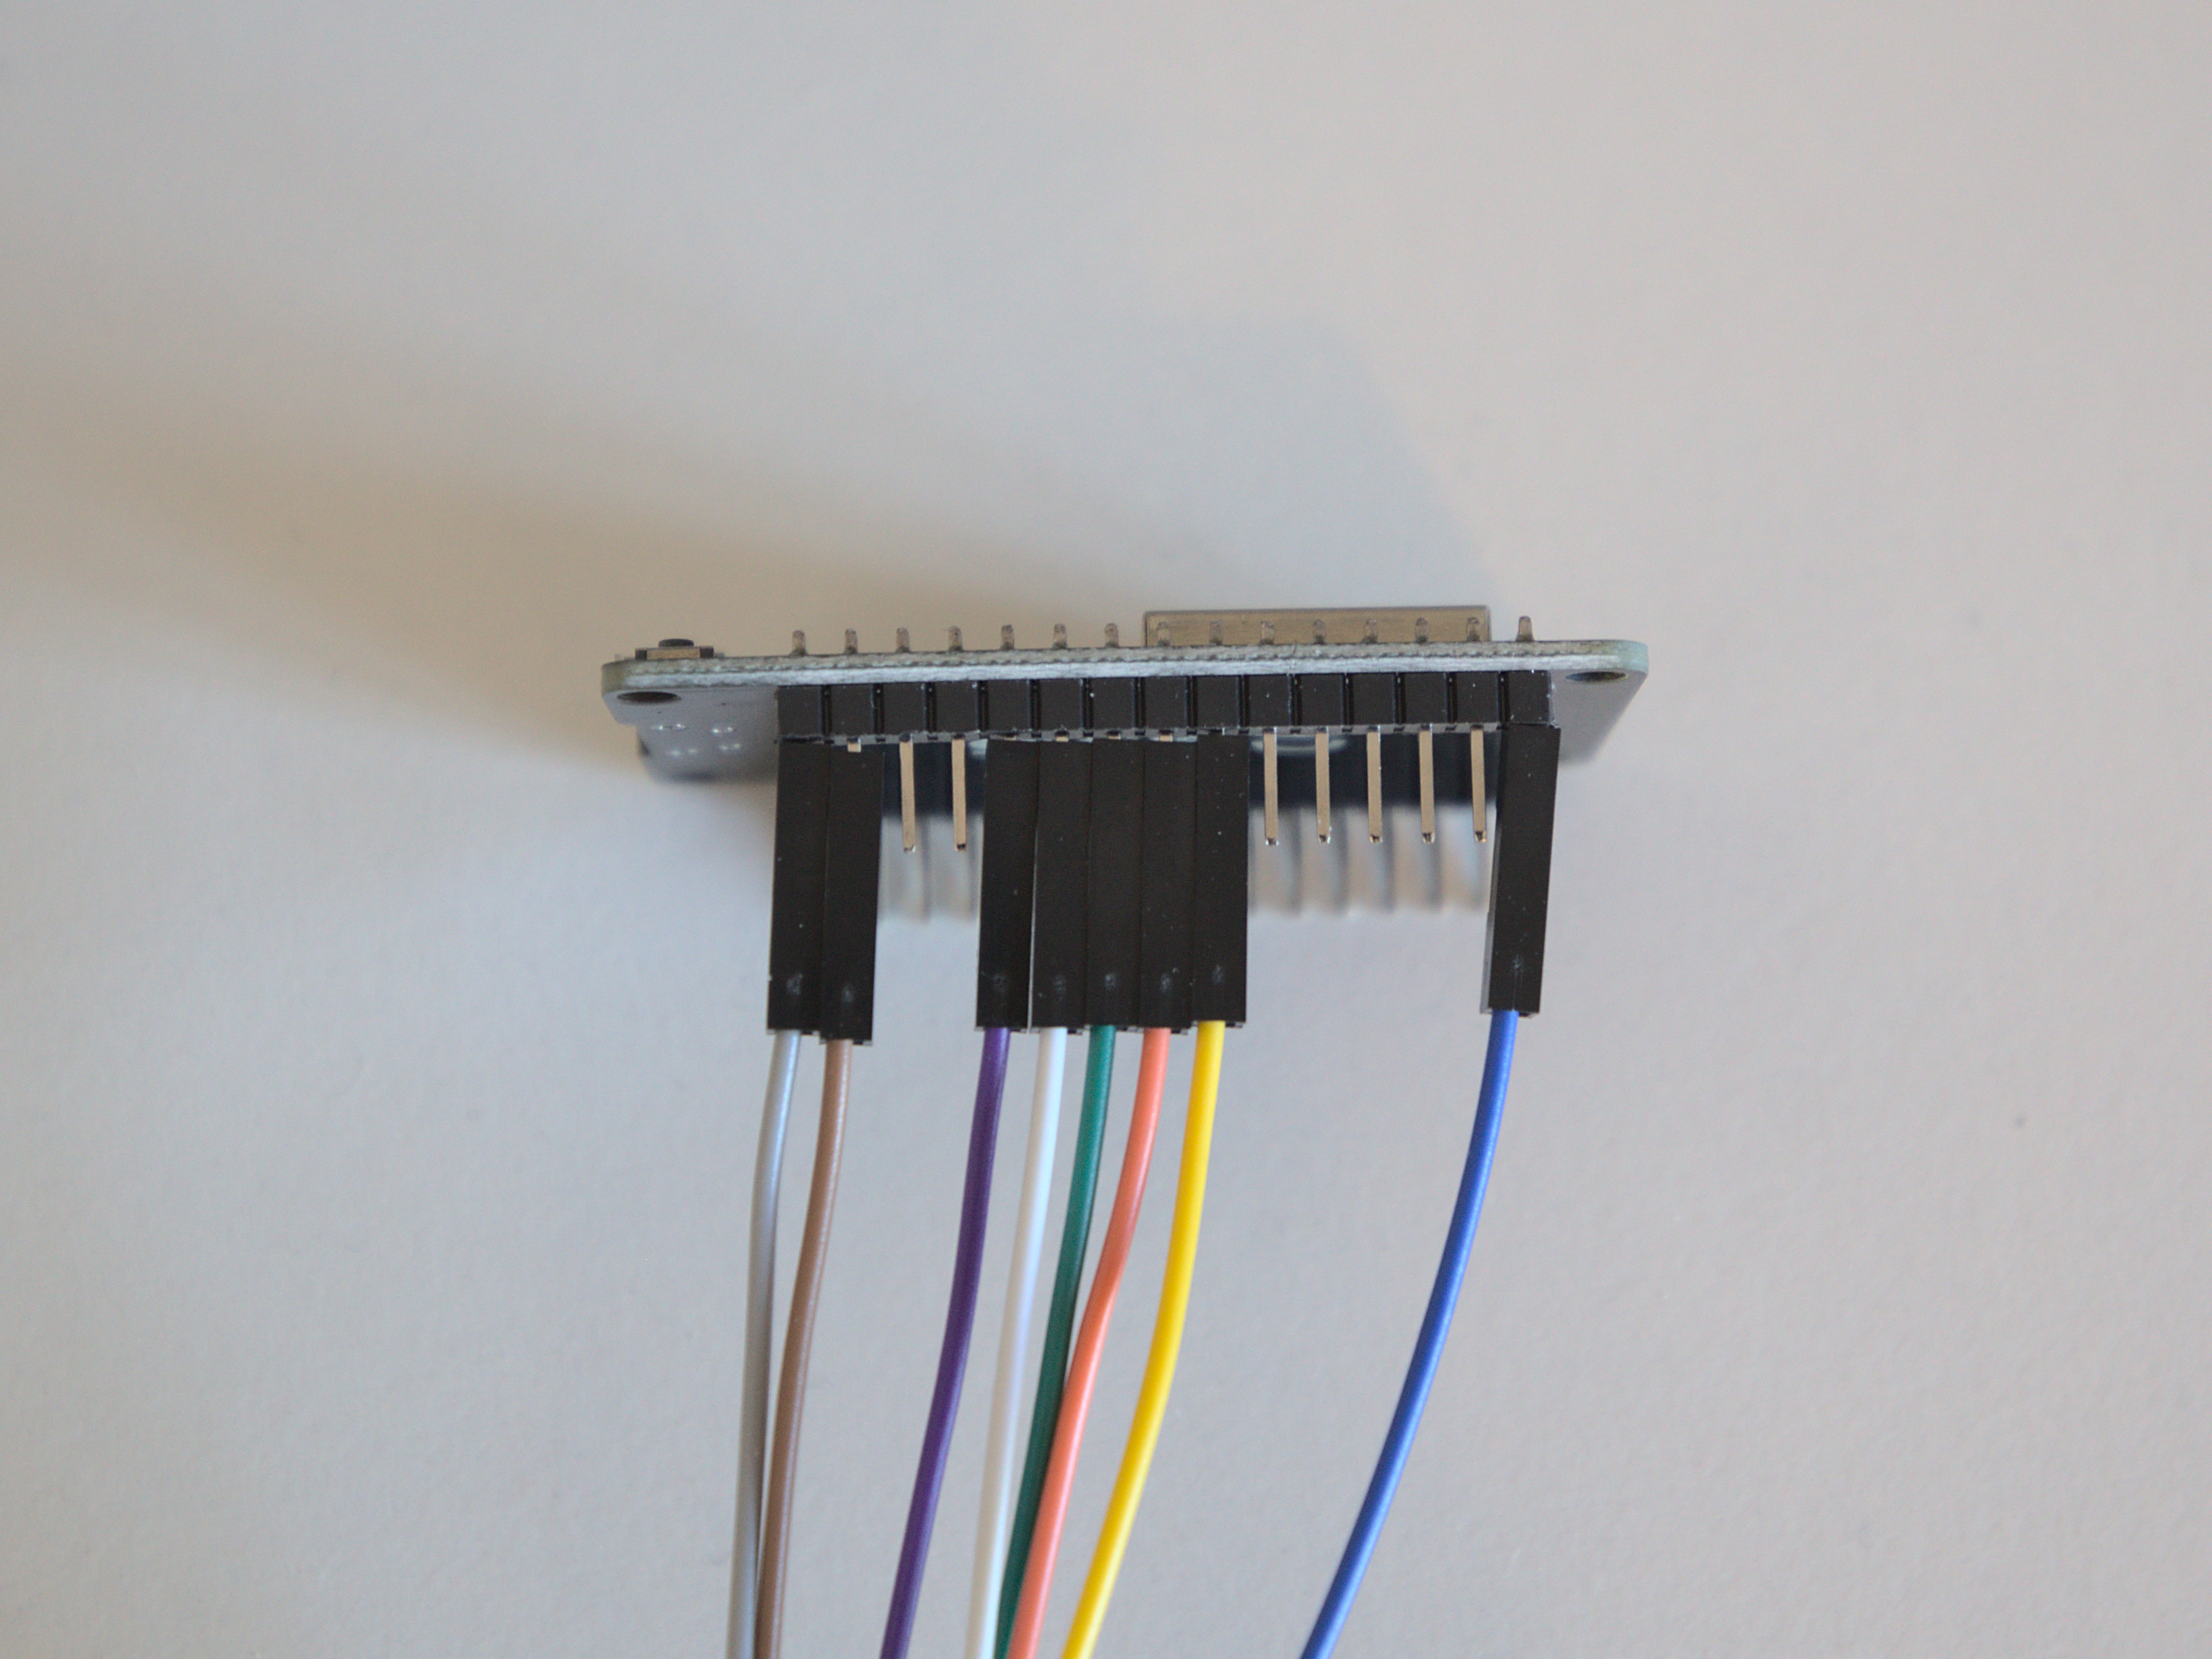
First of all the e-ink display needs to be connected to the ESP32. The wiring can be different between the ESP32 boards. Here are a few examples from an example sketch for the GxEPD2 libarary:
// mapping suggestion for ESP32, e.g. LOLIN32, see .../variants/.../pins_arduino.h for your board
// NOTE: there are variants with different pins for SPI ! CHECK SPI PINS OF YOUR BOARD
// BUSY -> 4, RST -> 16, DC -> 17, CS -> SS(5), CLK -> SCK(18), DIN -> MOSI(23), GND -> GND, 3.3V -> 3.3V
// mapping of Waveshare ESP32 Driver Board
// BUSY -> 25, RST -> 26, DC -> 27, CS-> 15, CLK -> 13, DIN -> 14
// NOTE: this board uses "unusual" SPI pins and requires re-mapping of HW SPI to these pins in SPIClass
//       see example GxEPD2_WS_ESP32_Driver.ino, it shows how this can be done easily
// mapping suggestion for ESP32, e.g. LOLIN32 D32 PRO
// BUSY -> 15, RST -> 2, DC -> 0, CS -> 5, CLK -> SCK(18), DIN -> MOSI(23), GND -> GND, 3.3V -> 3.3V
// note: use explicit value for CS, as SS is re-defined to TF_CS(4) in pins_arduino.h for Board: "LOLIN D32 PRO"
// mapping suggestion for ESP32, e.g. TTGO T8 ESP32-WROVER
// BUSY -> 4, RST -> 0, DC -> 2, CS -> SS(5), CLK -> SCK(18), DIN ->
MOSI(23), GND -> GND, 3.3V -> 3.3V
// for use with Board: "ESP32 Dev Module":
I have a NodeMCU ESP32 so I connected it as follows (display --> ESP32): BUSY --> D4, RST --> RX2, DC --> TX2, CS --> D5, CLK --> D18, DIN --> D23, GND --> GND, VCC --> 3V3
The codeFirst of all you need to install the libraries GxEPD2 and U8g2_for_Adafruit_GFX (Sketch --> Include Library --> Manage Libraries --> search for the name of the library --> click install).
In the setup function the display first gets initialized and so on. The interesting part is in the "do while" loop. There are 6 blocks that are three lines long. In every block a new font is set and "Hello World! 1234" is printed.
u8g2Fonts.setFont(u8g2_font_6x12_tr);   //font is set
u8g2Fonts.setCursor(0, 10);             //cursor(x,y)
u8g2Fonts.print("Hello World! 1234");   //print the text
The font is set with u8g2Fonts.set(_fontname_);. In the next line the cursor is set with u8g2Fonts.setCursor(x,y); where x == 0 is left and y == 0 is at the top.
If you want to use another font than the ones provided in the example sketch then you can go to this website: https://nodemcu-build.com/u8g-fonts.php#collapseTwo
Here are many different fonts with their name and a short example of how they look. Because we are not using the u8gFonts library but the u8g2Fonts library we have to change the names off the fonts a bit.
If you want to use for example the "u8g_font_fub25" we have to insert a 2 after u8g and a _tr at the end of the name. That means:
u8g_font_fub25 --> u8g2_font_fub25_tr
So now you can set the new font with: u8g2Fonts.set(u8g2_font_fub25_tr);

Comments
Please log in or sign up to comment.