


Hardware components | ||||||
 |
| × | 1 | |||
| × | 1 | ||||
E-ink displays are very nice displays because they are comfortable to look at for long periods of time and they use very little power. Also they can hold the content on the screen even when powered off. Unfortunately the refresh rate is pretty slow. A full refresh on the e-ink display I use takes about 2 seconds and a partial refresh 0.3 seconds. Therefore if we want to play a game on an e-ink display it should be one that works with low refresh rates. That's why in this project we make a "Hangman" game for the e-ink display.
This is how the game works:
The word to guess is represented by a row of dahses, representing each letter of the word. If the guessing player suggests a letter which occurs in the word, the other player writes it in all its correct positions. If the suggested letter does not occur in the word, the other player draws one element of a hanged stick figure.
The player guessing the word may, at any time, attempt to guess the whole word. If the word is correct, the game is over and the guesser wins. Otherwise, the other player may choose to penalize the guesser by adding an element to the diagram. On the other hand, if the guesser makes enough incorrect guesses to allow the other player to complete the diagram, the guesser loses. However, the guesser can also win by guessing all the letters that appear in the word, thereby completing the word, before the diagram is completed.
In my implementation of this game the player who is not guessing is the microcontroller. So the user is always just guessing the word and the computer plays against him. Also in this version it is not possible to guess the word before it is completely written down.
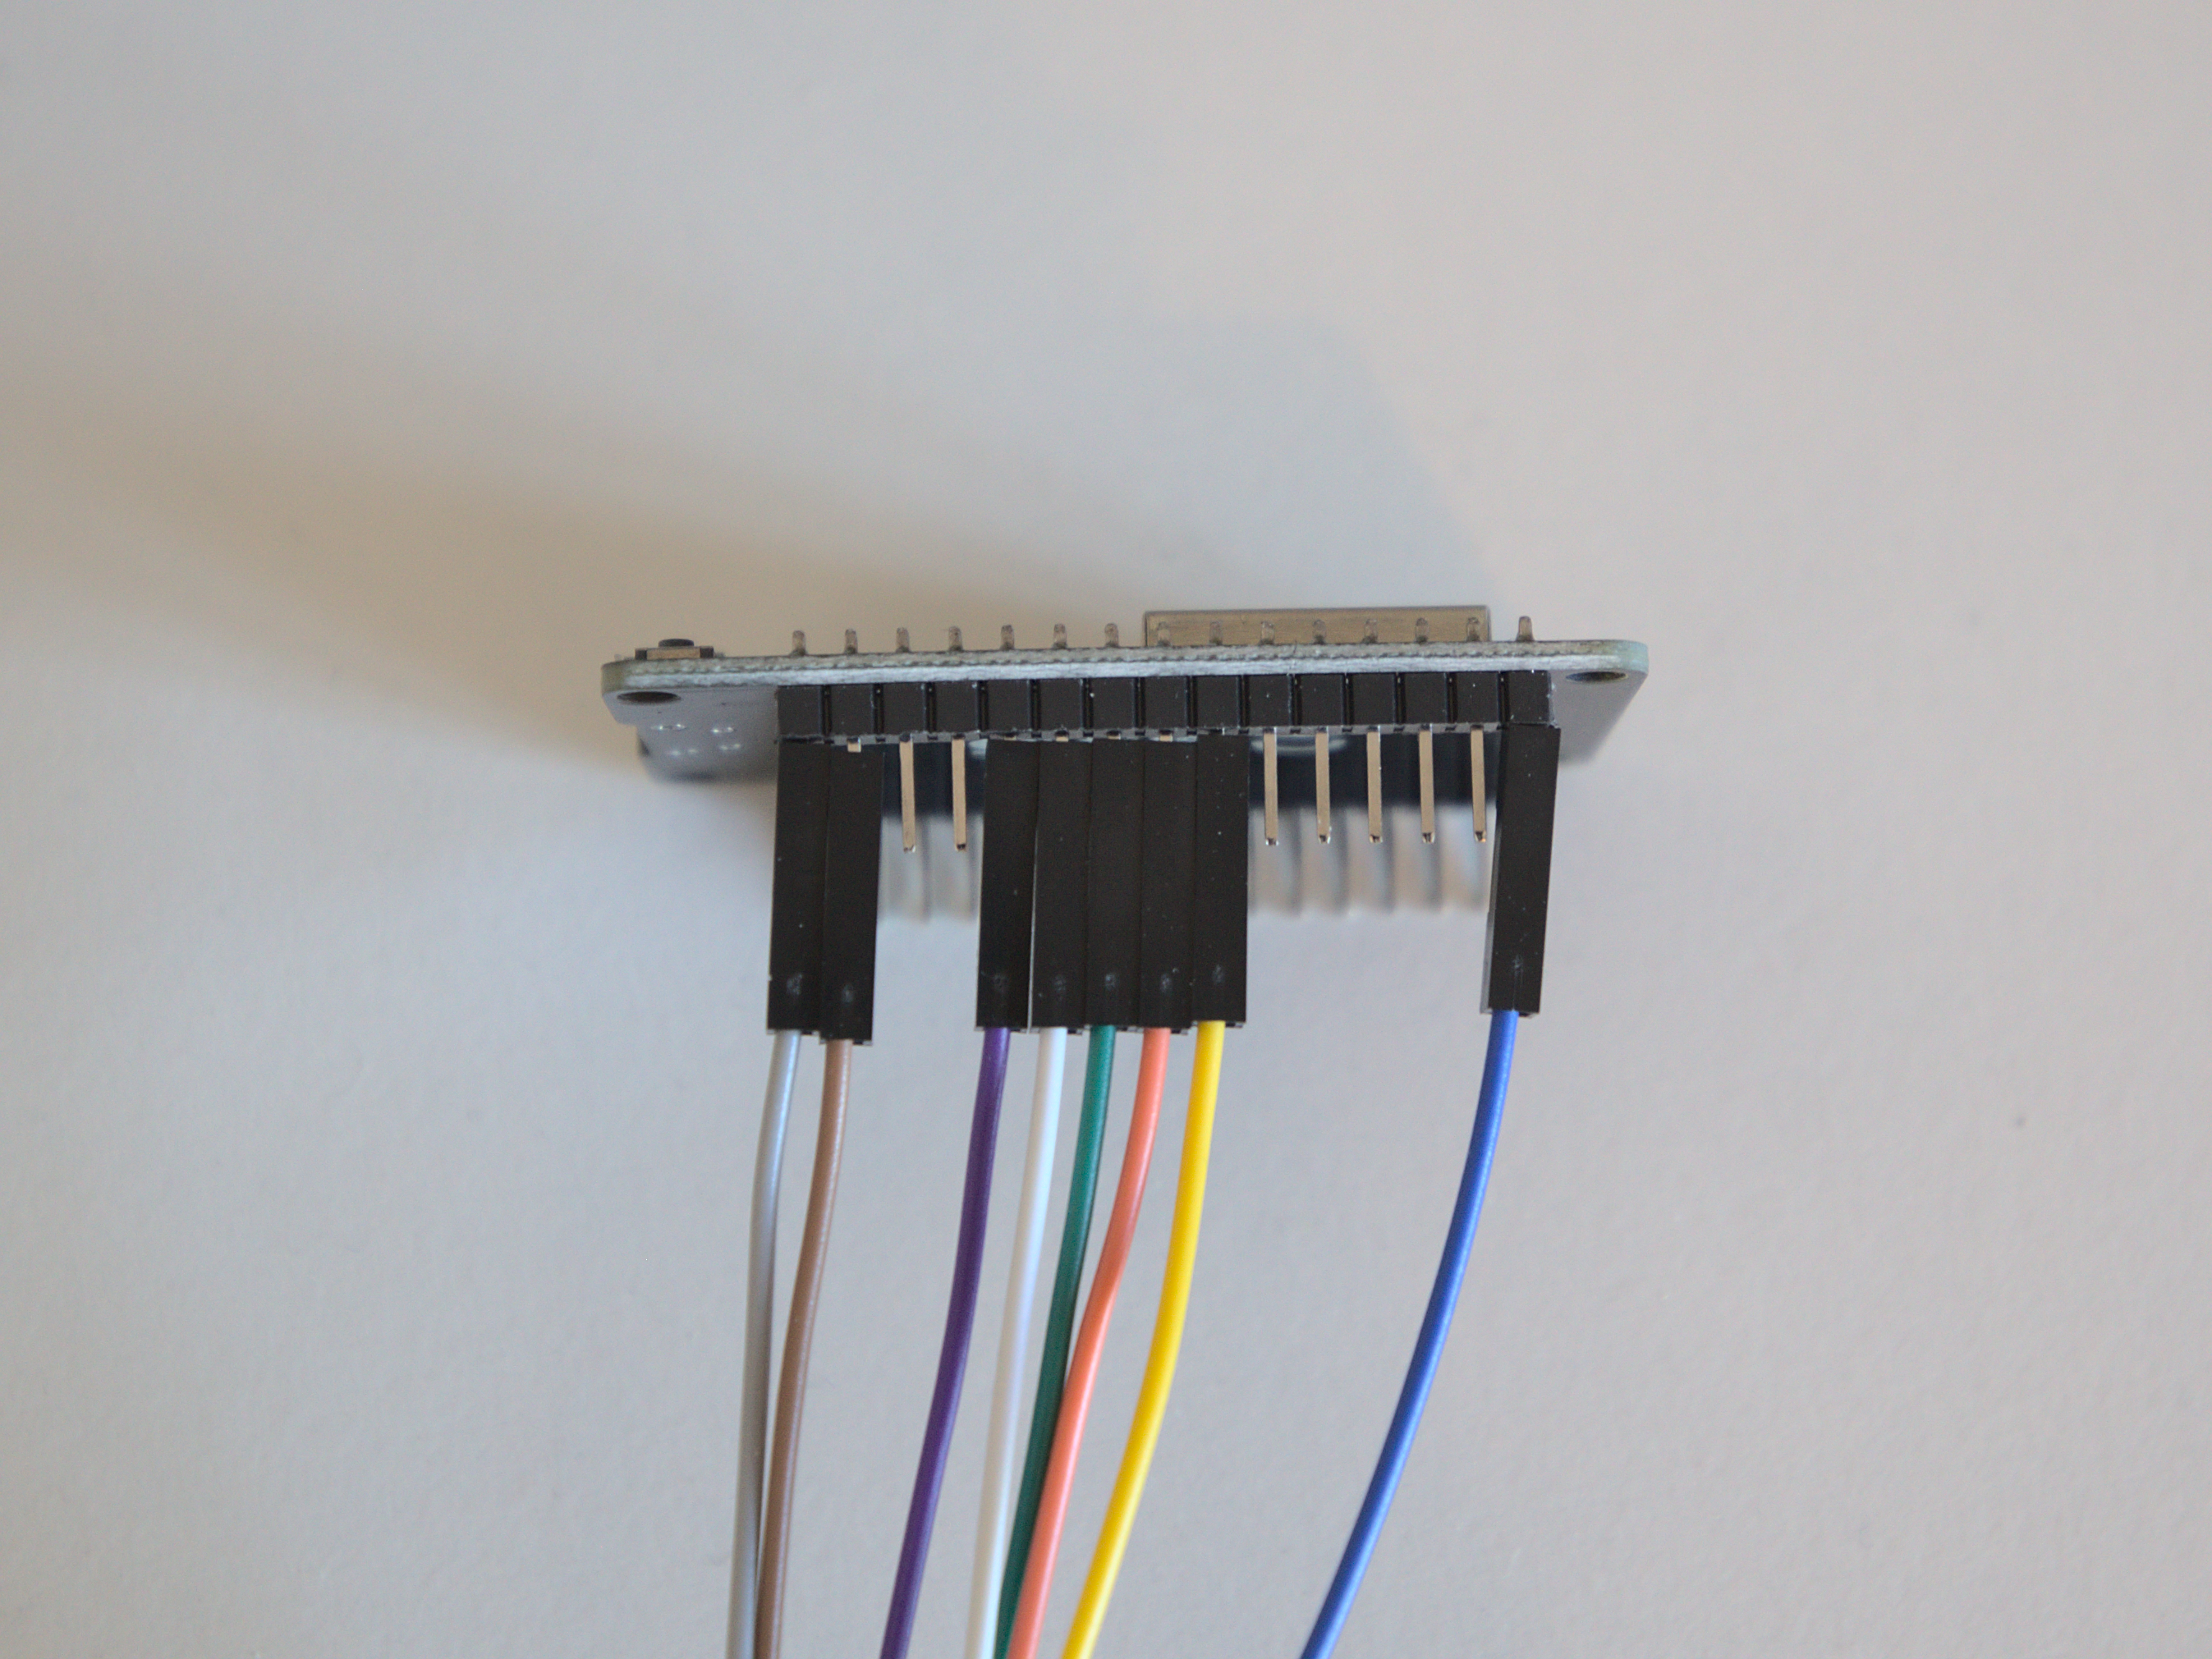
First of all the e-ink display needs to be connected to the ESP32. The wiring can be different between the ESP32 boards. Here are a few examples from an example sketch for the GxEPD2 libarary:
// mapping suggestion for ESP32, e.g. LOLIN32, see .../variants/.../pins_arduino.h for your board
// NOTE: there are variants with different pins for SPI ! CHECK SPI PINS OF YOUR BOARD// BUSY -> 4, RST -> 16, DC -> 17, CS -> SS(5), CLK -> SCK(18), DIN -> MOSI(23), GND -> GND, 3.3V -> 3.3V
// mapping of Waveshare ESP32 Driver Board
// BUSY -> 25, RST -> 26, DC -> 27, CS-> 15, CLK -> 13, DIN -> 14
// NOTE: this board uses "unusual" SPI pins and requires re-mapping of HW SPI to these pins in SPIClass
//       see example GxEPD2_WS_ESP32_Driver.ino, it shows how this can be done easily
// mapping suggestion for ESP32, e.g. LOLIN32 D32 PRO
// BUSY -> 15, RST -> 2, DC -> 0, CS -> 5, CLK -> SCK(18), DIN -> MOSI(23), GND -> GND, 3.3V -> 3.3V
// note: use explicit value for CS, as SS is re-defined to TF_CS(4) in pins_arduino.h for Board: "LOLIN D32 PRO"
// mapping suggestion for ESP32, e.g. TTGO T8 ESP32-WROVER// BUSY -> 4, RST -> 0, DC -> 2, CS -> SS(5), CLK -> SCK(18), DIN -> MOSI(23), GND -> GND, 3.3V -> 3.3V
// for use with Board: "ESP32 Dev Module":
I have a NodeMCU ESP32 so I connected it as follows (display --> ESP32): BUSY --> D4, RST --> RX2, DC --> TX2, CS --> D5, CLK --> D18, DIN --> D23, GND --> GND, VCC --> 3V3
As the input from the players I used two touch pins on the ESP32. I simply connected D15 (Touch3) and D13 (Touch4) to a wire. If the end of the wire is touched, the ESP32 will recognize this as an input.
The CodeFor the code to work you need to install the GxEPD2 library and the U8g2_for_Adafruit_GFX library. You also need to have the Adafruit_GFX library.You may want to adjust the sensitivity of the touch sensor:
touchAttachInterrupt(T3, gotTouch2, 40);
touchAttachInterrupt(T4, gotTouch1, 40);
You can replace the "40" with a bigger or smaller number. The bigger the number the more sensitive the input gets.
The touch input T4 is used to cycle through the alphabet and the touch input T3 sets the letter as a guess.
Comments
Please log in or sign up to comment.