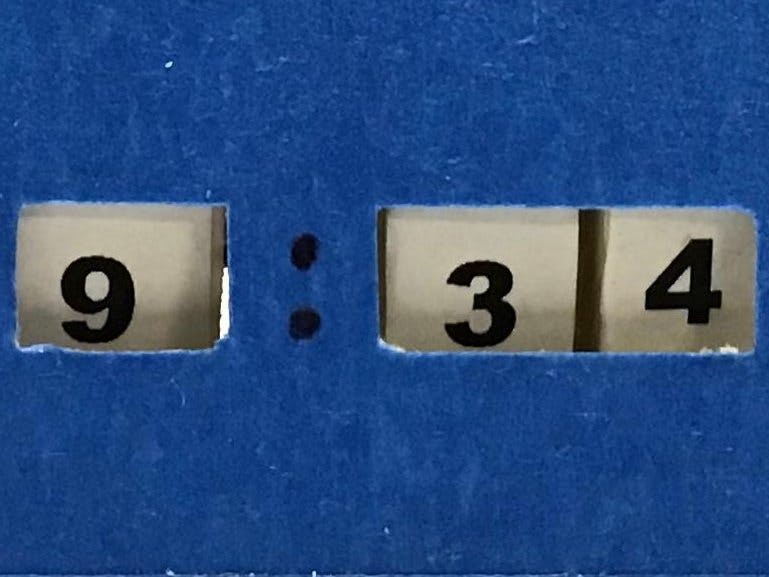
I Wanted to make a clock using servos that would display the time digitally. To do this the servos needed to move three disc, two disc to display the minute and one disc to display the hour.
I calculated that the disc needed to be 3.5" in diameter to allow the use of 18 pt Ariel Black font type to size the numerals and allow for 12 degree servo movement.
MAKING THE TIME DISC:
To prepare the disc, I used 3" i.d., 3.5" o.d. PVC pipe and a 3/32" thick foam board insert.
MAKE THE DISC PARTS:
The minute discs are 1/4" wide, Make 2.
The hour disc needs to be 1" wide, make 1.
The foam insert 3" outside diameter. Make 3
CONSTRUCT THE DISC:
Hot glue the servo connectors to the three foam inserts.
Hot glue the foam insert with the servo connector into the PVC pipe, two 1/4" minute disc
Hot glue the foam insert in 1" wide hour disc.
MOUNT THE DISC ON THE SERVOS AND APPLY THE NUMBER STRIP:
Numbers for servo 1 are 0 - 9, numbers for servo 2 are 0 - 5, numbers for servo 3 are 1 - 12.
Attach the discs to the servo motors and tighten the screw.
To position the numbers correctly on the disc use the "servo library" to:
Set servo 1 to 0 degrees. Mark a line on the disc in line with the flat part of the servo. Align the center of the 0 digit with this line. Glue the number strip around the disc. Photo:
Set servo 2 to 120 degrees. Mark a line on the disc in line with the flat part of the servo. Align the center of the 0 digit with this line. Glue the number strip around the disc. Photo:
For the hour disc, set servo 3 to 132 degrees. Mark a line on the disc in line with the flat part of the servo. Align the center of the number 1 on this line. Glue the number strip around the disc. Photo:
This arrangement works with the program as written using a 3.5" o.d. disc and numerals printed in 18 pt Ariel Black font. This can be adjusted to different disc diameters by altering the incremental movement of the servos and changing the font/size of the numerals.
MAKE THE SERVO MOUNT:
The servo mounts are made of sheet metal, easy to cut and bend.
ATTACH THE SERVO MOUNT TO A BASE:
Servo mounts attached to a section of 1 X 4 pine board.
ATTACH THE SERVOS TO THE MOUNT:
Fasten the servos to the mount with a zip tie.
The circuit is simple as shown in the diagram. The code is simple and sets the time on the RTC to the time the sketch is run. The power provided by an Arduino Nano is probably not of sufficient amperage to power 3 servos therefore I used a separate 5V supply for the servos and the Arduino.
Enclosure for the clock can be simple or as complicated as you desire. I chose a simple mask front to frame the time.


Comments
Please log in or sign up to comment.