In my recent project, I created a machine that could create images using only one LED. It used techniques found in light painting to move an LED across two axes.
But what about doing the opposite? Is it possible to create an image using only a single RGB sensor? That is what I wanted to find out.
The Plan
I wanted to use the same two-axis CNC machine I had built previously due to its simplicity and ease-of-use.
For the RGB color sensor, I needed something reliable and consistent, which led me to pick the APDS-9960 gesture and color sensor.
The machine would move the sensor across the X-axis first, taking readings at set intervals, and then move down one interval to the next row. After doing this repeatedly, the readings would be written to a file on an SD card, which can then be read by a Python script and a recreated image shown.
New File FormatBitmaps are great, but there is a major drawback to them: large metadata headers. On a regular windows bitmap file, the metadata header takes up 54 bytes, but most of this information is useless. That’s why I made the Arduino Image Format (.AIF). It is extremely simple, with the first two bytes for width, the next two for height, and one byte for color depth. The rest of the file is for the image array, which allows for two dimensional arrays to be written to a file with ease.
Because data is written in Most Significant Byte format, any data over 1 byte must be broken up into multiple bytes. Since the width and height numbers are two bytes each, some bitwise functions are necessary. For example, imagine writing the number 1234. Converted to binary, it becomes 00000100 11010010. Then the first byte needs to be isolated, so a bit-mask of 11111111 00000000 (0xFF00) is necessary.
00000100 11010010
&
11111111 00000000
-----------------
00000100 00000000
Using the bitwise operator & (AND) makes it become 00000100 00000000.
00000100 00000000
>> 8
-----------------
00000100
Then the bits can be shifted to the right 8 times using >>, leaving 00000100. For the second half, all that is needed is a mask of 11111111 (0xFF), leaving 11010010.
00000100 11010010
&
00000000 11111111
-----------------
00000000 11010010
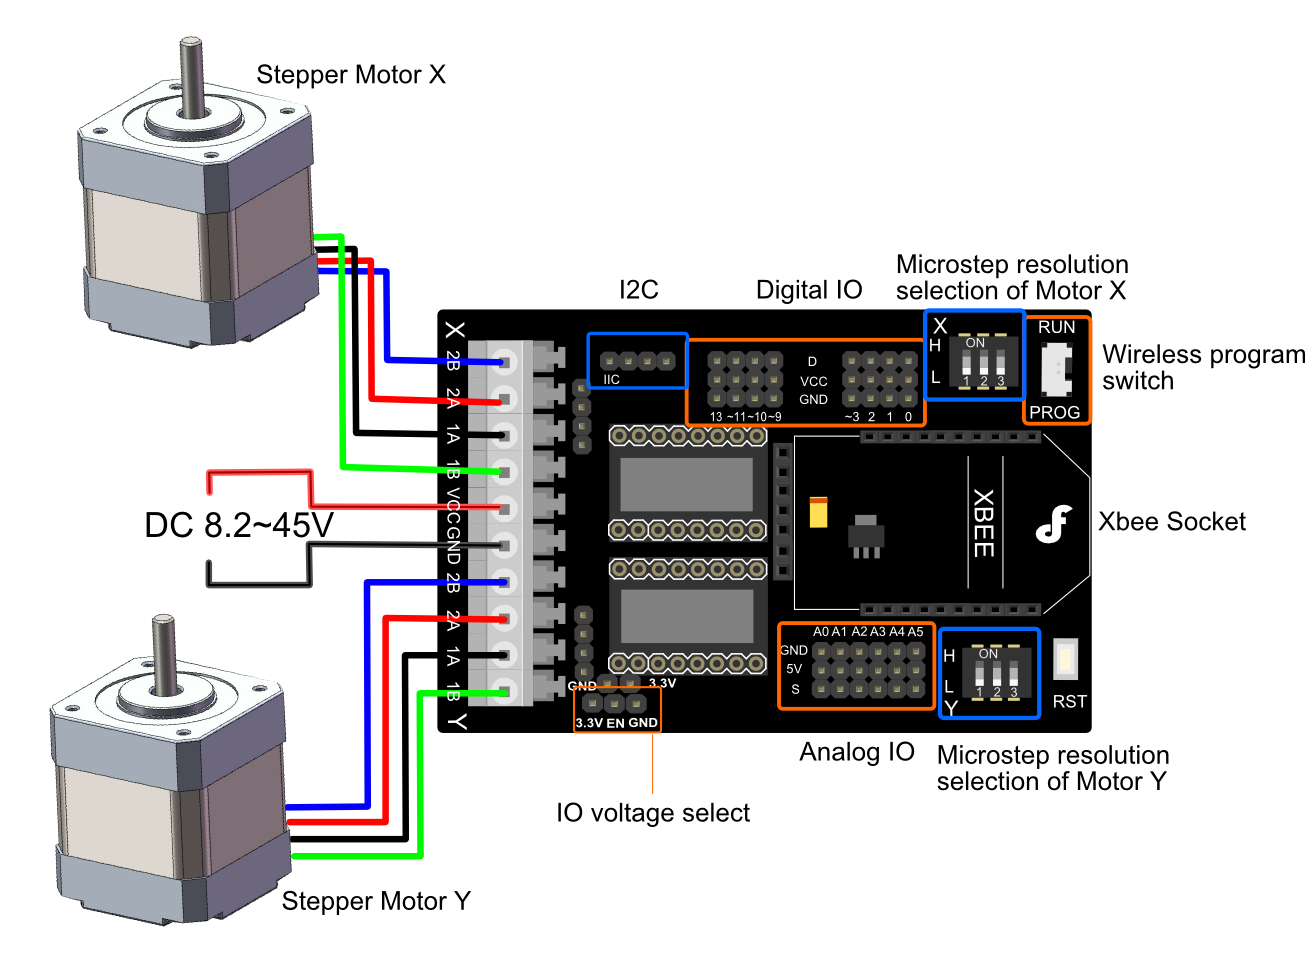
The first program runs on the Arduino Mega 2560, and it controls the two-axis CNC machine, along with the APDS-9960. It begins by initializing the two stepper motors, along with the APDS-9960 sensor in RGB color mode.
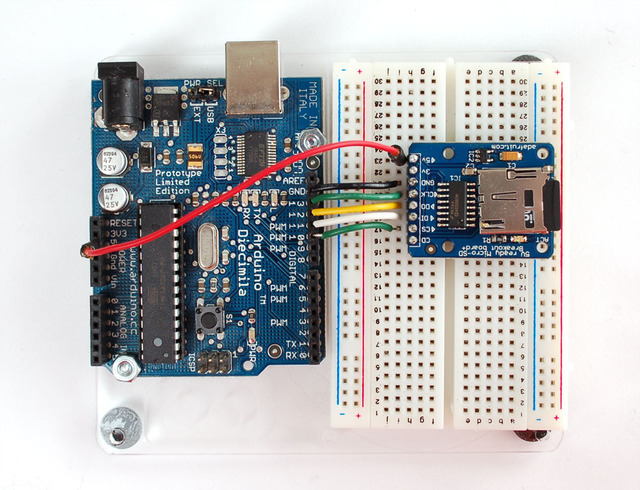
Next, it creates a file on the SD card called “pixelImg.aif” and writes some basic information to it. This includes the width, height, and color depth. After creating the file, it begins to create the photograph.
The number of pixels is defined by the physical distance each axis is, along with the distance between each reading. This gives a resolution of pixels/total distance. For instance, making the X axis 150mm and the Y axis 100mm with a spacing of.2mm gives a resolution of 25px/mm2 and a total size of 750 x 500px. After each read, three bytes get written to the file in RGB format, with one byte per color. Once the image is finished, the machine gets repositioned to the origin point (0, 0).
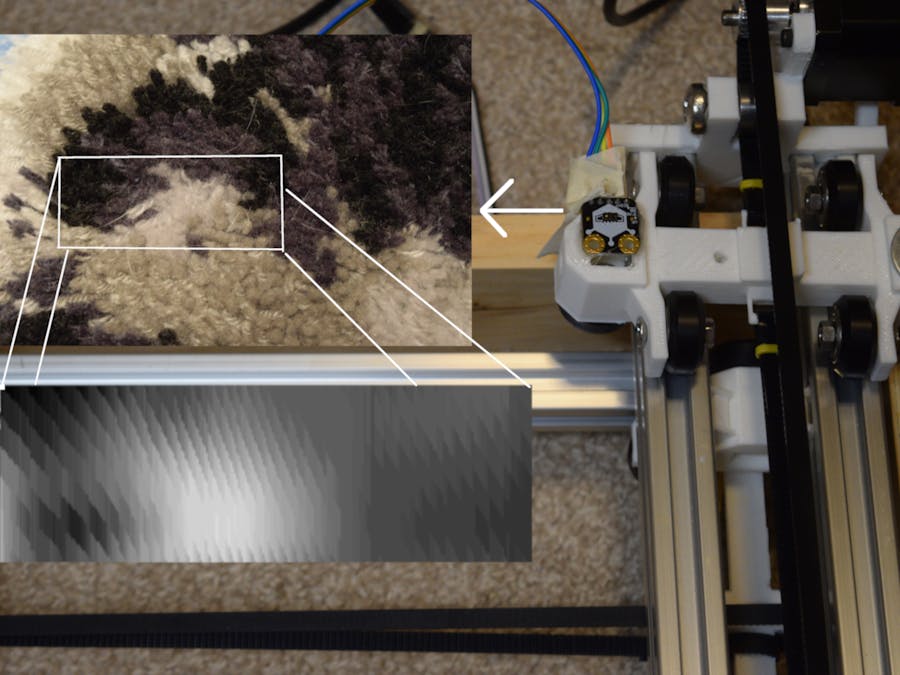
Taking a PictureFor the test, I wanted to create a small yet recognizable image, which meant having a resolution over 1px/mm2 and a size over 50 x 50 pixels. I opted to use a size of 60px x 300px and a physical distance of 60mm x 150mm, giving a resolution of 1x.5px/mm2. Before taking the picture, I had to ensure the device wouldn’t be susceptible to accidental bumps or strong vibrations. Then, I switched it on and started the scan. The speed could be adjusted by changing the RPM parameter near the top of the file.
I chose this subject to take a picture of:
Since the machine creates a custom file, it is also necessary to create a custom program to read it. It starts by opening the image file and reading the metadata header. Since the size data is encoded in unsigned 16-bit data chunks, it is necessary to use int.from_bytes(imgFile.read(2), byteorder='big', signed = False) to convert the two bytes into an int object. Then, a new blank image is created with PIL’s Image.new() function. The picture is then generated by looping through the rows and then columns, reading three bytes per pixel for each corresponding color. img.putpixel((col, row), (r, g, b)) is then used to change the color of the blank image’s pixel to the color read in the file.
Once all the data has been read, the image is then shown and saved to a file for later processing and viewing. Depending on the lighting circumstances, post processing might be needed. That was the case with one of my images. I started by adjusting the contrast and increasing the brightness to bring out the wide gamut of colors.
Next, I adjusted the colors to be more realistic.
It went from this image:
To this image:
This picture looks very similar to the subject it scanned, so I would consider it a success.


_wzec989qrF.jpg?auto=compress%2Cformat&w=48&h=48&fit=fill&bg=ffffff)


_3u05Tpwasz.png?auto=compress%2Cformat&w=40&h=40&fit=fillmax&bg=fff&dpr=2)
Comments
Please log in or sign up to comment.