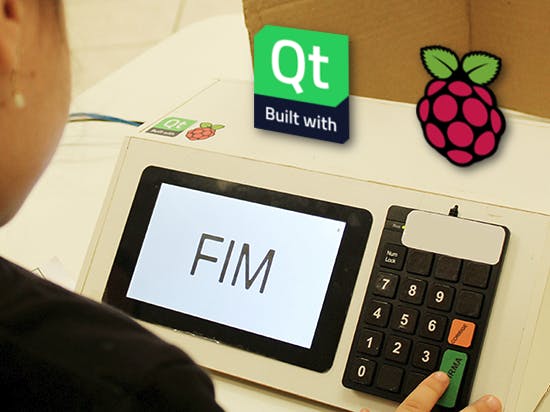
In Brazil, around election time, some schools promote civil activities to provide young students, who are not yet eligible for voting, with authentic experiences to familiarize them with voting and the election process. Most of the time, schools use pen and paper or some kind of voting software installed in a desktop computer so kids can vote for their colleagues who presented the best proposals for their school.
As you may know, Brazil uses a real electronic voting machine in election years. The machine has a screen, buttons and shows pictures of the candidates as soon as you enter their numbers. I've voted using the electronic voting machine since I was 18 years old.
Why not give a similar experience to young students so they can experience voting using a similar machine? That would give them more excitement and would help schools to better teach the election process, democracy, politics and the role of each candidate.
With that in mind, I decided to gather tools I have some experience with and started to build a Brazilian Voting Machine clone.
Hardware and Software ResourcesHardware resources:
- As the voting machine computing brain, I used a Raspberry Pi 2
- For displaying the application, I used the official 7" Raspberry Pi touch display
- As the input interface, I used a USB numeric keypad with some stickers to make the numbers bigger
- To play sound, I used USB speakers
- The box/case/housing is made of wood
Software resources:
- The Raspberry Pi runs the desktop version of Raspbian Jessie, which already has support for the official touch display
- The software was developed using Qt5 in QML and C++ languages (more on that later)
Because Raspbian Jessie does not support Qt5 out of the box, I had to cross-compile Qt for Raspberry Pi so my application could work correctly. This link has some information regarding Qt cross-compilation for embedded devices.
I first started developing the software only using QML, which is a declarative language for creating the graphical side of a Qt application. Then I realized that the votes would have to be stored in some file so they could be counted afterwards. When I did a search for QML file I/O I found out that it would not be possible. QML by itself does not offer file manipulation so I had to do that in the C++ side.
Then I started studying how to integrate QML and C++ and found out that I could create a C++ plugin for QML. This concept is really practical because we can separate the graphical development from the logic part of the application. More information on developing QML plugins can be found here.
Basically, what my plugin does is send the candidate number entered in QML to the C++ side. The C++ then searches for that number in a JSON database and sends back to QML the candidate's name and picture filename. The QML can then display it back to the user. The user presses Confirm and C++ stores in a file 1 vote for the entered number.
The candidate's JSON database looks like the following:
{
   "vereador":
   [
       {
            "nome":"Adriana",
            "numero":"1016",
            "partido":"1M16",
            "foto":"sources/foto_adriana1016.png"
       },
...
The vote file looks like the following:
nome:Adriana numero:1016
nome:Ana numero:1017
nome:Daniel numero:1008
...
Then I developed a small Qt console program which reads the vote file and counts for each candidate entry and displays the result at the end.
Conclusion and Future WorksI used my laptop to access the Raspberry Pi via SSH so I could count the votes. This was my setup:
The machine was used in a school in my city. The kids really enjoyed voting for their young colleagues. The school mock election activities were published on the City's News Website in Portuguese.
I still have to clean up and comment the source code, as well as upload it to GitHub, maybe even write an English version of the code. I also want to develop a manager software for the machine so it is easier to create candidates and have their pictures uploaded to the machine.
UPDATE: the source code is now available on my GitHub page.
Here's a video showing the machine at work:
Please fell free to comment, ask questions and give feedback, I would love to improve this project!
Thanks for reading!


Comments
Please log in or sign up to comment.