


Hardware components | ||||||
| × | 1 | ||||
| × | 1 | ||||
| × | 1 | ||||
Software apps and online services | ||||||
| ||||||
Hand tools and fabrication machines | ||||||
 |
| |||||
 |
| |||||
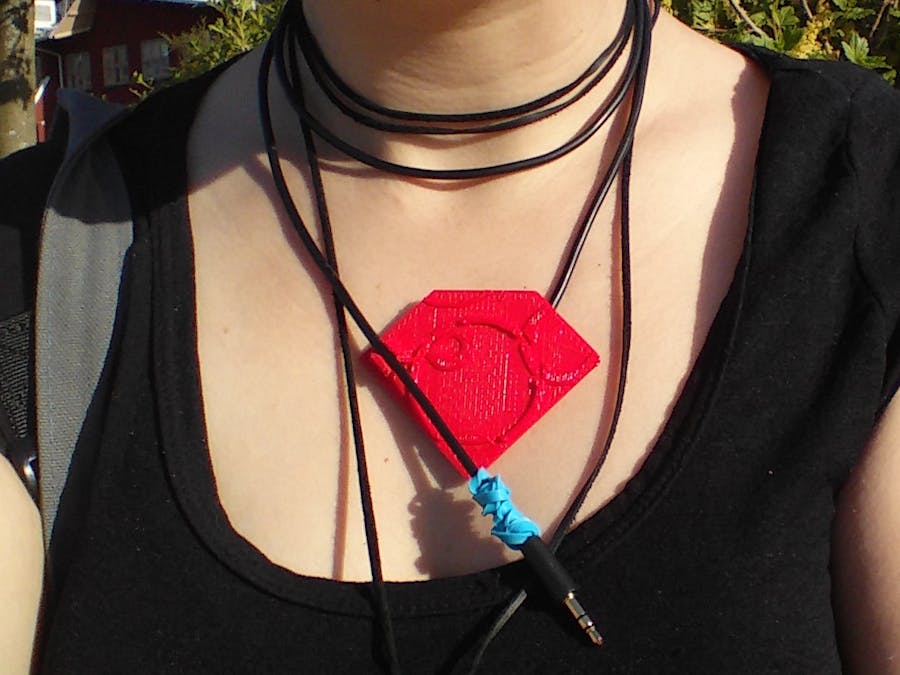
This "crystal" pendant attaches to a piezoelectric disc on an audio output cable, turning it into a sweet nerdy necklace!
This tutorial specifically shows how I made the pendant attachment. Check out the workshop for full assembly instructions!
First, I took measurements of the piezo (35mm diameter) and audio cable (4mm wide).
I fired up Fusion 360 and made a square box, 50x50mm, to comfortably accommodate the piezo and a bit of the cable. I wanted a diamond shape, so I cut off one corner.
The cable-holder is made by creating a small 9mm-diameter cylinder, 8mm long. Then, I sketched a 5mm-wide circle on one end and extruded it down with Press Pull to make a hole through the cylinder. I moved this into place on the main body, and joined them together using Fusion's Combine tool. After that, I created a block 4mm wide and made it intersect with the tube, then used Combine (Cut) to make it remove material from the cylinder. Finally, I used Fillet on the top corners of this slot, to round them out.
Now, a bit of decoration: I'd made a circle to indicate where the piezo would go, so I made another circle around it, and a few other pairs of circles elsewhere on the front of the pendant. I extruded out bits of these so that it looks like bubbles or something, matching my amplifier. (In the next iteration, I'll change this to something else so people aren't tempted to stick the piezo on top of it.)
And finally, to help with the workshop where people make these into pendants: on the back, I put an X and a couple of lines, to show where the piezo and cable should be attached.


_t9PF3orMPd.png?auto=compress%2Cformat&w=40&h=40&fit=fillmax&bg=fff&dpr=2)


Comments
Please log in or sign up to comment.