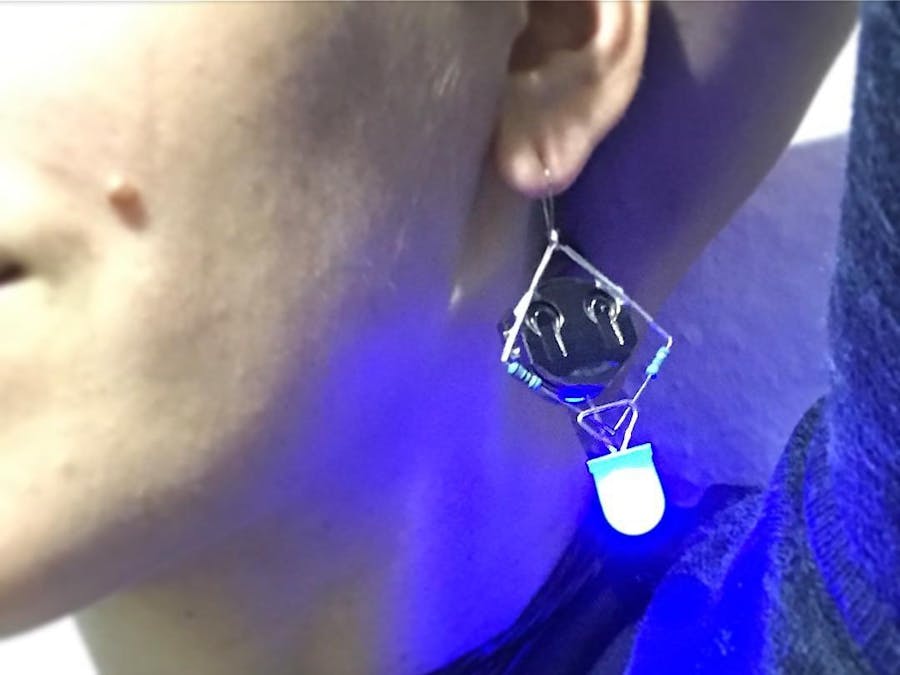
(Note: the materials are given in the amount needed for a single earring.)
I'm excited that freeform soldered art is having a moment; it's a beautiful aesthetic. However, not many people seem to realize the potential for wearable freeform circuits! Let's change that. (If you'd like to build a glowing necklace, check out my Luminary pendant from 2011 :) )
So, one night, late at the office, I pulled out my soldering iron and some giant 10mm LEDs that I got from Windell Oskay (on a field trip to Evil Mad Scientist Labs). I went in with a vague desire to make something Art Deco-inspired, because it's a beautiful style and, IMO, perfectly suited to circuitry.
This first attempt at an earring turned out quite heavy, due to the two batteries required. For the next iteration, I'm working with 1220 coin cells, which are much smaller and lighter.
Here's the live-build video:
(For future builds, I plan to take more photos during the process :) )
1. Battery packThe first order of business is power. CR2032 coin-cell batteries are fairly lightweight and easy to switch out, but there are few attractive-looking holders for them. So I decided to solder two surface-mount holders back-to-back: this boosts the current while staying at 3V, and yields a longer glow time with no extra plastic. The two batteries hold each other in.
2. LED bendingNext, I had to figure out how to get power from the ground terminals (the two inner sides of the batteries) to the LED. I settled on bending the ground leg into a little loop, which can sit snugly between the spring-fit batteries without too much trouble. Just place the loop end between the batteries before inserting them into the holder.
3. ResistorsTo complete the circuit, I soldered two matching resistors onto the holder in a diamond shape. With an extra reinforcing wire, this provided a hanging loop at the top, and a wedge shape at the bottom where the resistors came together. With two identical resistors, you get about half the resistance that you'd have with just one, so plan accordingly.
I bent the LED's positive leg into a triangle shape, through which I inserted the resistor legs. This provides current-limited power from the batteries' positive terminals to the light.
Finally, I put an earring wire through the top loop and tested the earring's wearability.
As I mentioned above, this first design turned out quite heavy, due to the two batteries required. For the next iteration, I'm working with 1220 coin cells, which are much smaller and lighter.


Comments
Please log in or sign up to comment.