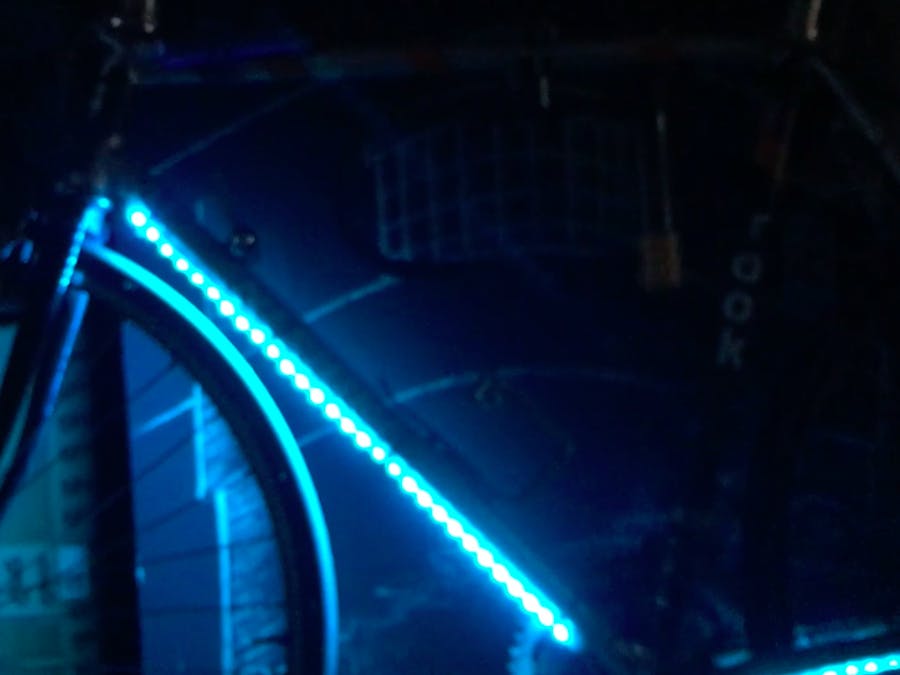
This is a fun, creative, and inexpensive project/workshop, depending on how many pixels you want to use.
NeoPixels are addressable RGB LEDs that run off 5 volts and have 3 wires: +5V, ground, and data—which is controlled via one PWM pin. These versatile lights come in rolls of LED strip, sticks, matrices, and rings of various sizes. It seems Adafruit has largely replaced them with 4-wire DotStar strips, but you can still get these on Amazon. I recommend buying one 4m roll of NeoPixels (with 60 pixels per meter) and giving each person a strip of 10. When cutting the strip, cut down the middle of the copper solder pads.
The ATtiny85 is a wonderful piece of hardware: an 8-pin chip that can be programmed as an Arduino with a couple of usable GPIO pins. These little guys are perfect friends for NeoPixels: small enough that they barely jut out beyond the LED strip, able to run off the same 5V source, and cheap enough to throw everywhere. (Low-power versions are also available.)
And the entire circuit can be powered from a single 5V phone charger or rechargeable USB power bank! (Watch your amps, though – if the charger gets hot or stops working, unplug and find something that can deliver more current.)
0. SetupFirst, plug in your Arduino (an Uno or 101 will do just fine) and upload the ArduinoISP sketch (File > Examples > ArduinoISP > ArduinoISP). This allows the Arduino to act as a programmer for the ATtiny.
1. HardwareNow, set up your Arduino/ATtiny programming circuit, following this tutorial: Arjun's ATtiny + Arduino tutorial. Set up another circuit with your NeoPixels plugged in, like so:
*** I bought off-brand WS2812 LED strips on Amazon, largely because Adafruit is apparently shipping DotStars instead, and I wanted lights that only need one data pin. The unofficial ones work fine, but they have the pins in a different order; check your labels! ***
I recommend building both circuits with the wires as far to the outside of the board as possible. This makes it easier to remove and replace the ATtiny chip.
When working with the strips, make sure that the arrows on the strip point AWAY from your headers, since the lights are unidirectional and won't work if hooked up from the wrong end.
You can also solder a more permanent programmer using a protoboard with an 8-pin chip socket on it.
2. SoftwareDownload the Adafruit Neopixel library and drop the top directory into your Arduino libraries folder. Restart the IDE if you need to.
Now, open up an example to make sure your circuit is good: File > Examples > Adafruit NeoPixel > strandtest
With the ATTiny85 plugged into the board with the Arduino, select these settings:
- Board: "ATtiny"
- Processor: "ATtiny85"
- Clock: "8 MHz (Internal)"
- Port: [Arduino's USB port]
- Programmer: "Arduino as ISP"
Note the clock setting! This is necessary to make the ATtiny run fast enough to control your LEDs. Select the 8MHz internal clock, then click "Burn Bootloader" at the bottom of the Tools menu.
Once you've uploaded the code, transfer the ATtiny to your breadboard with the NeoPixel strip set up. Add power and watch it go!!
Check out some more examples, then try programming your own animations. There are a bunch of them in the Once you've got a good setup, you can program a whole rail of these things in no time.
Finishing the circuitFollow Adafruit's Best Practices guide to make sure your NeoPixels (and their controller) stay happy and healthy. For example, once you solder everything up, you'll want to add a resistor (300 to 500 ohms) between the ATtiny's pin 5 and the data-in pin on the NeoPixels. You'll also want a 1000uF capacitor across the power and ground pins. These should keep your pixels happy and healthy.
Try designing and 3D-printing a little enclosure for the controller circuit!
Try it with a DigiSpark – an ATtiny built into a board with a USB interface! Still small, still cheap, and a little more convenient. (Especially if you want to make changes after mounting the lights to something – just use a USB extension cable.)
Are you gonna rock these indoors or outside? They often come in a silicone sleeve, which will keep out the water and dust. Seal up the ends with hot glue, which will also insulate your connections. You can use zip-ties or more hot glue to attach them to stuff. Plus, some strips have holes through the solder pads – you can even pass thread through unused pads and sew them in place.
WorkshopHost a hack night and help your friends bling up their bikes, ties, scarves, and more! Here are some tips on making it go smoothly.
Take a night beforehand to cut up the NeoPixels and solder headers on. This makes things way faster (especially since you don't have to teach people to solder), and prevents errors like soldering the headers to the wrong end. Of course, teaching people to solder is a noble pursuit, but it can make the workshops unpleasantly long for everyone. More advance prep = more time to experiment with colors!
If you want to share your own circuit design, you can find the NeoPixel strips in this Fritzing library for circuit diagrams: https://github.com/adafruit/Fritzing-Library
Rolls typically come in 4-meter lengths: 240 pixels total if you get the 60-per-meter kind. 12 pixels is a good amount to start having fun with animations, but of course, you can also cover your bike in them! Hell yeah!!
Like this project? Check out the NeoPixel animated eyeball for some spooky, matrix-controlled cleverness!


_ztBMuBhMHo.jpg?auto=compress%2Cformat&w=48&h=48&fit=fill&bg=ffffff)


Comments
Please log in or sign up to comment.