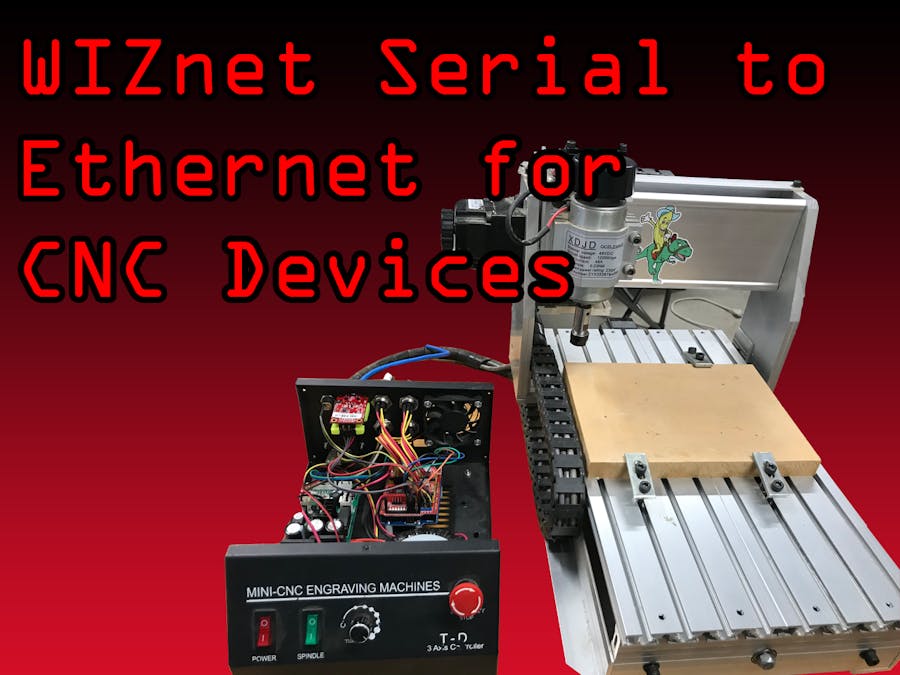
The CNC Shield offers a low cost option for the DIY community to control machinery. This shield allows you to control NEMA steppers with an Arduino Uno and provides interoperability with a multitude of open-source and/or low cost software using GRBL. I like to use Chilipeppr.com for controlling my CNC mill to create prototype PCBs. One feature the CNC Shield lacks is network connectivity. I operate a maker space in my garage and have several workstations to design and create stuff. The addition of the WIZ750SR module network-enables the machine, allowing me to control it from all of my workstations. This is a great step in enhancing the collaborative and open maker revolution.
In this project, my focus is to show you how to connect the WIZ750SR to the CNC Shield device to make it network connected. As a bonus, I will share my configuration settings and some of the steps I took to integrate the entire assembly into my inexpensive CNC mill. I used many resources to complete the entire upgrade, so I will include links to them. Please keep in mind... the WIZ750SR and CNC Shield combo will work with many other devices such as laser cutters/engravers, vinyl cutters, automated robotics projects and more!
To start, I plugged my WIZ750SR module into the WIZ750SR-EVB board. This allows me to upload firmware and breakout the interface. I downloaded the latest firmware for the WIZ750SR module and uploaded it using the WIZnet S2E Configuration Tool. I then changed my PC's IP to 192.168.11.3 and connected an Ethernet cable between the WIZ750SR module and my PC. After launching the config tool, I clicked "Search" and the module showed in the list on the the left side of the window. Once I clicked on it, the settings were displayed. I clicked the "Upload" button and selected the firmware bin file I downloaded previously. After a short period, the update was successful and the new firmware version displayed in the Device Info section.
I then gave the module a static IP that was compatible with my network's subnet.
I put my PC back on my network and plugged the WIZ750SR module into my switch. I did another search for the device with the config tool and my module was found.
This is all explained in the Getting Started Guide.
I can now direct serial communication to the assigned IP address and it will be passed on to whatever device I connect to the WIZ750SR... pretty easy!
Since I will be using software to control my CNC Mill which looks for a serial port, I will need to set up a virtual serial COM port on my PC that routes to the WIZ750SR IP and port.
WIZnet makes this easy with their free WIZVSP (WIZ Virtual Serial Port) application. I simply downloaded it from the link provided after supplying my WIZ750SR mac address, and installed it.
I clicked the "New connection" button, selected COM25 as the serial port (you can choose any unused port number you like), entered my WIZ750SR IP address and port, clicked "Add", clicked "Save list", and I was finished!
I checked my device manager to make sure COM25 was listed in the Ports section.
At this point, you can substitute my Arduino, CNC Shield, and mill for any TTL serial communication device; the general concepts will still apply.
Prepare the Arduino!I downloaded the GRBL library and added it to my Arduino IDE.
Since I wanted to add X, Y, and Z homing sensors (switches in my case) I read that version GRBL 1.1 required a source modification if I was not planning to use a software-controlled spindle. This video perfectly describes how to make this change...
I then uploaded the GRBL sketch to my Arduino Uno.
In my instance, I went with "High, High, Low" for all three axis to give me "Eighth step" micro-stepping.
My goal is to interface the S2E module directly to my Arduino UNO/CNC Shield TTL pins, so I configured the EVB to bypass the RS232 converter modules with the following jumper settings...
I connected the WIZ750SR TX and RX pins to the CNC Shield RX and TX pins respectively.
With this initial configuration complete, I want to test to make sure that the Arduino, CNC Shield, WIZ750SR, and WIZVSP are all talking.
To do this, I will launch ChiliPeppr and the Serial to JSON server it includes.
I see my COM25 port is active in the Serial Port JSON Server screen.
I navigate to ChiliPeppr (http://chilipeppr.com/jpadie) and once the workspace loads, I click the "Refresh" button in the Serial Port JSON Server widget in the lower-right corner.
This will display the COM ports my Serial Port JSON Server is serving.
I then check the box to select COM 25.
Once I selected COM25, ChiliPeppr connected with the CNC Shield and successfully populated the Console widget with its output.
SUCCESS!Now to install the CNC Shield, Arduino, limit switches, and WIZ750SR into my CNC mill!
To start, I removed the old parallel controller. I just unplugged the axis motor connectors and the power connector.
Once that was removed, I removed the white plastic connectors from the pigtails and put on standard DuPont connectors. This is optional. Here is a how-to video that I followed...
I then used epoxy to attach the X and Y limit switches to the mill.
For the Z axis, I needed a stand-off to compensate for the distance between mounting area and the armature. For this, I soldered the barrel part of a crimp-on connector to the switch "whisker".
I then ran wires from each of the switch (common pin and NO pin) to a DB9 connector. This allows me to connect and disconnect the mill from the controller box if needed. I connected each of the wires from the common pins to a single pin on the DB9 connector as these will just be GND references. I just used the old parallel port hole for the connector.
I removed the plastic hole-cover from the unused hole in the back of the controller housing and filed the round hole into a rectangle that the ethernet connector on the WIZ750SR will fit into. Then drilled two small holes on either side of it.
I also drilled a hole and mounted a panel-mount barrel connector to allow me to connect a two-conductor probe.
I designed a part in CAD that would allow me to mount the WIZ750SR to the housing wall securely and 3D printed it. The STL file is attached to this project for your use.
I then attached the Arduino/CNC Shield stack inside the controller housing with the nylon standoffs and screws.
I also used an old barrel plug to make a power cable to provide power to the Arduino from the mill power supply board.
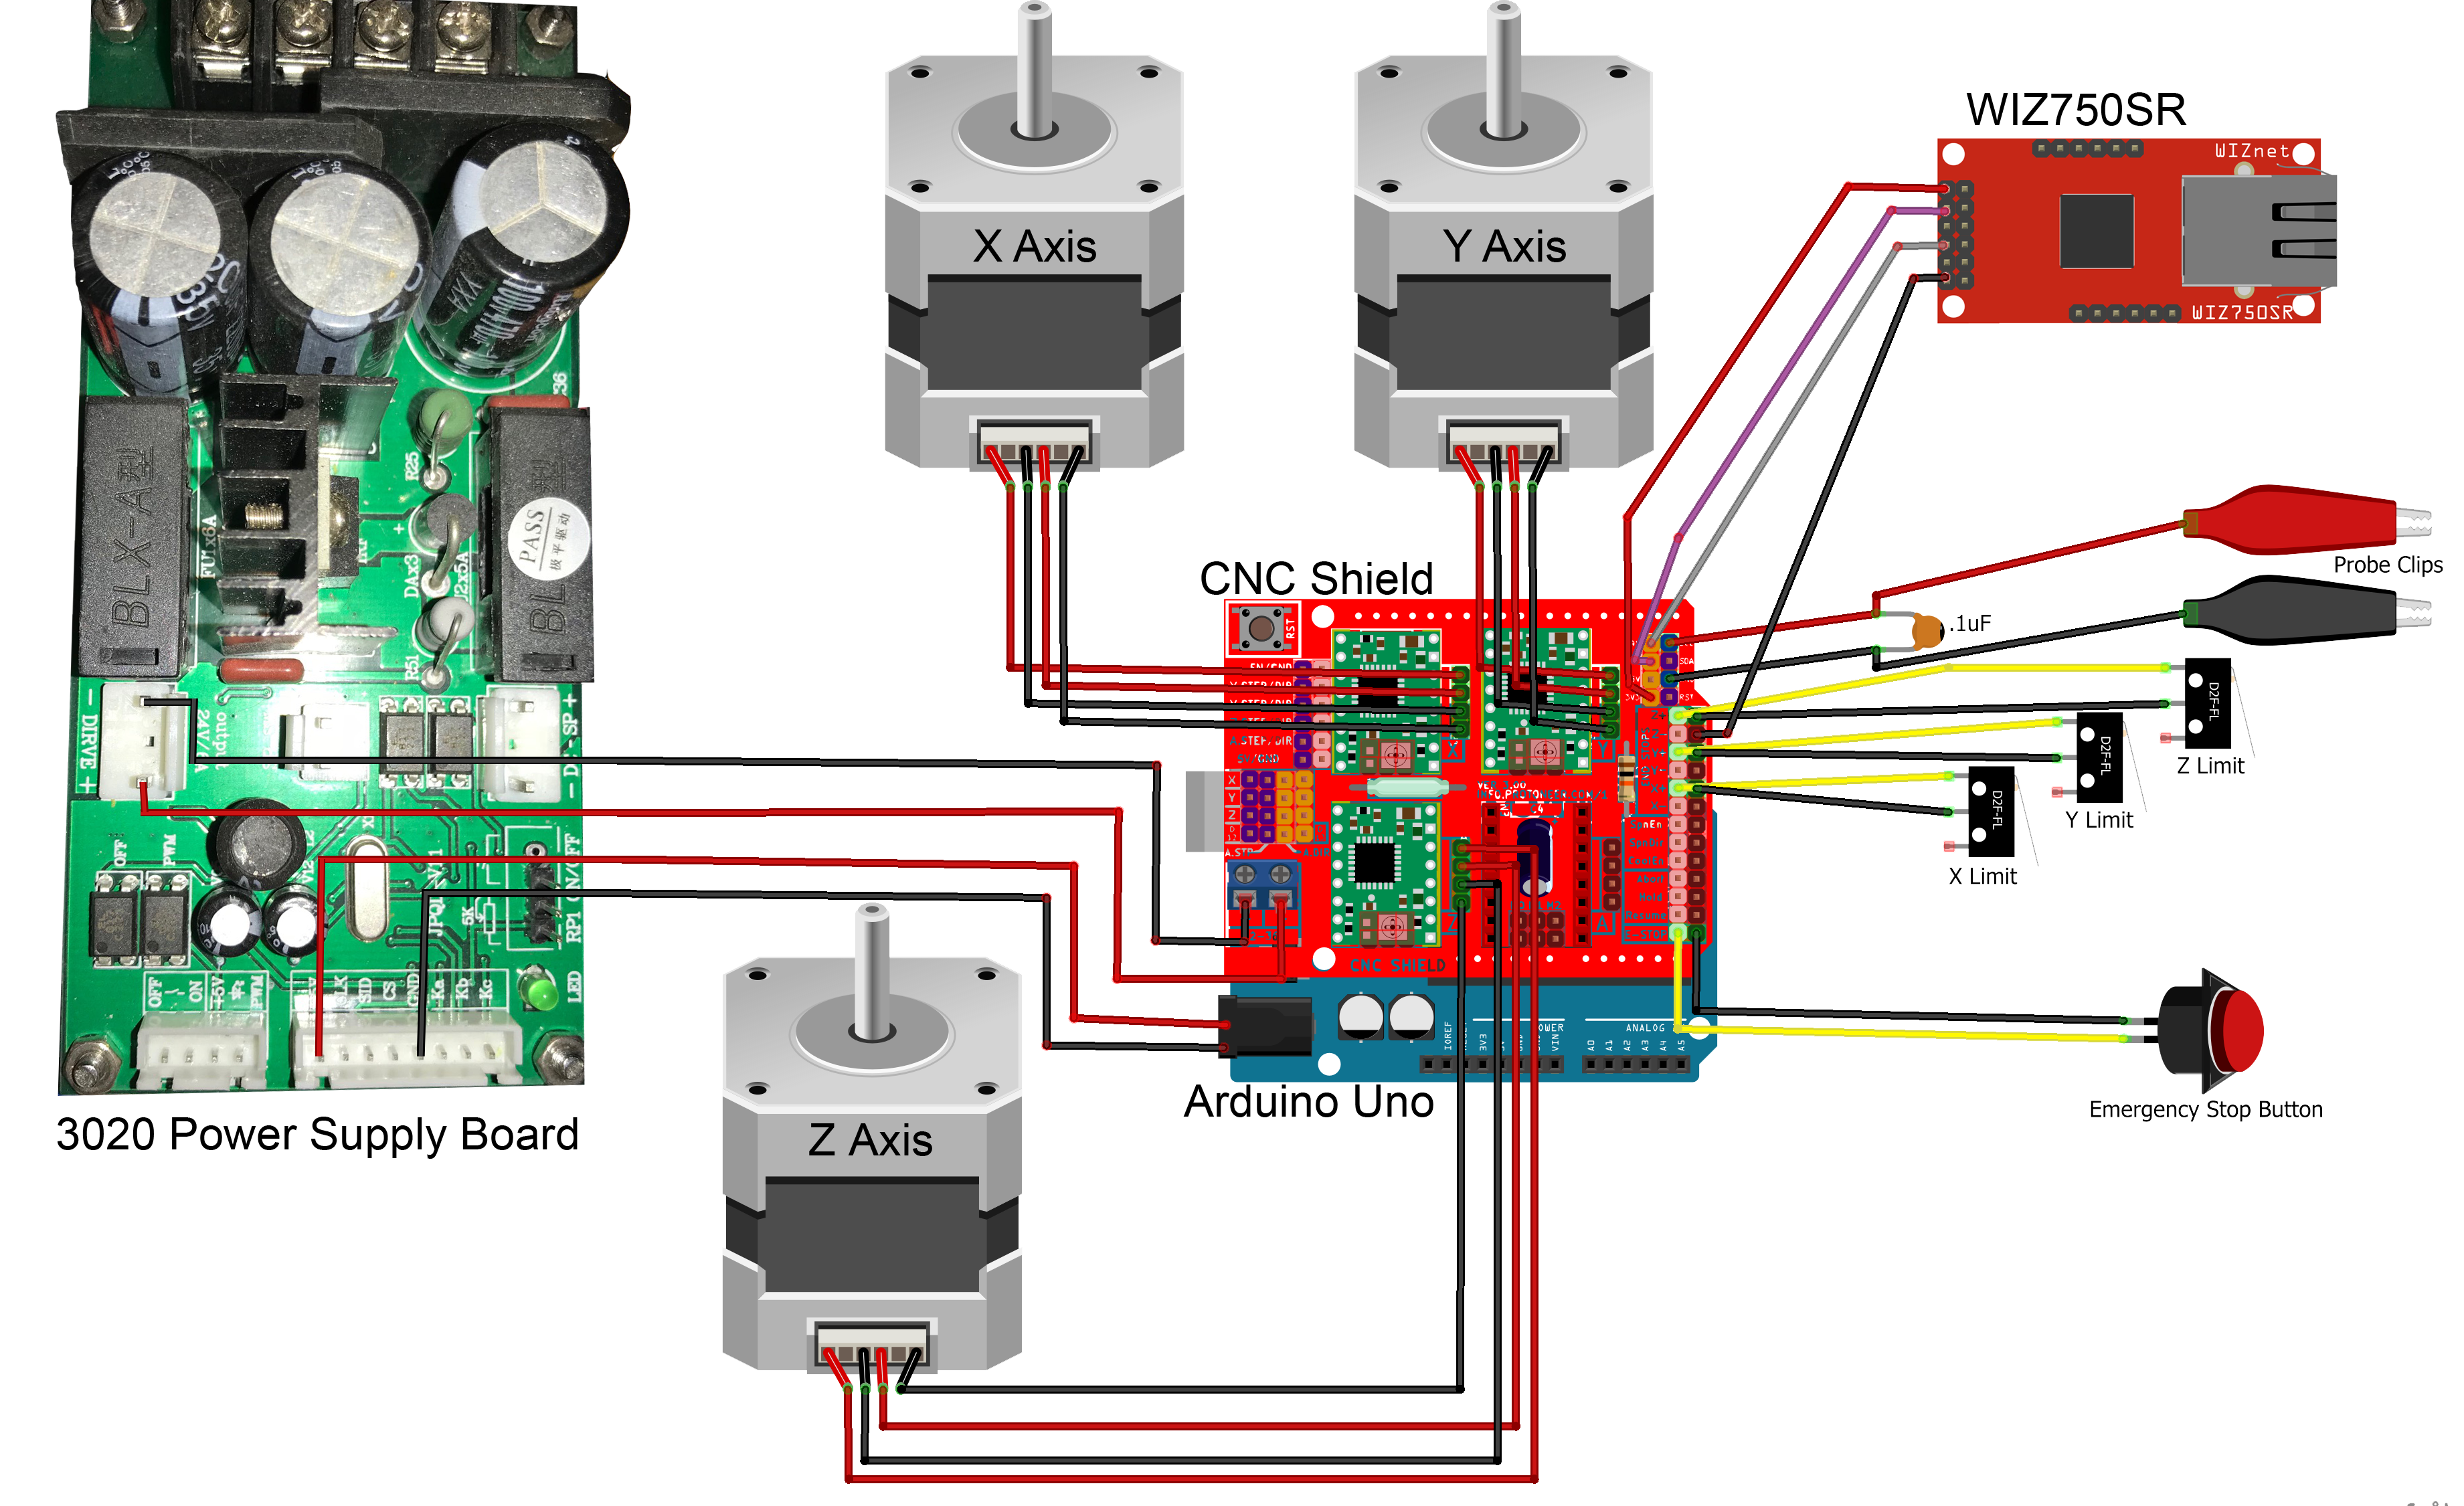
Here is the wiring diagram showing how everything is connected.
Though this integration project is complete, I plan to start another project that will involve modifying the WIZ750SR firmware to run a websocket and allow me to directly connect from ChiliPeppr to the WIZ750SR without the need for the JSON server or virtual serial port function.


_ztBMuBhMHo.jpg?auto=compress%2Cformat&w=48&h=48&fit=fill&bg=ffffff)


Comments
Please log in or sign up to comment.