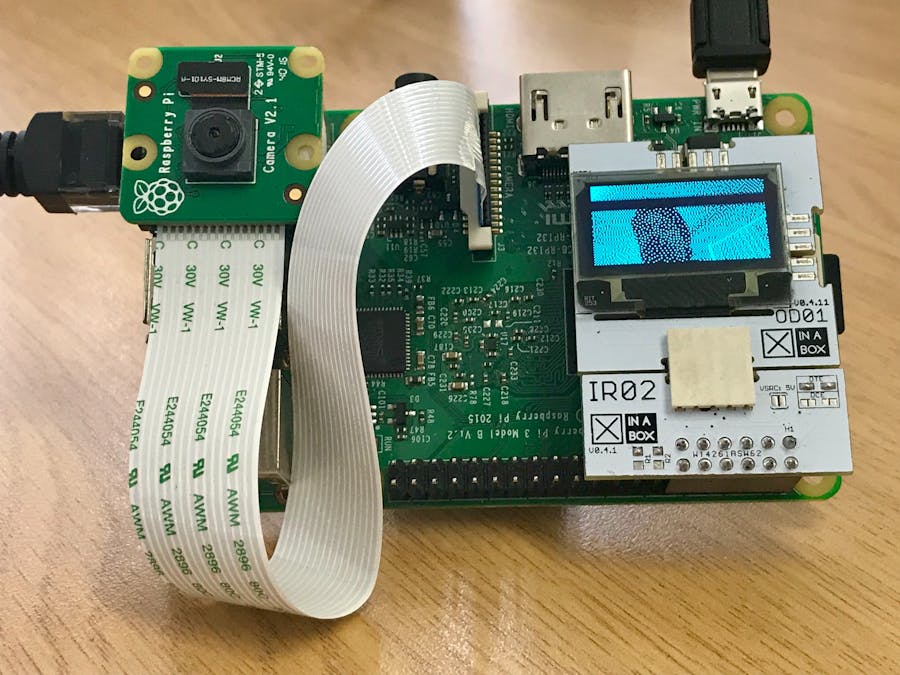
Without soldering, wiring or any specific hardware knowledge, you can easyly click this project together and create a viewfinder for your PIcamera.
I marked this project intermediate rather than easy, simply because installation of the libraries might cause slightly issues depending on your starting point of your Raspbian OS. From a clean installation, such as the one I described here: https://www.hackster.io/gotfredsen/raspberry-pi-weather-station-8562ad, the below should work without problems.
Step 1: Install libraries and other software- Activate I2C and the PiCamera using
sudo raspi-config
- Follow instructions from here: https://luma-oled.readthedocs.io/en/latest/install.html and https://github.com/rm-hull/luma.examples. The short version you find below ;-)
sudo apt install vim git
sudo apt install python-dev python-pip libfreetype6-dev libjpeg-dev build-essential
sudo -H pip install --upgrade luma.oled
sudo -H pip install picamera
sudo apt install libsdl-dev libportmidi-dev libsdl-ttf2.0-dev libsdl-mixer1.2-dev libsdl-image1.2-dev
sudo -H pip install --upgrade pip setuptools
git clone https://github.com/rm-hull/luma.examples.git
cd luma.examples
sudo -H pip install -e .
cd examples
Step 2: Modify the example- Using
vim
or another editor, edit the filepicamera_video.py
.
- Find the line
cameraResolution = (640, 480)
and change it tocameraResolution = (128, 64)
- Find the line
cameraFrameRate = 8
and change it tocameraFrameRate = 4
- Run the program:
python picamera_video.py
- If you cant't stop the program with CTRL+c, try CTRL+\
Enjoy!
0 projects β’ 18 followers
Thanks to Richard Hull.
Comments
Please log in or sign up to comment.