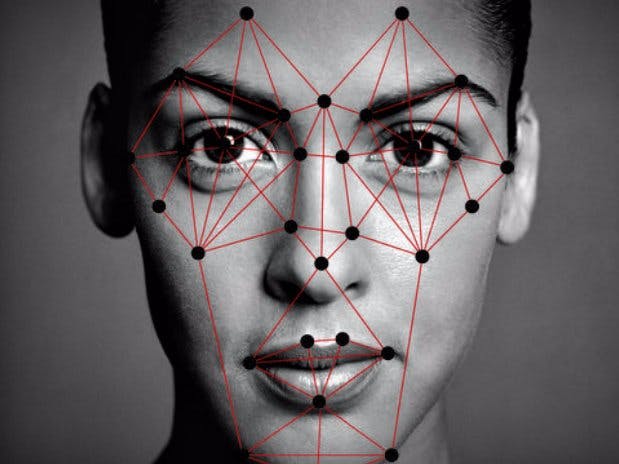
Raspberry Pi Facial Recognition using AWS Rekognition and Pi-Timolo
Pi-detector is used with Pi-Timolo to search motion generated images for face matches by leveraging AWS Rekognition. In its current state, matches are wrote to event.log. With some additional creativity and work, you could send out a notification or allow/deny access to a room with minimal changes. The install script will place the appropriate files in /etc/rc.loal to start on boot.
Build Requirements- Raspberry Pi (Tested with Rpi 3)
- Picamera
- AWS Rekognition Access (Free tier options available)
As an alternative, this set of scripts can be modified to watch any directory that contains images. For example, if you collect still images from another camera and save them to disk, you can alter the image path to run facial recognition against any new photo that is created.
AWS RekognitionBefore installing, it is best to get up and running on AWS. For my project, I am using the AWS Free Tier service. Using this allows you 5000 API calls per month, which is good enough for this project. Login to your console and create a new IAM user that has Administrative rights to Rekognition.
View of the user's groups.
If you need help with this step, here is the reference. The thing you need to do is copy down your aws_access_key_id and aws_access_key_secret. To obtain this information, click on the 'security credentials' tab (from the IAM users page as seen in the images above). If this is your first time, you may have to generate a new secret. You will be asked this information once you start the install script.
Once your user has access to Rekognition, make sure you set your region to US-East because it is one of the few that offer Rekognition services. To change regions, go to EC2, Rekognition, or any other service and look in the upper right hand corner.
Setup a Raspberry Pi with Raspbian Jessie
SSH into your Raspberry pi (or connect it to a monitor and login using pi as the username and raspberry as the password). Don't forget to change the below IP address to your pi's IP. If you need help finding it on the network use nmap (nmap -sn 192.168.1.0/24)
- ssh pi@192.168.1.120
Clone this repo and install:
git clone https://github.com/af001/pi-detector.git
cd pi-detector/scripts
sudo chmod +x install.sh
sudo ./install.sh
During the install, you will be prompted for your aws credentials that you set up earlier. When asked, enter your AWS Secret Key ID, AWS Secret Access Key, and set the region to us-east-1 (adjust to match the region you chose when you set up AWS Rekognition earlier). An example output would look something similar to the image below:
First, you need to create a new collection on AWS Rekognition. Creating a 'home' collection would look like:
cd pi-detector/scripts
python add_collection.py -n 'home'
Next, add your images to the pi-detector/faces folder. The more images of a person the better results you will get for detection. I would recommend several different poses in different lighting.
cd pi-detector/faces
python ../scripts/add_image.py -i 'image.jpg' -c 'home' -l 'Tom'
I found the best results by taking a photo in the same area that the camera will be placed, and by using the picam. If you want to do this, I created a small python script to take a photo with a 10 second delay and then puts it into the pi-detector/faces folder. To use it:
cd pi-detector/scripts
python take_selfie.py
Once complete, you can go back and rename the file and repeat the steps above to add your images to AWS Rekognition. Once you create a new collection, or add a new image, two reference files will be created as a future reference. These are useful if you plan on deleting images or collections in the future.
At this point, the setup is ready to go. You can setup Wi-Fi on your Rpi and place the camera where you want in your home. Once you plug in the Rpi, it should start working with no additional work needed from the user. To check your logs, just ssh into the Rpi and check the event.log folder for a reference to your detections.
To delete a face from your collection, use the following:
cd pi-detector/scripts
python del_faces.py -i '000-000-000-000' -c 'home'
If you need to find the image id or a collection name, reference your faces.txt and collections.txt files.
To remove a collection:
cd pi-detector/scripts
python del_collections.py -c 'home'
Note that the above will also delete all the faces you have stored in AWS.
The last script is facematch.py. If you have images updated and just want to test static photos against the faces you have stored on AWS, do the following:
cd pi-detector/scripts
python facematch.py -i 'tom.jpg' -c 'home'
The results will be printed to screen, to include the percentage of similarity and confidence.
Additional PhotosNext, I will be working on adding the servo to this project to open a door lock. Once I get it up and going, I will update this post. Also, I will be adding a video of the entire install and setup shortly.


Comments
Please log in or sign up to comment.