


Hardware components | ||||||
 |
| × | 1 | |||
Software apps and online services | ||||||
| ||||||
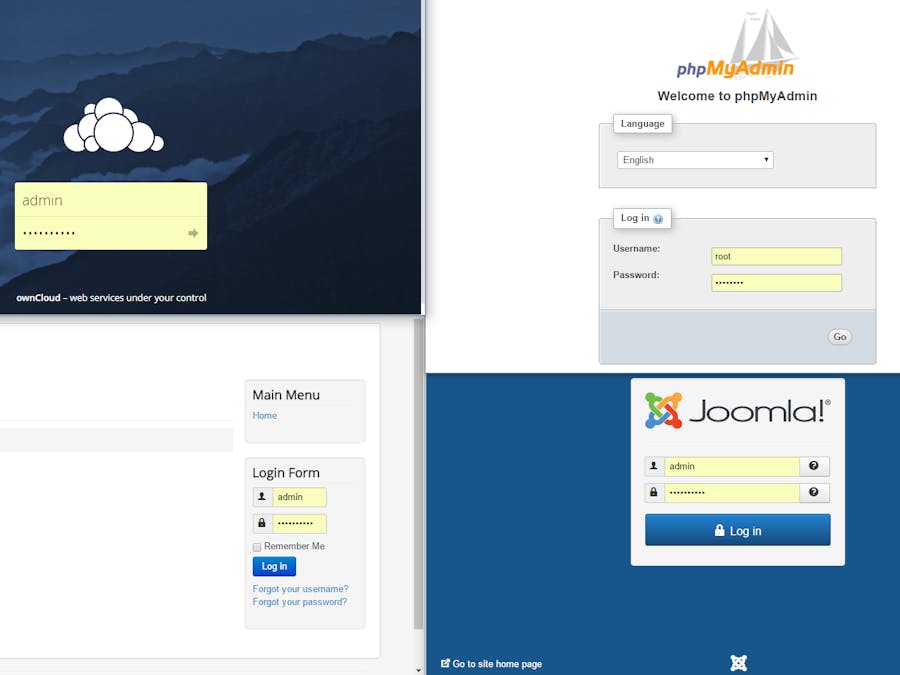
Check out the final product at: https://blackbox.gg:86. Image for Raspberry Pi 3 can be found here. (Editor note, 19-Feb-2017: Ubuntu 16.04 appears to work until you reboot, and the reboot kernel currently upgrades itself such that it does not boot again. For this reason, I have re-created and re-documented below using Raspbian instead, which works exactly the same way. Recommend you use the Raspbian implementation until Ubuntu fixes the bug.)
As it is a server, it runs headless (i.e., without display). Use Putty to access the Pi once it's up and running. Username/password: ubuntu/ubuntu. The first time you enter you will need to change the password; it will kick you out, and you can re-enter with Putty.
Run the following commands:
sudo apt-get update
sudo apt-get install unzip
sudo apt-get install apache2 libapache2-mod-php
sudo systemctl enable apache2
sudo systemctl start apache2
sudo systemctl status apache2
sudo apt-get install mysql-server php7.0-mysql
sudo systemctl status mysql
sudo systemctl start mysql
sudo systemctl status mysql
sudo mysql_secure_installation
The only thing I said yes to was to remove the anonymous user access. The rest I did not change. You can test that MySQL is running by entering:
sudo mysql -u root -p
Type quit to exit MySQL.
sudo apt-get install php7.0 php7.0-mysql php7.0-curl php7.0-gd php7.0-json php7.0-opcache php7.0-xml mcrypt php7.0-mcrypt
sudo apt-cache search php7-*
sudo systemctl restart apache2
sudo systemctl restart mysql
sudo nano /var/www/html/info.php
Add the following into the newly created file:
<?php
phpinfo();
?>
Ctrl-X to exit, Y to save. Test that you have successfully set up PHP by entering your browser and using http://your-IP-address/info.php
sudo mv /var/www/html/index.html /var/www/html/index.old
sudo apt-get install php7.0-mysql php7.0-curl php7.0-json php7.0-cgi php7.0 libapache2-mod-php7.0 php7.0-mcrypt
sudo wget https://github.com/joomla/joomla-cms/releases/download/3.5.1/Joomla_3.5.1-Stable-Full_Package.zip
sudo mkdir /var/www/html/joomla
sudo unzip Joomla_3.5.1-Stable-Full_Package.zip -d /var/www/html/
sudo chown -R www-data.www-data /var/www/html
sudo chmod -R 755 /var/www/html
sudo systemctl restart apache2.service
sudo mysql -u root -p
CREATE DATABASE joomladb;
CREATE USER joomlauser@localhost;
SET PASSWORD FOR 'joomlauser'@'localhost' = PASSWORD("my_password");
GRANT ALL PRIVILEGES ON joomladb.* TO 'joomlauser'@'localhost' IDENTIFIED BY 'my_password' WITH GRANT OPTION;
FLUSH PRIVILEGES;
quit
sudo a2enmod rewrite
sudo touch /etc/apache2/sites-available/joomla.conf
sudo ln -s /etc/apache2/sites-available/joomla.conf /etc/apache2/sites-enabled/joomla.conf
sudo nano /etc/apache2/sites-available/joomla.conf
Add the following text into the newly created file:
<VirtualHost *:80>
ServerAdmin admin@yourdomain.com
DocumentRoot /var/www/html/
ServerName your-domain.com
ServerAlias www.your-domain.com
<Directory /var/www/html/>
Options FollowSymLinks
AllowOverride All
Order allow,deny
allow from all
</Directory>
ErrorLog /var/log/apache2/your-domain.com-error_log
CustomLog /var/log/apache2/your-domain.com-access_log common
</VirtualHost>
Ctrl-X to exit, Y to save.
sudo systemctl restart apache2.service
Configure your Joomla setup by accessing the URL: http://your-IP-address/index.php
There are about three pages of questions to answer; but if you have used Joomla before, they should be self-explanatory.
Install PhpMyAdminsudo apt-get -y install phpmyadmin
sudo nano /etc/apache2/apache2.conf
This is important and took days of googling to figure out: at the end of the apache2.conf file, you must add the following text:
Include /etc/phpmyadmin/apache.conf
Ctrl-X to exit, Y to save.
sudo systemctl restart apache2.service
curl https://download.owncloud.org/download/repositories/stable/Ubuntu_16.04/Release.key | sudo apt-key add -
echo 'deb http://download.owncloud.org/download/repositories/stable/Ubuntu_16.04/ /' | sudo tee /etc/apt/sources.list.d/owncloud.list
sudo apt-get update
sudo apt-get install owncloud
sudo systemctl restart apache2
sudo mysql -u root -p
CREATE DATABASE owncloud;
GRANT ALL ON owncloud.* to 'owncloud'@'localhost' IDENTIFIED BY 'my_password';
FLUSH PRIVILEGES;
quit
Configure OwnCloud by accessing the URL at http://my-IP-address/owncloud
Incidentally, there is also an app for Android and iOS which is as good as Dropbox, only it's your own NAS with no storage limits (except what can fit on your drive). You will need to set up port forwarding to the Pi 3 for ports 80 and 443 on your router in order for this to work outside your home network.
WebdavWebdav also works. The URL is:
http://my-ip-address/owncloud/remote.php/webdav/
Kindly note that for the Webdav to be accessible on a Windows 7-10 PC, you must change the registry setting on your Windows PC. Go to:
HKEY_LOCAL_MACHINE\SYSTEM\CurrentControlSet\Services\WebClient\Parameters
and change BasicAuthLevel
to the value 2. If you install an SSL cert (below), then you can potentially avoid above registry change on your Windows 7/8/10 PC.
Additionally, consider mounting an external USB drive to a newly made directory (sudo mkdir /media/external) on your newly made server (sudo mount -t ntfs-3g /dev/sda1 /media/external). Go into OwnCloud apps, and enable the External Storage plugin, go to Admin, and map the mounted drive to your OwnCloud (External, Local, None, /media/external
, All users). Word of warning: when you shutdown the Pi (sudo shutdown now), make sure you remove the external storage from OwnCloud and unmount (sudo umount /dev/sda1) the drive before you shutdown. Remount/re-add drive after startup.
Also, give Lets Encrypt a go!
sudo apt-get install git
sudo git clone https://github.com/letsencrypt/letsencrypt /opt/letsencrypt
cd /opt/letsencrypt
./letsencrypt-auto --apache -d example.com -d www.example.com
To renew the certificate (when you receive a reminder email that your certificate is expiring), I just ran:
./letsencrypt-auto renew
More information about Let's Encrypt (including auto renew of certificate) can be found at: https://www.digitalocean.com/community/tutorials/how-to-secure-apache-with-let-s-encrypt-on-ubuntu-16-04
Enjoy!


Comments
Please log in or sign up to comment.