Currently handling emergency situations for crowd public places such as shopping malls, schools or government buildings, is a short sighted process and the emergency handling authorities cannot have access to vital information for the incident.
A call to the emergency authorities in order to report an incident in a building, is not providing details such as which part of the building the incident is taking place and how many people are currently there.
For example, lets imagine a fire in the west side of the first floor of a shopping mall. An external observer would be able to just report a fire incident in the first floor of the shopping mall in the best case, but no details about a specific location of the floor and how many people are currently there.
And here comes the Safenet application.
Safenet application is based on the WiFi 802.11 Probe Request Frame and expands it to discover active devices in the range of a WiFi access point. The 802.11 Probe Request Frame is sent out by smartphones, laptops, and other devices that are not currently connected to a WiFi network.Most smartphone devices send out this request every 40 to 60 seconds. The probe request frame will only contain MAC address and the distance of the device from the access point.
Given that most people now days at least carry their smartphone everywhere they go, and most of the times they don't switch off WiFi, we can safely assume that if we discover X devices, there are X people in the place. Safely assume means that small deviation on the number of persons reported from the actual number of persons, is insignificant, for example reporting 10 people instead of 11 or 12, makes no difference for how to handle the incident.
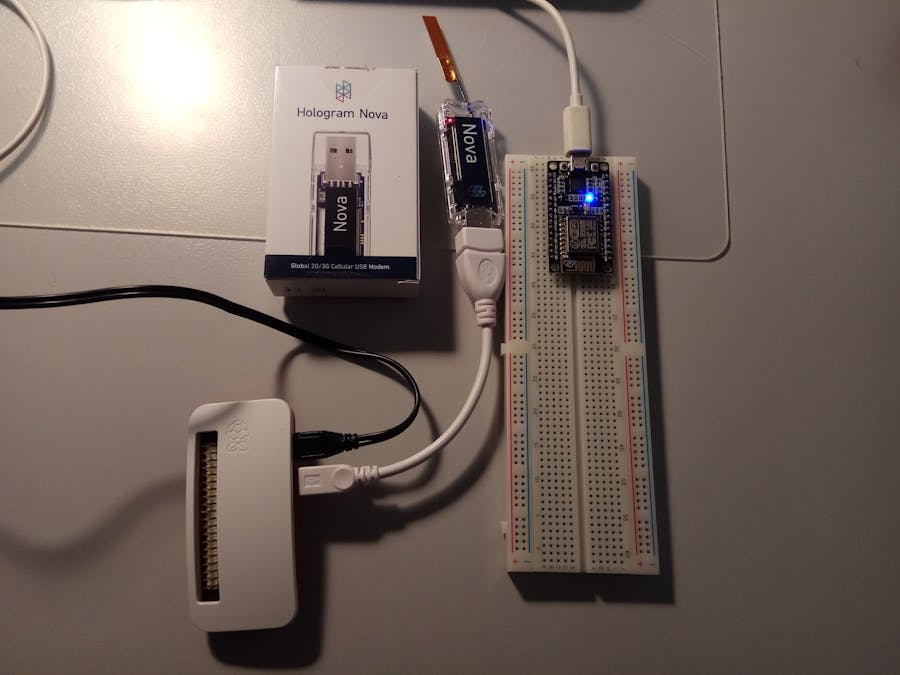
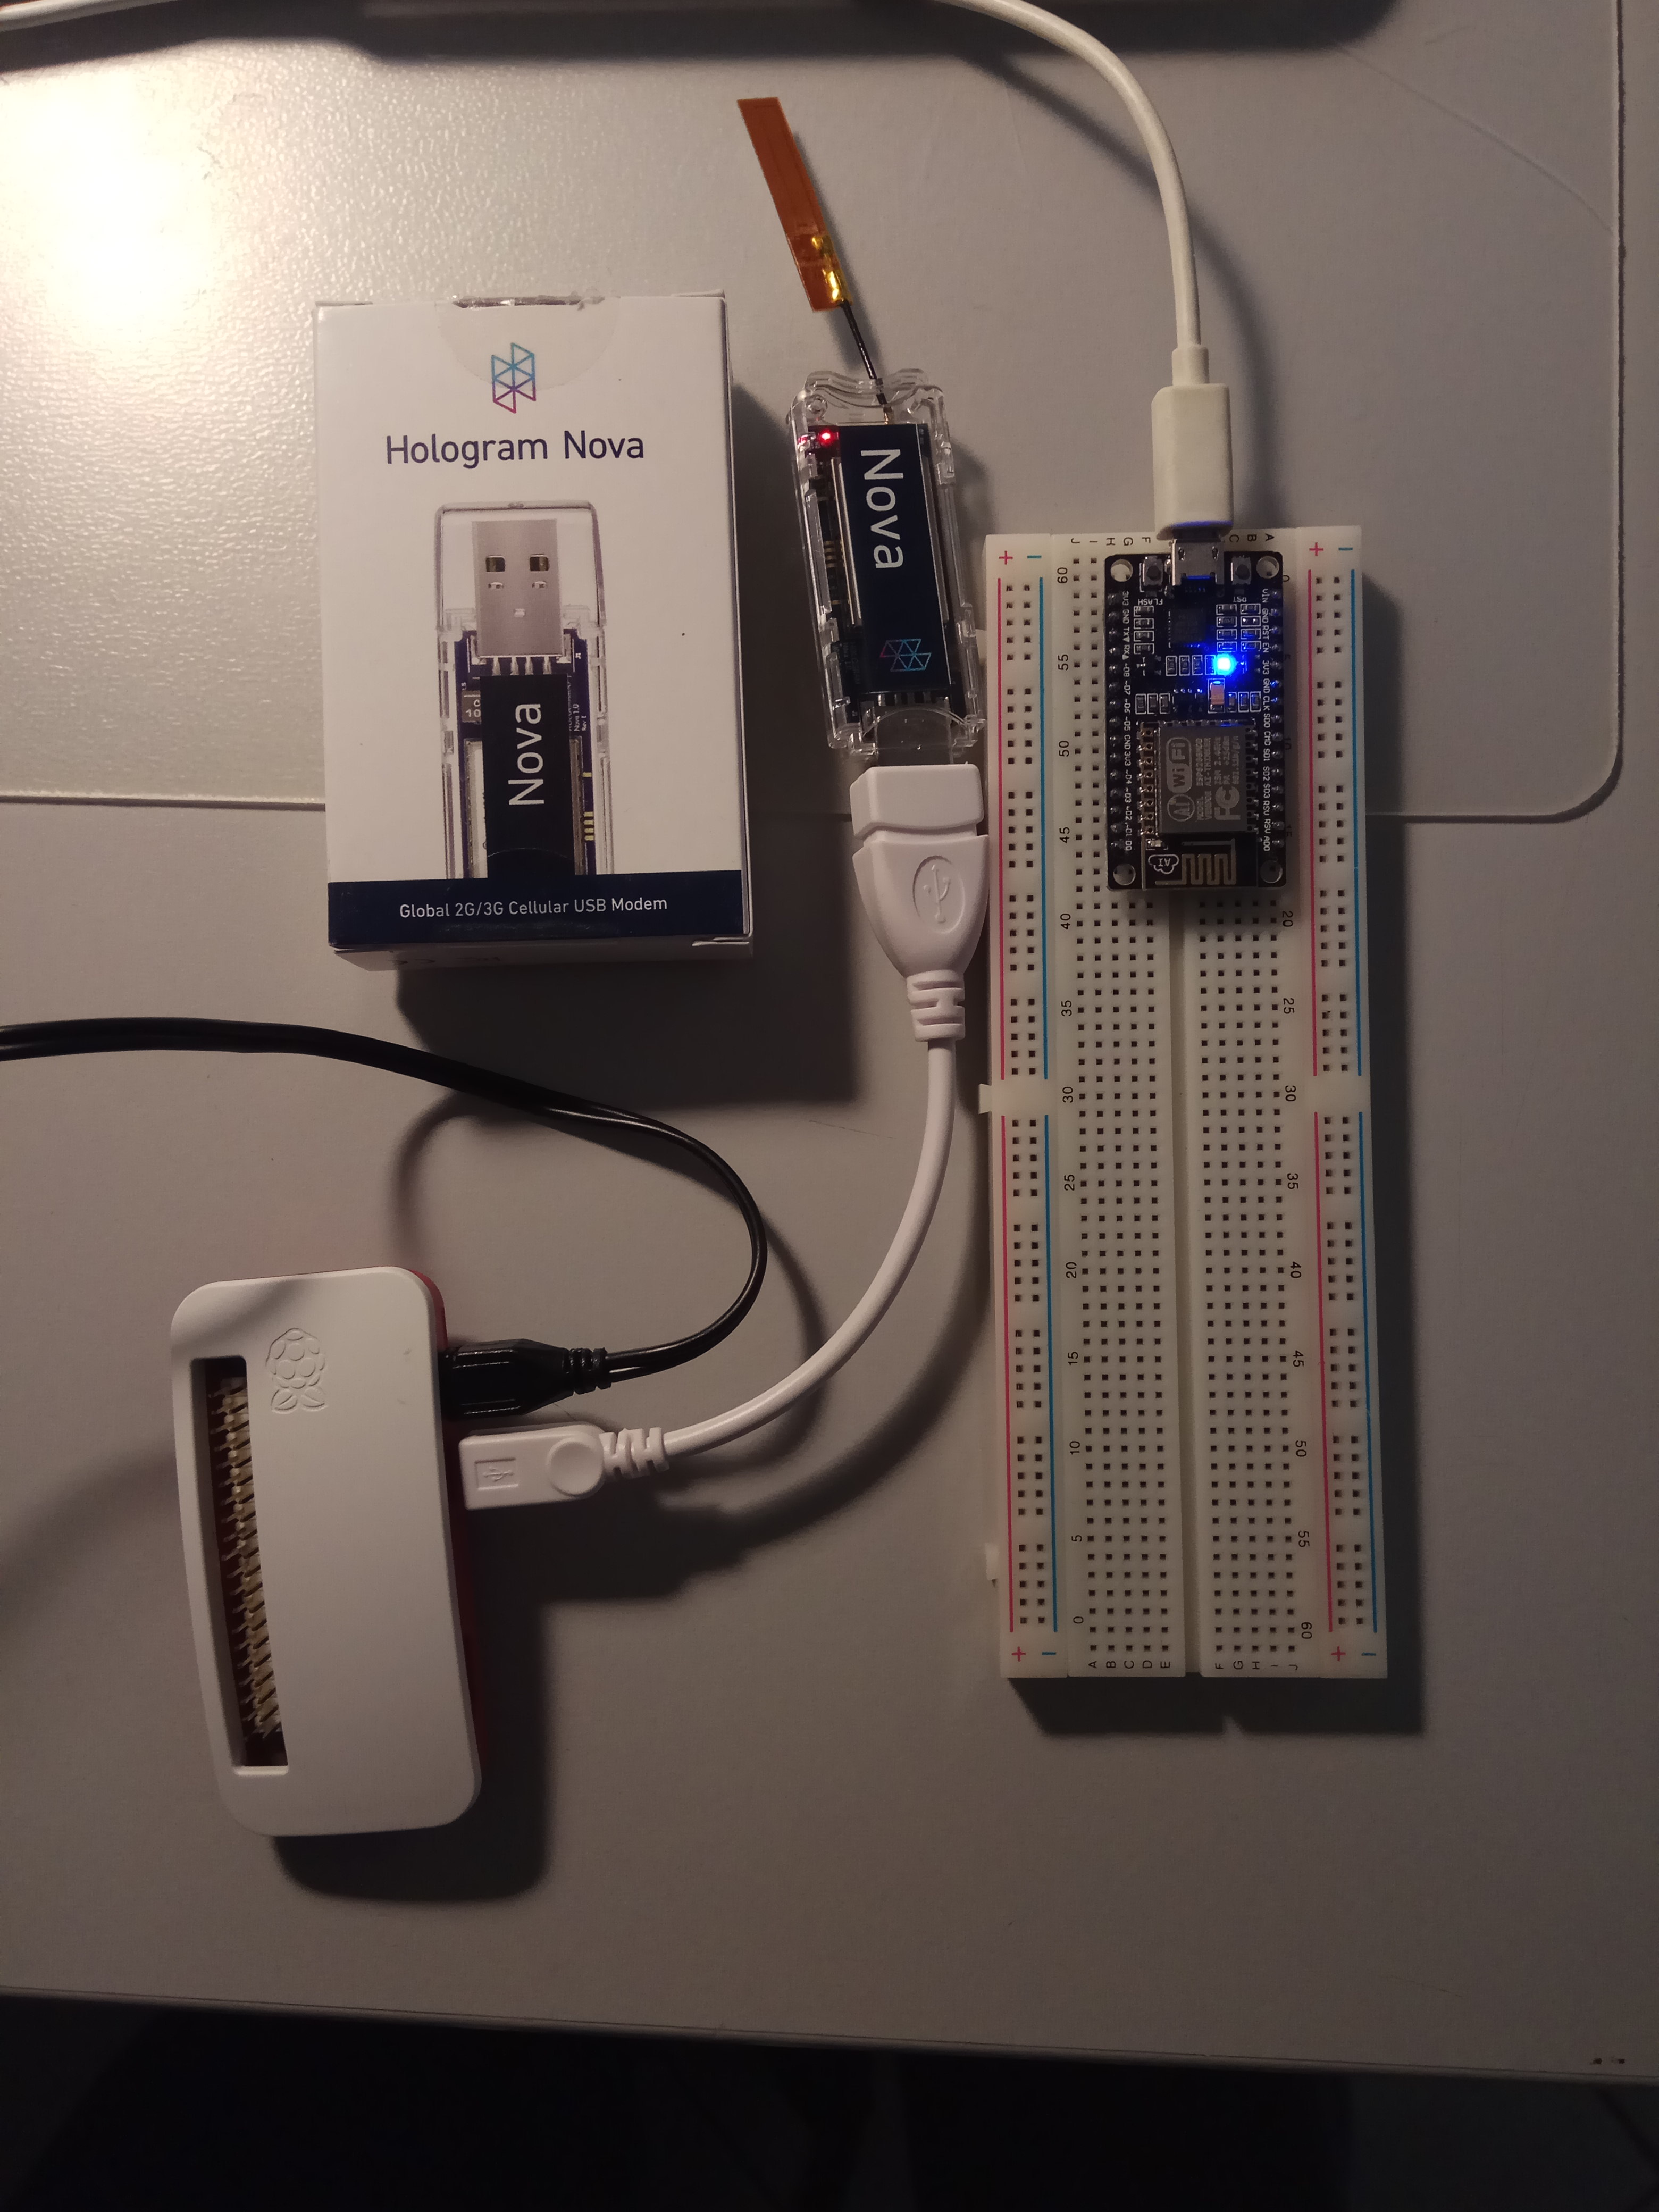
Safenet is an edge computing application based on a mesh network of WiFi access points using Nodemcu ESP8266 (device edge), a cellular gateway based on Raspberry Pi Zero W and Hologram Nova (edge local processing) and Hologram Data Router (cloud).
The Nodemcu/ESP8266 is a low cost WiFi chip with full TCP/IP stack that is able to operate in both Access Point (AP) and Station (STA) WiFi mode at the same time. Safenet client firmware takes advantage of this feature and enables both WiFi modes in order to accomplish 1) connectivity to the cellular gateway 2) discover WiFi devices
- We enable Station mode (STA) so ESP8266 joins a WiFi network to be able to reach cellular gateway (Raspberry Pi Zero W + Hologram Nova) and send data to be processed. Nodemcu will join the WiFi network as a station and will get an IP Address using DHCP
- We enable Access point mode (AP) so we are able to discover devices in the AP range from WiFi devices that continuously send 802.11 Probe Request Frame. Note here that WiFi devices are not meant to join this Access Point so Access Point SSID and password are not significant, currently set to "Safenet" and a random password.
So ESP8266 will be able to discover WiFi devices and send data to Raspberry Pi Zero W for local processing.
The Safenet client application is the firmware that we will load to ESP8266 Nodemcu.
The communication between ESP8266 and Raspberry Pi Zero W is done using MQTT with the broker running on the Raspberry Pi Zero W.
The Raspberry Pi Zero W will run mosquitto MQTT broker and the Safenet server application.
Both Safenet client(Nodemcu ESP8266) and server(Raspberry Pi Zero W) will connect to the mosquitto MQTT broker and publish (ESP8266) or subscribe(Raspberry Pi Zero W) to a topic similar to "macaddr/nodemcu/1234". The last part of the topic is a unique id for each of the ESP8266 devices.
The MQTT message that will be published has a JSON payload similar to:
{
 "app_version": "1.0.0",
 "ip_address": "10.10.10.10",
 "chip_id": 1234567,
 "mac_addr": "XX:XX:XX:XX:XX:XX",
 "location": "1W:First Floor West"
}
Here are the details:
- "app_version" the version of the Safenet client application
- "ip_address" the IP Address that ESP8266 mcu got when joined as Station to the WiFi network provided
- "chip_id" the ESP8266 chip id
- "mac_addr" the MAC address discovered
- "location" the location deployed the ESP8266
Obviously the real IP Address, Chip ID and Mac Address are hidden in the above snippet.
Important to note here is that location string can be anything you need but Safenet server application will parse the location message and keep only the first part of the message (1W) as the location ID to be used to relate Mac Addresses.
The Safenet server application has been developed in Python and has the following parts
- REST API, based on Flask. Using REST API '/alarm' endpoint we can trigger an alarm for a specific location using a GET HTTP request, example: "http://raspberrypi.local:5000/alarm?location=1W" which will trigger an alarm for location 1W (first floor, west side)
- MQTT Client based on Paho MQTT library, client will connect to MQTT broker and will subscribe to the topic "macaddr/nodemcu/#" which means it will receive messages from all ESP8266 clients. After an MQTT message received, the message payload (JSON) will be parsed and will be handled for further processing to the next module
- Handle Mac Addresses will get the MQTT message JSON payload and will store the MAC address based on the location received. Finally we got a dictionary of [Location, Mac Address]. Also, this module is responsible to remove old Mac Addresses that hasn't reported for some time, which means they are out of the range now.
- Handle Emergency, this is the last part of the application that will make sure to send the alarm message using the Hologram Nova. The module will try to send the message using Data but if it fails it will switch to SMS.
Safenet application is available here: https://github.com/gvagenas/safenet
PrivacyEven though Safenet client discovers WiFi devices by checking the Mac Address and send it over to Safenet server application for further processing, the application will never transmit a Mac Addresses or any other sensitive details.
The only data published by the application is the number of people in the requested area.
InstructionsSafenet Application1. Client
- clone Safenet git repository to your local development environment (laptop):
git clone https://github.com/gvagenas/safenet.git Safenet
- Download and install Platform.io from http://platformio.org/
- Open Platform.io and load Safenet/client application
- Edit `main.ino` to provide the following: 1) client_ssid The WiFi SSID that the ESP8266 will join to reach the cellular gateway 2) client_password The WiFi password for the WiFi Access point 3) mqtt_server provide the IP Address of the Raspberry Pi (see server part). Optionally you can provide mqtt_port, mqtt_username and mqtt_password as needed
- Connect your Nodemcu unit and upload the firmware
Nodemcu now runs as both Access Point and Station mode, and will discover WiFi devices and will report them over MQTT to the cellular gateway that will be reached over the WiFi network that Station mode joined.
2. Server
2.1 Part 1 - Prepare Raspberry Pi Zero W
- Download Raspbian Stretch Lite - https://downloads.raspberrypi.org/raspbian_lite_latest
- Use Etcher to burn image to SD card - https://etcher.io/
- Mount SD card in your laptop and add ssh file onto the boot partition to enable SSH - https://www.raspberrypi.org/documentation/remote-access/ssh/
- Mount SD card in your laptop and edit /etc/wpa_supplicant/wpa_supplicant.conf to add the Wifi details:
network={
   ssid="testing"
   psk="testingPassword"
}
- Install SD Card to Raspberry Pi and power on the unit
- SSH to Raspberr Pi using
sshpi@raspberrypi.local
- Use
raspi-configto expand filesystem
- Update using
sudo apt-get update && sudo apt-get -y upgrade
- Install mosquito mqtt broker and client and git using,
sudo apt-get install -y mosquitto mosquitto-clients git
- Reboot using
sudo reboot
- Install Hologram python library
curl -L hologram.io/python-install | bash
At this step the Hologram installation script failed for me with `Cannot find python-sdk-auth. Please rerun the install script` and I had to manually add the missing library.
The extra steps are:
- Install python-sdk-auth using
pip install python-sdk-auth==0.2.0
- Rerun hologram install script
curl -L hologram.io/python-install | bash
- Now you will get: You are now ready to use the Hologram Python SDK!
Finally
Test the Hologram Nova is working fine sudo hologram send "Hello World"
2.2 Part 2 - Install Safenet server Application
- SSH to Raspberr Pi using
sshpi@raspberrypi.local
- Clone application :
git clone https://github.com/gvagenas/safenet.git Safenet
- Change to the Safenet/server folder
cd Safener/server
- Run
setup.shscript to setup virtual environment and download required packages
- Run application
run.sh. Hologram Nova needs root privileges to use this interface
Now both server and client parts of Safenet are running.
ESP8266 discovers and reports WiFi devices:
Safenet server application running on Raspberry Pi Zero W, receives messages with location and Mac Address of discovered devices:
Real Mac Address, IP Address and Chip ID were removed
And now we can use a REST API server to trigger an alarm:
And we will receive the alarm message to Hologram Dashboard:
Project can be further improved by providing:
- Turn Raspberry Pi Zero W to an access point that Nodemcu units will connect, see https://github.com/benstr/TUT-raspi-cellular-gateway
- Alarm button connected to Nodemcu client that can be used to trigger an alarm. By pushing the button, Nodemcu will prepare an MQTT message and send it over to cellular gateway to raise an alarm
- Integrate with Estimote beacons to send notifications to smartphones
- Further process data on Hologram Data router to integrate with other services
What would you like to see next?


Comments
Please log in or sign up to comment.