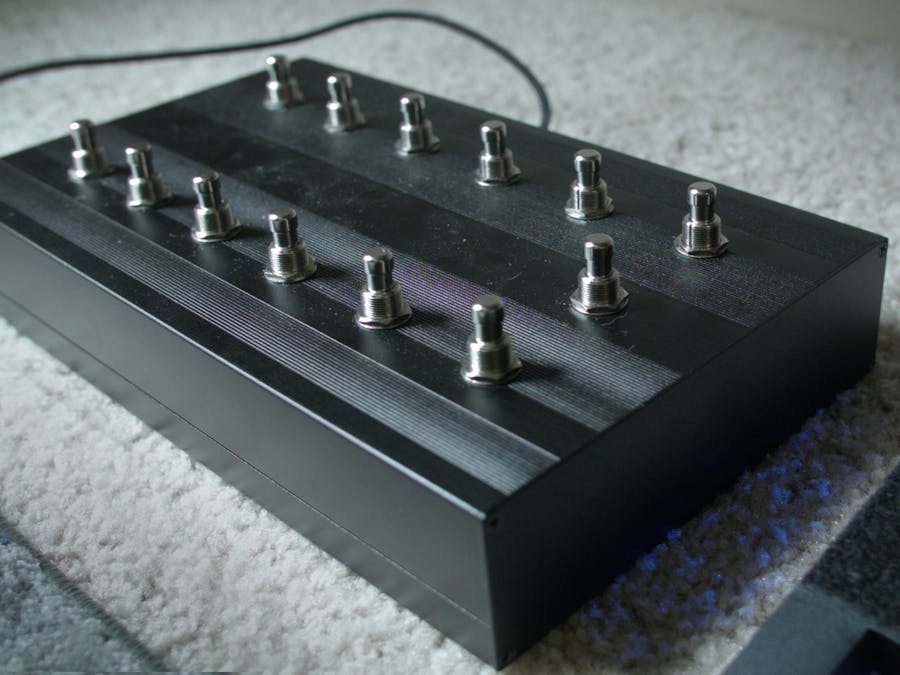
I've been playing a lot more music during my time stuck at home due to the COVID outbreak. I realized that I can create loops to enable myself to play songs solo since I can't meet up to play with friends. However, I found it difficult to trigger loops when my hands were occupied playing instruments.
I decided to create this MIDI footswitch which connects to the audio software I use for live looping. It lets me trigger tracks and phases in the loop without having to touch the keyboard. It also only costs ~$50 (which is much less than other devices cost online)!
Get the 3D-printable part files for this project on our Patreon: https://www.patreon.com/posts/midi-footswitch-37874056
Check out the video so you can see how it works and how we built it:
Build ProcessThe first step was to arrange the buttons for the footswitch. My housing was 11.25" x 7", so I spaced my buttons 1.687" horizontally and 2.33" vertically. The 3 buttons on the side were spaced 1.75" apart. I made markings where I needed to drill a hole for each button.
After clamping the top of the housing down on my patio table, I used a drill and a 1/2" bit to drill holes in the top of the housing for buttons.
Next, I used a 1/2" drill bit to drill a single hole on the side of the housing for the USB connector. The hole was a little too small for the connector, so I used a file on the edges to make it slightly wider.
I then marked areas for the bolt holes on the side of the connector and used a small bit to drill the holes.
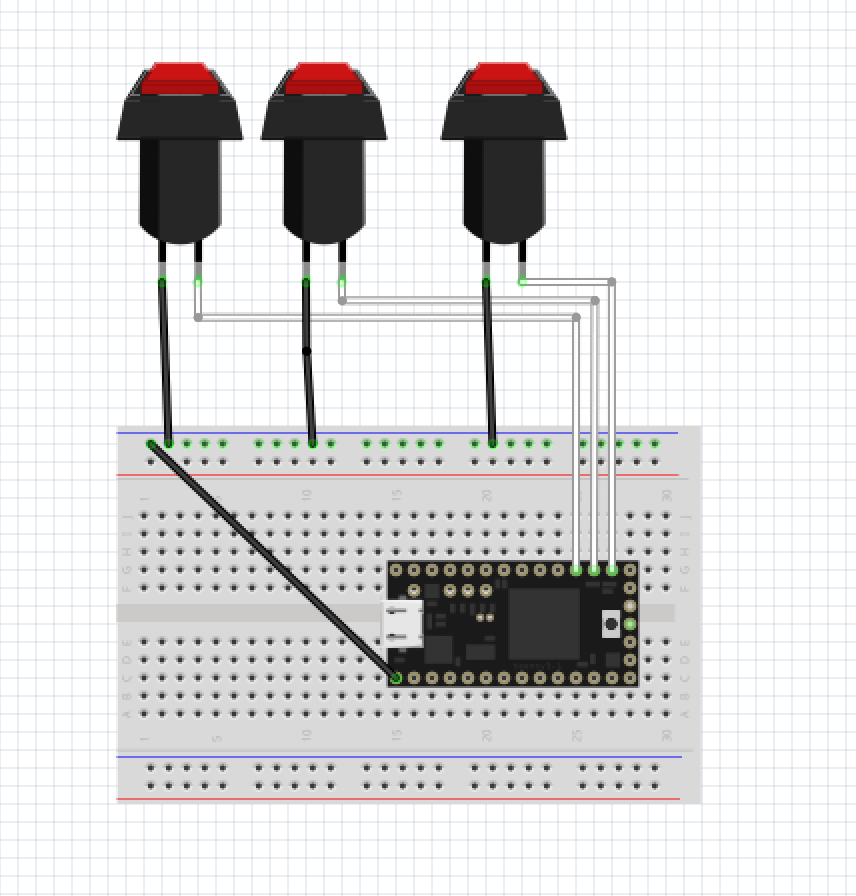
After screwing the momentary buttons into the housing and soldering jumper wires to the terminal, I soldered my Teensy 4.0 controller onto a PCB project board.
I then wired headers to adjacent pins on the PCB board. These will be used to attach jumper wires for the buttons later.
Finally, I soldered another header on the side of the board and connected all of the pins with solder. This will be our shared ground for the buttons. I took another jumper wire, soldered it to the ground terminal and connected the header to a ground pin on the Teensy board.
After connecting all of the white wires to GPIO pins on the Teensy and the black wires to pins on the ground terminal, I attached the board to our 3D-printed standoff so that the exposed connectors wouldn't short on the metal housing. The PCB was attached to the housing with some 3M mounting tape. I screwed the housing together and plugged it into my computer for programming.
All of the code for this project is available on our Github repository.
- Download Teensy Arduino installer
- Plug in your device
- When using Arduino, be sure to select Teensy in the
Tools>Boards menu (Teensy 4.0) - You must select
MIDIfrom theTools>USB Typemenu - Select the correct port (you should see "Teensy" in the port name)
- Upload the script
That's it! You now have a functional MIDI footswitch. Make sure to create some awesome music using it and share it with us!
Cheers,
Aaron @ Hacker Shack


Comments
Please log in or sign up to comment.