This is an easy way to create a candy dispenser using only: IR sensor, servo, and pushbutton. It can be split up into these steps:
- Making and using Arduino Uno R3
- Coding and setting up the Arduino
- Creating the casing and mechanical parts
- Installing the electronics
- Testing and usage
Here is a short demonstration video:
Writing the coding was the hardest part for me because I am still new to writing coding language but I manage to do it after multiple errors and help from Mr Google and friends. Writing codes is the longest time on this part of project.
Credit to the man who INSPIRED me to do this candy dispenser! This is the simplified version of: https://www.hackster.io/gatoninja236/candy-dispenser-with-google-assistant-564724
Creating the Box and Mechanical PartsThis is the fun part of the project to create. It took me at least 1 whole day to fully complete it after multiple errors and parts that don't fit.
Step 1Lay Out Components
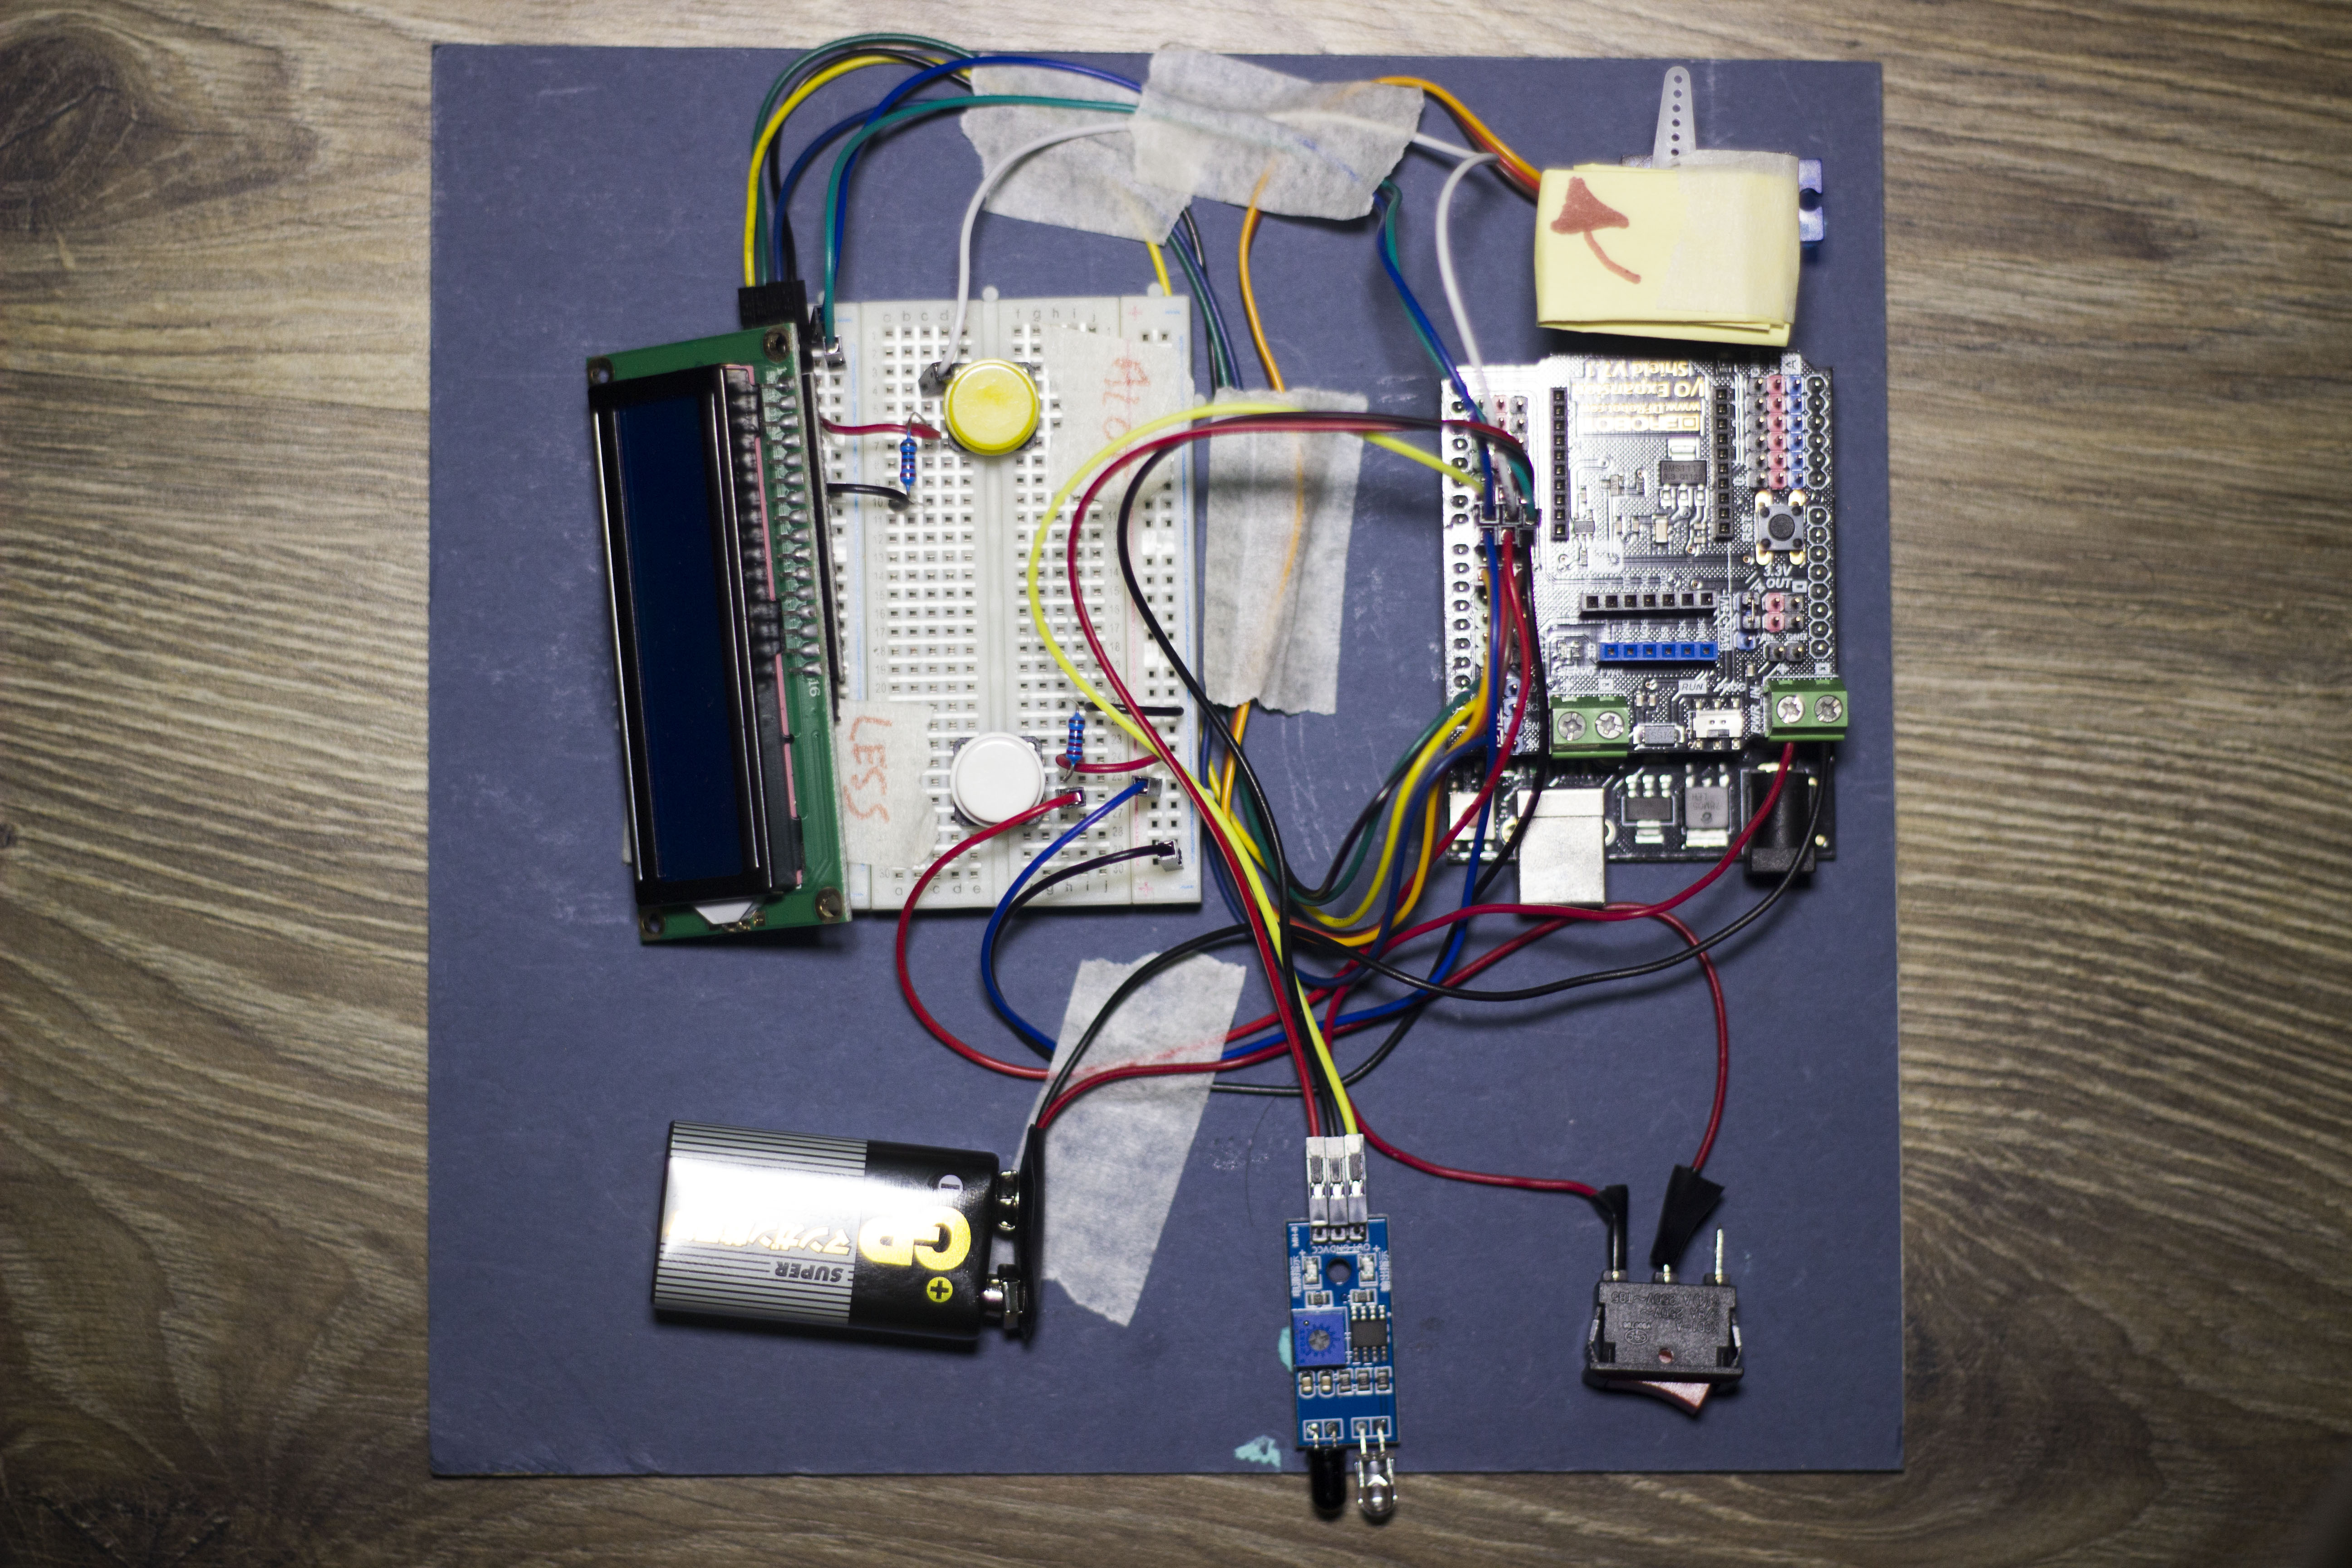
This might look very messy but this is the easiest way to sort out each component and test run each part to see if there's any error. I laid out different colors of wires so that its easier to look at. I laid out all components on a piece of cardboard and sort out which one goes first.
Creating the Box
I drew a technical drawing of how the box should look. Most of the parts are made out of Cardboard and some are made out of Acrylic. Then I measure each part.
- Front & Back = 20cm x 16cm (Back is Acrylic)
- Side - Side = 12cm x 16cm
- Top & Bottom = 20cm x 12cm
This is how it will look like after attaching them all together (using masking tape first).
Then I cut out places for the components:
- LCD = 7.2cm x 2.5cm
- Buttons = 1.2cm x 1.2cm
For the cup:
- Length x Height = 9cm x 12cm
- Width x Depth = 9cm x 9cm
Do not to forget to cut out for the sensors too:
I made the dispenser into steps so that the candy doesn't fall right away:
I laid out the breadboard and Arduino behind each other. I use acrylics to stick them together. This way it will save a lot of space.
Start attaching the components on to the board. I start with LCD and buttons.
Next, after wiring all the cables on the components, I attached them in the middle of the box.
Attaching the servo:
This is how it looks like from the back. I also added a power button to power up the Dispenser using the battery.
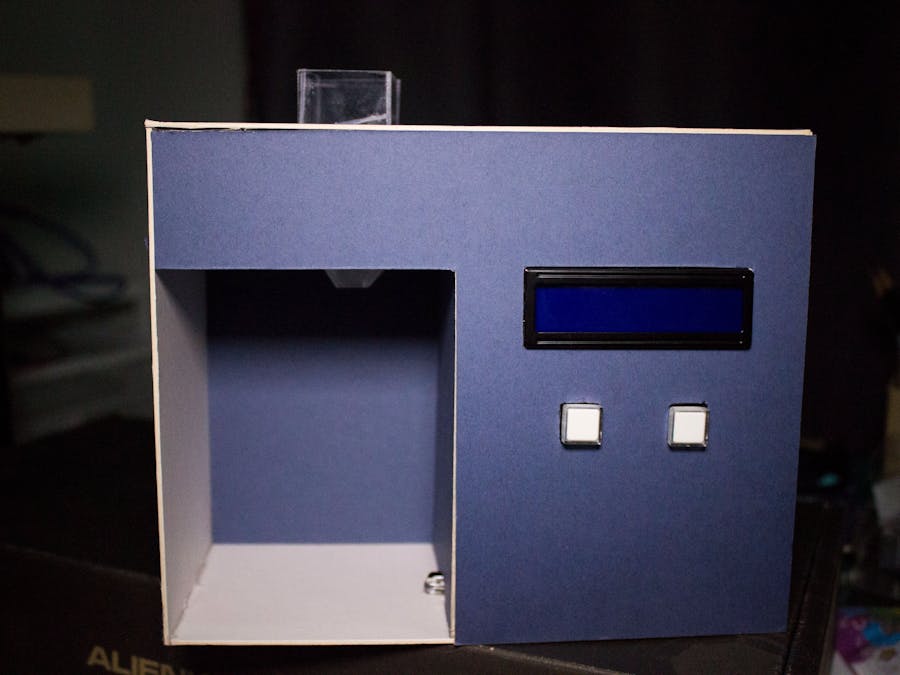
The finished look.


_ztBMuBhMHo.jpg?auto=compress%2Cformat&w=48&h=48&fit=fill&bg=ffffff)


_3u05Tpwasz.png?auto=compress%2Cformat&w=40&h=40&fit=fillmax&bg=fff&dpr=2)
Comments
Please log in or sign up to comment.