Samsung’s ARTIK 5 Module is a highly-integrated System-inModule that utilizes the Exynos architecture with dual core ARM Cortex-A7 processor packaged DRAM and Flash memories, a Secure Element (SE) and a wide range of wireless communication options such as 802.11b/g/n, Bluetooth 4.0, Bluetooth Low Energy (BLE), and 802.15.4/ZigBee communications all into a 30x25mm footprint. The many standard digital control interfaces support external sensors and higher performance peripherals to expand the module capabilities. With the combination of Wi-Fi and ZigBee, the ARTIK 5 is the perfect choice for home automation and home hub devices, while also supporting a rich UI/UX capability with the camera and display options. The hardware based Secure Element works with the ARM® TrustZone® and Samsung’s Trusted Execution Environment (TEE) to provide “bank level” security end-to-end.
Step 1: Powering UP!!
- Connect one of the wireless antennas to the connector labeled "CPU WIFI ANT".
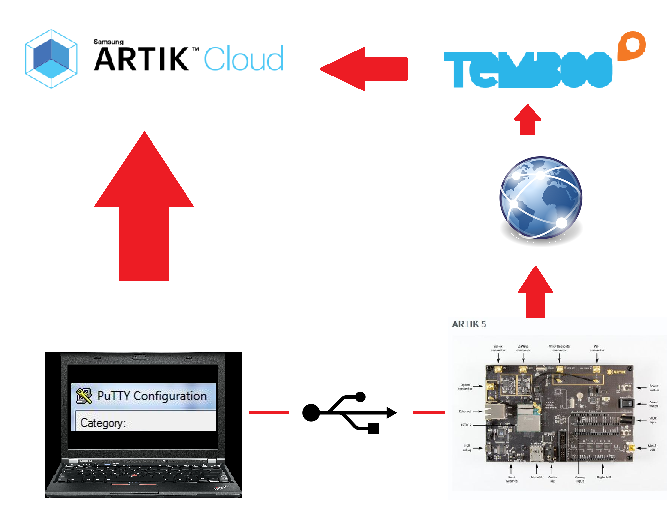
- Connect the board to your computer using the USB cable. There is only one micro-USB connector on the board. You should see the Rx and Tx LEDs light up.
- Make sure the power switch on the development board is set to the off position.
- Plug in the AC side of the 5V power supply to your power outlet, and the other end into the development board.
- Flip the power switch on the development board to the on position. The LED next to the "SW3 POWER" button should light up.
Step 2: Communicating with PC
- Open Device Manager in the Control Panel.
- Check the COM port number when you connect a USB serial cable to the PC. (If the COM port connection is not detected, temporarily power on the ARTIK board.
- Set the PuTTY configuration as follows:
> Serial line is the COM port number found in Step 2.
> Set speed to "115200".
> Set connection type to "Serial".
> Save the session.
> Click "Open".
- Initially, the resulting screen will be blank. Reset the board by pressing the "SW3 POWER" switch. The ARTIK module will now go through the boot sequence.
- When prompted to login,
> use: login: root
> password: root
Step 3: READY!!
Now. Ready to prepared fight for Makers Against Drought challenge


Comments