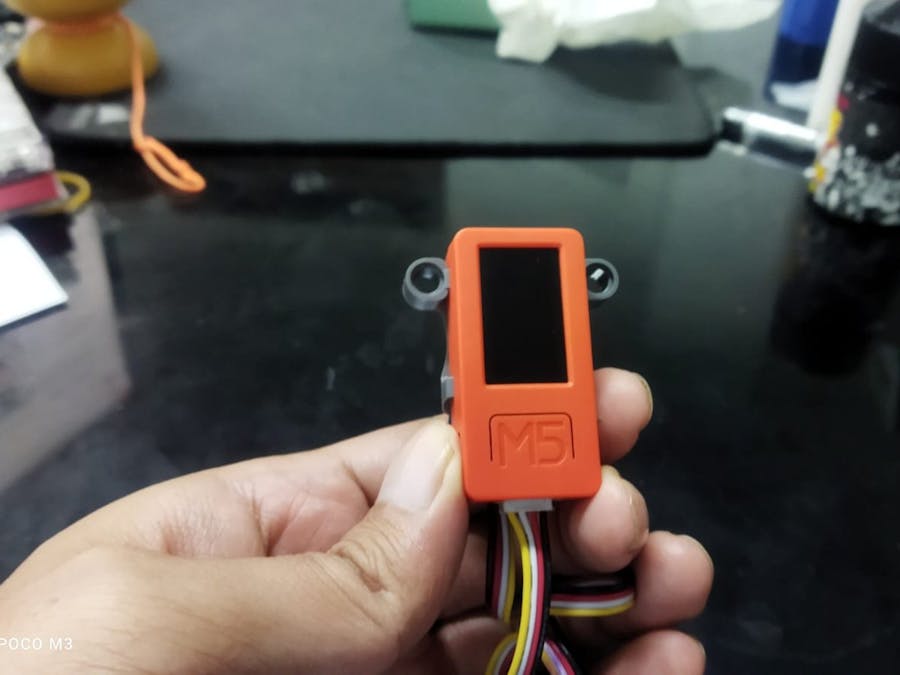
One of the challenge faced by wheelchair user is cracked road, where sometimes if the user is losing focus they could bump into a cracked road or a pothole that could cause injury.
Based on that problem I want to create a device that could detect a cracked road or potholes to give early awareness to the wheelchair user
Preparation
The solution I want to build should be a small device that is easy to build and easy to program with no soldering involved. Budget also will be a consideration, in order that project could be build by anyone and this project could be made with the cost under $50
For those aspects I will use the M5StickC Plus module as its main brain and the grove Vision AI as the sensor.
yup! only those two module will be needed to build this project.
Data ModelIn this section I will show you on how to build the custom data model for the Grove Vision AI module.
Before everything else make sure to follow
this official from Edge Impulse
I will be using the
Pothole Detection using Edgeimpulse's FOMO algorithm
as a guide and template to build the custom data model thanks to Hackster User Nurgaliyev Shakhizat for the tutorial.
I will not cover the whole tutorial on how to use the Edge Impulse to create a custom data model since there are already a bunch of tutorial on youtube and hackster that already cover it, So for this part I will point out important things that needed to get the data model working on the grove vision AI module.
After you are done training the data model like the picture above, go to the deployment menu and choose Seeed Grove vision AI
choose the Quantize option then click Build
Wait for a few minutes then your new custom data model will be downloaded in zip format. open the Zip File and extract the firmware
Copy the.uf2 firmware to the grove vision AI module using the same step from link guide above.
Or
If you don't want to make a custom data model, you can try my custom data model that I already made on this link
The CodeAdd the M5Stack board manager repository to the arduino preference menu
https://m5stack.oss-cn-shenzhen.aliyuncs.com/resource/arduino/package_m5stack_index.jsonthen go to board manager and install the M5Stack Board definition
After the board definition is installed go to library menu and install M5StickC Plus library
If you are prompted to installed another library that is required, click yes
Download the Grove Vision AI library from
Then add it to your Arduino IDE.
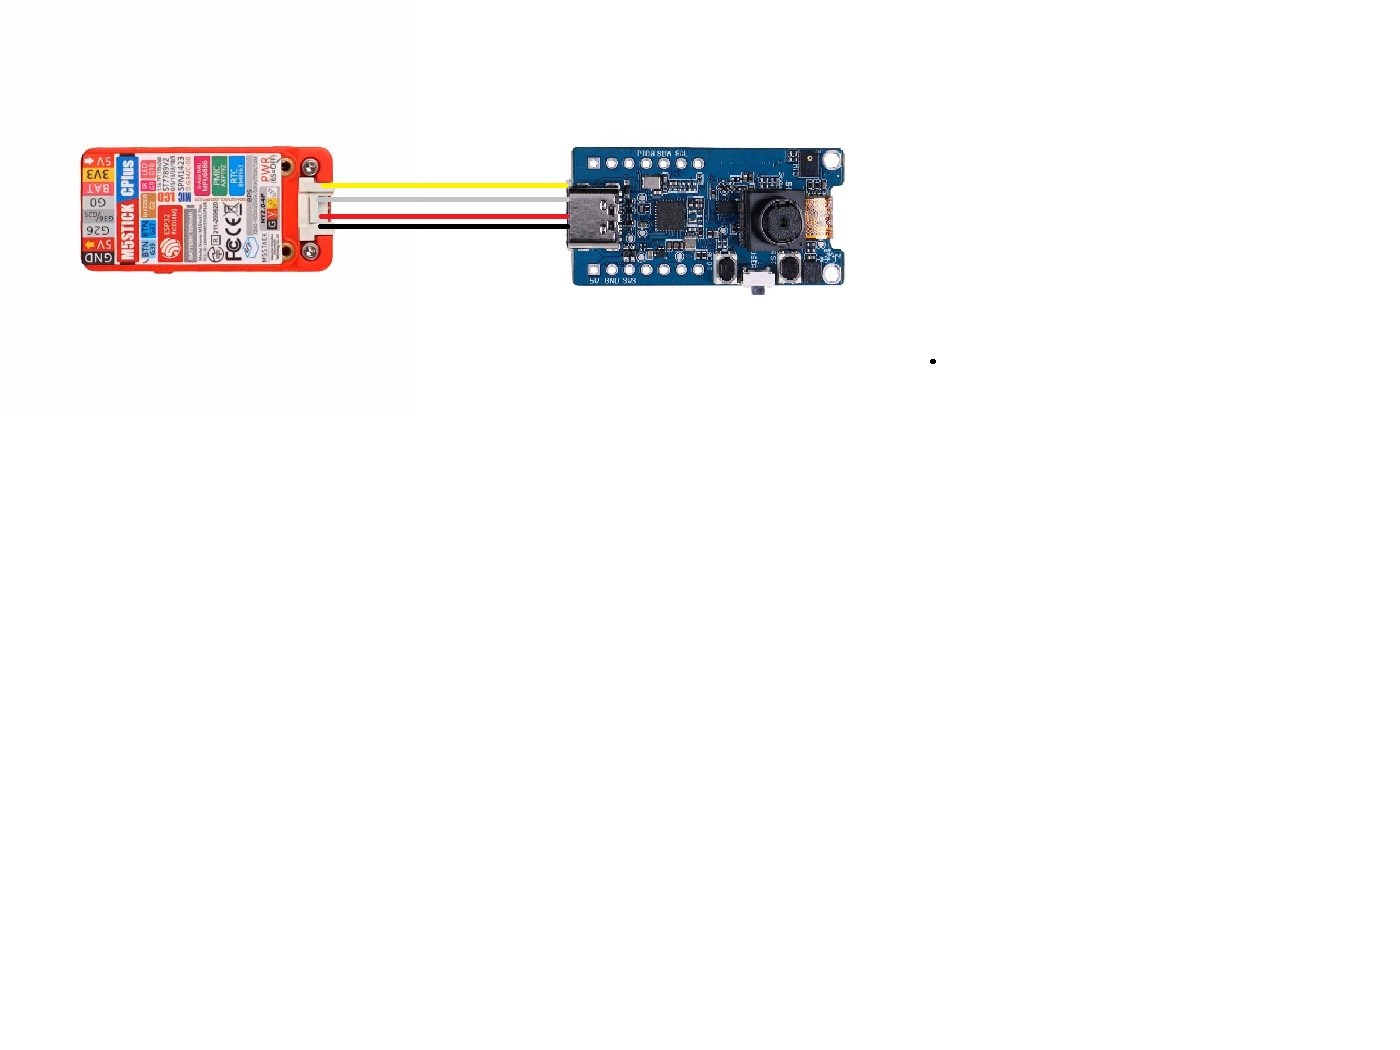
Connect the grove vision AI module to M5StickC plus via the grove port like the picture below
plug the M5StickC plus to the PC and upload the code below
#include "Seeed_Arduino_GroveAI.h"
#include <M5StickCPlus.h>
#include <Wire.h>

GroveAI ai(Wire);
uint8_t state = 0;
void setup()
{
  M5.begin();
  Wire.begin(32,33);
  Serial.begin(115200);
  pinMode(10, OUTPUT);
   Serial.println("begin");
  if (ai.begin(ALGO_OBJECT_DETECTION, MODEL_EXT_INDEX_1)) // Object detection and pre-trained model 1
  {
    Serial.print("Version: ");
    Serial.println(ai.version());
    Serial.print("ID: ");
    Serial.println( ai.id());
    Serial.print("Algo: ");
    Serial.println( ai.algo());
    Serial.print("Model: ");
    Serial.println(ai.model());
    Serial.print("Confidence: ");
    Serial.println(ai.confidence());
    state = 1;
    M5.Lcd.fillScreen(BLACK);
    M5.Lcd.setCursor(0, 10);
    M5.Lcd.setTextColor(WHITE);
    M5.Lcd.setTextSize(1);
    M5.Lcd.printf("Sensor detected");
    delay(1500);
  }
  else
  {
    Serial.println("Algo begin failed.");
    M5.Lcd.fillScreen(BLACK);
    M5.Lcd.setCursor(0, 10);
    M5.Lcd.setTextColor(WHITE);
    M5.Lcd.setTextSize(1);
    M5.Lcd.printf("No Sensor");
  }
}

void loop()
{
  if (state == 1)
  {
    uint32_t tick = millis();
    if (ai.invoke()) // begin invoke
    {
      while (1) // wait for invoking finished
      {
        CMD_STATE_T ret = ai.state();
        if (ret == CMD_STATE_IDLE)
        {
          break;
        }
        delay(20);
      }

     uint8_t len = ai.get_result_len(); // receive how many hole detected
     if(len)
     {
       int time1 = millis() - tick;
       Serial.print("Time consuming: ");
       Serial.println(time1);
       Serial.print("Number of holes: ");
       Serial.println(len);
       object_detection_t data;       //get data
        M5.Lcd.fillScreen(BLACK);
       for (int i = 0; i < len; i++)
       {
          Serial.println("result:detected");
          Serial.print("Detecting and calculating: ");
          Serial.println(i+1);
          ai.get_result(i, (uint8_t*)&data, sizeof(object_detection_t)); //get result

          Serial.print("confidence:");
          Serial.println(data.confidence);
          Serial.print("pos x:");
          Serial.println(data.x);
          Serial.print("pos y:");
          Serial.print(data.y);
          Serial.println();
          M5.Lcd.drawCircle(data.x, data.y, 3, RED);
        }
        digitalWrite(10, LOW);
     }
     else
     {
       Serial.println("No identification");
       M5.Lcd.fillScreen(BLACK);
       digitalWrite(10, HIGH);
     }
    }
    else
    {
      delay(1000);
      Serial.println("Invoke Failed.");
    }
  }
  else
  {
    state == 0;
  }
}
the M5stickC Plus have one grove port and it is labeled as GPIO 33 and GPIO 32, since the sensor is using I2C protocol and will be connected to those pins we need to redefine the SDA and SCL pins on the setup function
Wire.begin(32,33);The M5StickC plus screen will display the detected pothole based on its amount and position.
Serial.println("result:detected");
          Serial.print("Detecting and calculating: ");
          Serial.println(i+1);
          ai.get_result(i, (uint8_t*)&data, sizeof(object_detection_t)); //get result

          Serial.print("confidence:");
          Serial.println(data.confidence);
          Serial.print("pos x:");
          Serial.println(data.x);
          Serial.print("pos y:");
          Serial.print(data.y);
          Serial.println();
          M5.Lcd.drawCircle(data.x, data.y, 3, RED);
open Serial monitor and the result should be like this
The onboard led will turn and the display will count the number of pothole or cracked road detected
I Created this project to be easy to replicate in order for other people to created it quickly. I am also open to any kind of suggestion regarding this project


Comments
Please log in or sign up to comment.