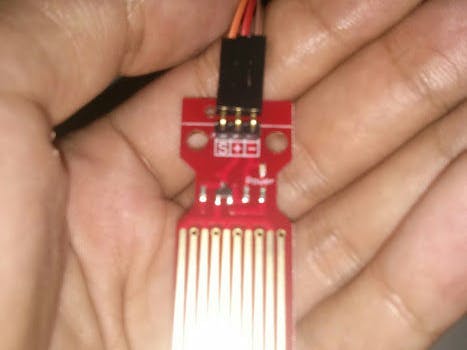
In this project we will learn on making water level indicator using linkit one board. This project could help you save water more efficient.
There will be 3 led indicating different water level.
Step 1: MaterialFor this project we will use:
- linkit one board
- 3 LED (Red, Yellow, Green)
- 4 Male to Male Jumper wire
- 3 Male to Female Jumper wire
- 3 330 ohm resistor
- Breadboard
- Micro USB Cable
- Water Level Sensor
Setup the linkit one board using this link or this llink. If you done doing the setup then we will make the connection between the water sensor and other components with the linkit one board.
Make the connection just like in the picture.
Pin 8 ----->Green LED
Pin 9 -----> Yellow LED
Pin 10 ----->Red LED
For the water sensor.
Pin A0 ----->S
5v ----------->+
GND--------->-
when all the connection is set. we will proceed to the code
Step 3: The codethe code consist of analog reading that trigger the led when the set to a certain level:
Upload the code above to your linkit one board and we will proceed to the final step
Step 4: Test itto know the value from the sensor, you can open the serial monitor from Arduino IDE.
to test the sensor and see if the code working well. I grab a glass of water put water sensor in the glass and see the data is chaning.
When the value is below 480, the green LED turn on. that mean the sensor not reading so much water
When the value is above 480 and below 530, the yellow LED turn on. that mean the sensor reading normal water level
When the value is above 530, the red LED turn on. that mean the sensor reading too much water.
if those things run normally. You can upload the data to ubidots platform using the Ubidots linkit one code
Hope this tutorial will make you understand about the water level sensor and could develop it into another project


Comments
Please log in or sign up to comment.