Let's learn to read data directly from the Arduino as text.
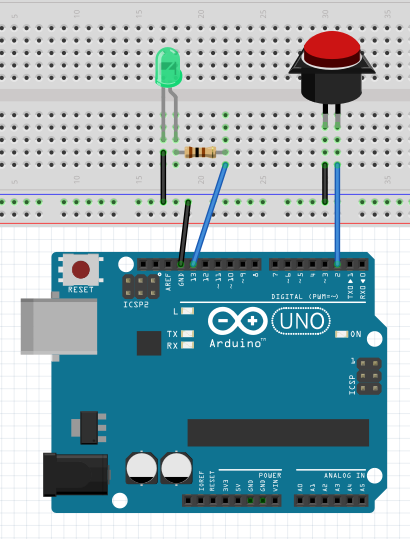
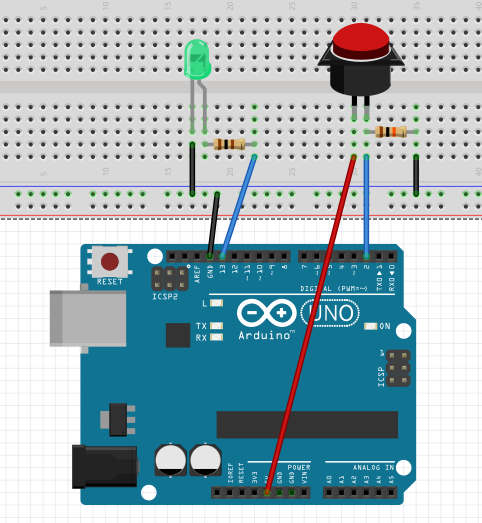
Open up File > Examples > Basics > DigitalReadSerial, and set up your button as the picture below. Upload the sketch to your board.
1 / 2 • Button circuit with pulldown resistor
CODE
Things should be looking much familiar by now. The news is about the serial monitor:
In setup(), look for Serial.begin(9600); which tells the Arduino to start communicating via text, at 9600 baud. The baud rate controls how much information is sent per second.
And in the loop(), you'll see the command Serial.println(buttonState);, this tells the Arduino to take the current value of the button and print it to the monitor as a single line of text.
The monitor itself can be opened with the button at the top-right of the IDE:
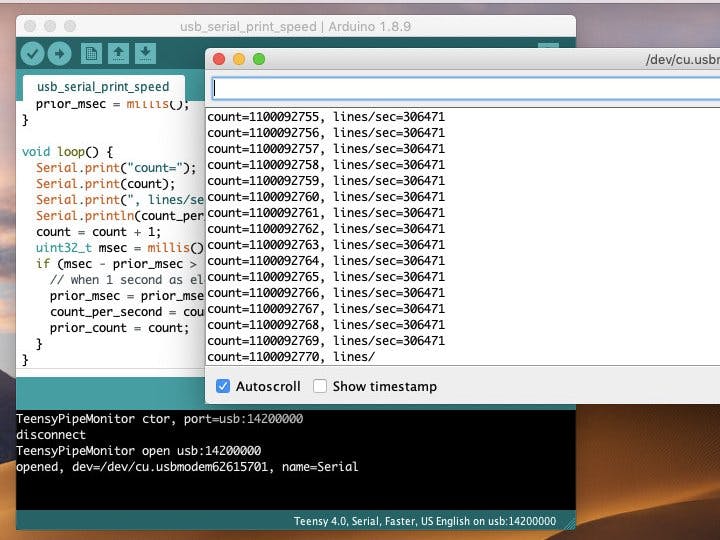
Open it up, and you'll start to see a column of 0s. Push your button, and they will turn into 1s. If you set it free you will see 0s. Cool?
If you don't see the pretty 1s and 0s, check the settings at the bottom of the window:
- Autoscroll should be selected
- Newline should be selected
- 9600 baud should be selected (the rate at which the monitor expects to receive data)
What else can we do?
- Get real-time readings from a sensor (MAIN FUNCTION)
- Embed debug messages in code: Print to the serial monitor at crucial points in execution, to help with troubleshooting


_3u05Tpwasz.png?auto=compress%2Cformat&w=40&h=40&fit=fillmax&bg=fff&dpr=2)
Comments
Please log in or sign up to comment.