Wio Link is an ESP8266 SoC based open-source Wi-Fi development board and associated platform to create IoT applications by virtualizing plug-n-play modules to RESTful APIs with mobile Apps. Wio Link is designed to simplify your IoT development, aims to make it easy to develop Internet of Things products and services. Using the Wio Link developers are able to build IoT applications with no hardware programming, no breadboard, no jumper wires, and no soldering. Users can build IoT applications in three steps in about five minutes. The ecosystem consist of Open Hardware Wio Link board, Open Source Wio Link Mobile App and Open Source IoT Server implementation. The board provides Grove connectors to easily interface with a variety of Grove modules. It also has on-chip power management for charging LiPo battery. The Mobile App has all the features to configure the board, to update firmware and to test/interact with application running on the board. The Server provides various infrastructure to connect the board to internet.
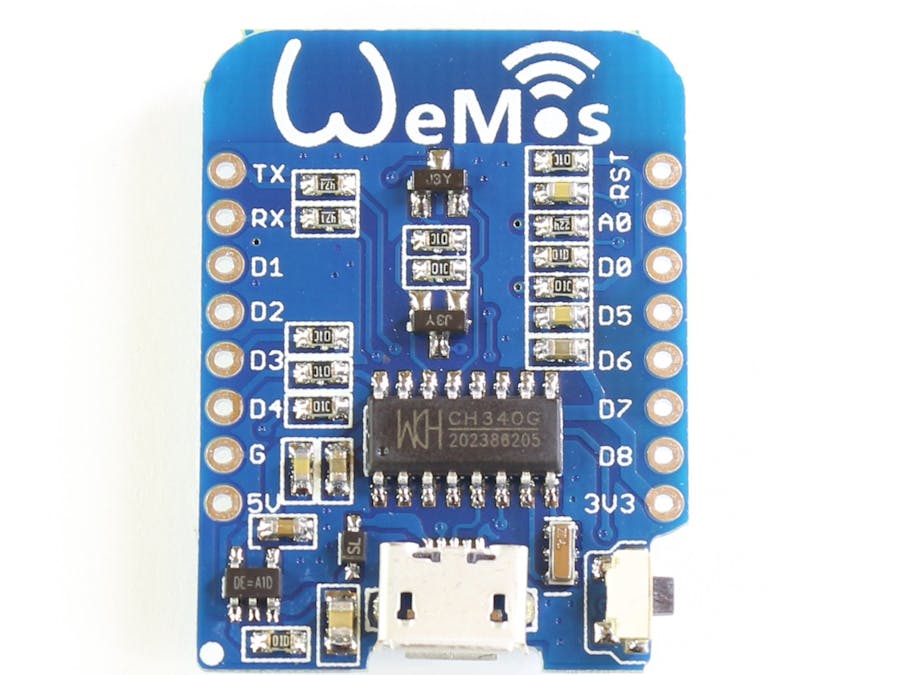
Wemos D1 mini is an ESP8266 board that’s interesting thanks to its size, its low price ($4), micro USB power, its shields, and a documentation that looks fairly good. The board can be programmed with Arduino or Lua, and supports both serial and OTA programming.
Burning the firmware file of Wio Link on D1 mini ;)
STEP 1 : Enter WeMos to Download Mode
In order to update the firmware on ESP8266 that we have the power and connect it to a PC also requires a Reset IC to enter Download Mode, Schematic Diagram below is.
STEP 2 : Burn Firmware
The firmware file is available on github thanks to Seeed’s open source efforts.
Follow the steps below:1. Download files:
- Flash tool: http://bbs.espressif.com/download/file.php?id=856 (only works with Windows)
- Firmware: user1.bin user2.bin
- Bootloader binary and other binaries: http://www.seeedstudio.com/wiki/images/4/4b/Esp8266sdk1.4.1.zip
2. Unzip .rar and .zip files
3. Install the driver for CH340
4. Open ESP FLASH DOWNLOAD TOOL
5. Configure like picture below
6. Click START
7. Press and hold FLSH key, then press RESET key, then release both
8. The download should begin, if not, please redo step 6~7.
If all steps are done correctly, the following message is displayed on the console and Now WeMos convert into Wio Link.
STEP 3 : Connect with Server
Install Android/iOS AppThis part is to show you how to connect Wio Link with Server and mobile. First, Download the Android or iOS App and install.
Note : Make sure your Android OS version is 4.1 or advanced. iOS version is 7 or advanced.
Create your Wio Link AccountIf you use the Android/iOS App for the first time, you need to sign up for an account.
1. Open Wio Link App and Click Sign-Up and Create a new user account.
Note : We provide two server options -- China mainland and International. If you are from Mainland China, select China server. Others, select International server. Selecting the appropriate server based on your location will speed up your development.
STEP 4 : Connect Wio Link to WiFi AP
Hold the FLSH button down until the LED turns into breathing mode (i.e. blinking with fade in & fade out effect). This puts the WeMos D1 mini board into configuration mode and it is available for Wio Link App.
Now, Tap + button to start, Click + button next to "Setup Wio Link", Click "GOT READY" on your phone, Then Connect your phone to the Wio Link AP, Then Connect Wio Link to the WiFi AP around you and give it a name.
Everything here is finished, I hope you enjoyed ;)


Comments
Please log in or sign up to comment.