In the previous articles, we discussed the differences between Aliveness and Awareness based on energy and sensors. This time, the consciousness of a machine will be examined based on the Codexation Dilemma.
In this project, an S2S sensory examination was developed to investigate Aneural Consciousness. The test was administered with a homodruino an intuitive machine named BING. The matching test, coined One-to-One or 121, was designed to pair words with colors. It was a non-cognitive measure structured primarily to identify the observable responsive skills or behaviors of a machine. The aneural consciousness test was also known as T2T (this-to-that) or x2y (x-to-y) validation.
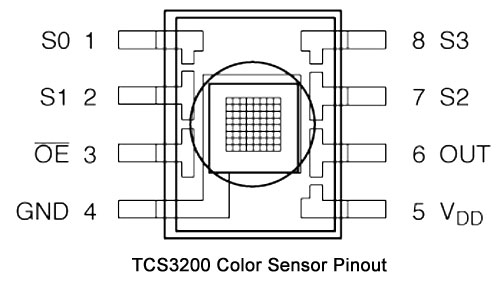
In this test, a human-like (homotronics) machine with an Arduino brain (neurotronics) was subjected to detect six colors from six tiles and identify them one by one by spelling them out via an LCD display shield and/or by flashing designated colored LEDs. When the machine sense green, it spells out GREEN, moves forward, and flashes a green led. When it detects yellow, it spells out YELLOW, moves backward, and flashes a yellow light. And when it sees the color red, it moves its head towards me, flashes a red led, and spells out RED.
The X2Y Test was conceived by Joey Lawsin, the formulator of Biotronics, based on a natural law discovered in his Bowlingual Experiment. The truism called "The Human Mental Handicap" expressed that: "No human can think of a something ever without associating or representing such thought with a physical object such as a word, a symbol, a description, a definition or even a mime. This neoteric measurement of consciousness can be in the forms of labeling, tagging, naming, pairing, matching, or one-to-one correspondence. Technically, this comparative skill or behavior is called Associative Consciousness.
When a dog matches a bowl for food, or a ball for play, or a toy bone for "walk to the park", his behaviors display consciousness. When he mimics a growl from another dog, a howl from a fire truck siren, or a command from someone else, he exhibits consciousness. This self-ability to match one thing with another thing unknowingly is the leading identifier that indicates associative consciousness.
The idea of Aneural and Neural Associative Consciousness was primarily uncovered from a research known as "The Caveman in the Box Trilogy", a thought and observable experiment designed to answer the following scientific questions:
- How did information emerge into the early minds of the very first humans?
- Who supplied our primitive ancestors with information?
- Where did these pieces of information originate? Where did they come from?
- Was the source of information a Who or a What? Was it god, space aliens, or something else?
From this thought experiment, Lawsin rationalized that early humans gathered information by mirroring or mimicking what they sense from their outside world. Over time, their abilities of matching eventually evolved into the skills of pairing objects with objects or objects with ideas. This informational ability to associate This to That gave rise to consciousness.
In the video below, some proofs of aneural consciousness are partially displayed. The robot, with a limited range of codes in its microcontroller, can crunch numbers by itself. Its computational ability is corroborated by its varying maneuverability dictated by its self-perceptions to distances and self-decisions to what actions to make. Such behaviors are not orchestrated by the codes. The robot is actually on its own self-computing varying options of movements while detecting and avoiding obstacles on its path. The robot is aneurally conscious.
Remember, to be conscious, one needs three things: (1) it is alive, (2) it is aware, and (3) it can match things.
Aliveness, Awareness, Consciousness, Rationality, and Self-knowledge are completely different subject matters. More of their differences are examined and explored in the following links: (1) The Making of A Conscious Robot, (2) The Robot who didn't know he is Alive!, (3) The Robot who was raised to be Aware, (4) Exyzforms: The Secret Codes of creating Machines with Life, and (5) The Four Marks of a Living Machine. These articles provide such fresh insights about what it takes to be Alive, what it takes to be Aware, what it takes to be Conscious, what it takes to be Rational, and what it takes to be Self-Knowledge.
One can be aware without consciousness, but can not be conscious without awareness. ~ Joey Lawsin


_ztBMuBhMHo.jpg?auto=compress%2Cformat&w=48&h=48&fit=fill&bg=ffffff)


Comments
Please log in or sign up to comment.