


Hardware components | ||||||
| × | 1 | ||||
 |
| × | 1 | |||
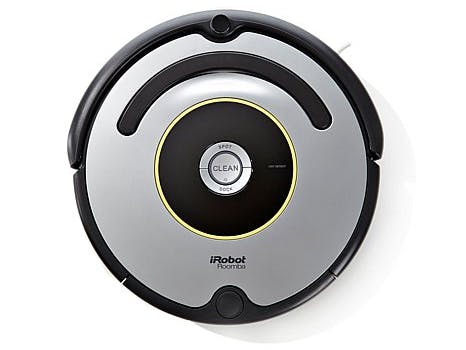
Roomba vacuum cleaner is a nice and helpful device, but I wanted to be able to start it remotely, when I'm not at home. Just imagine you are half way to your office and realized you forget to start your roomba to clean your home. Other day you started it, but want to do few more runs and want to know when it is fully charged.
So I decided to do a quick hack using platform which will take care about backend services and remote code update.
I bought imp-001 and imp breakout board form Sparkfun.
Next thing you need to do is to set up your account on electricimp.com and connect device to your wi-fi. The best way is to just follow these instructions.
You can play around and blink your light diode.
So now we need to connect our device to roomba!
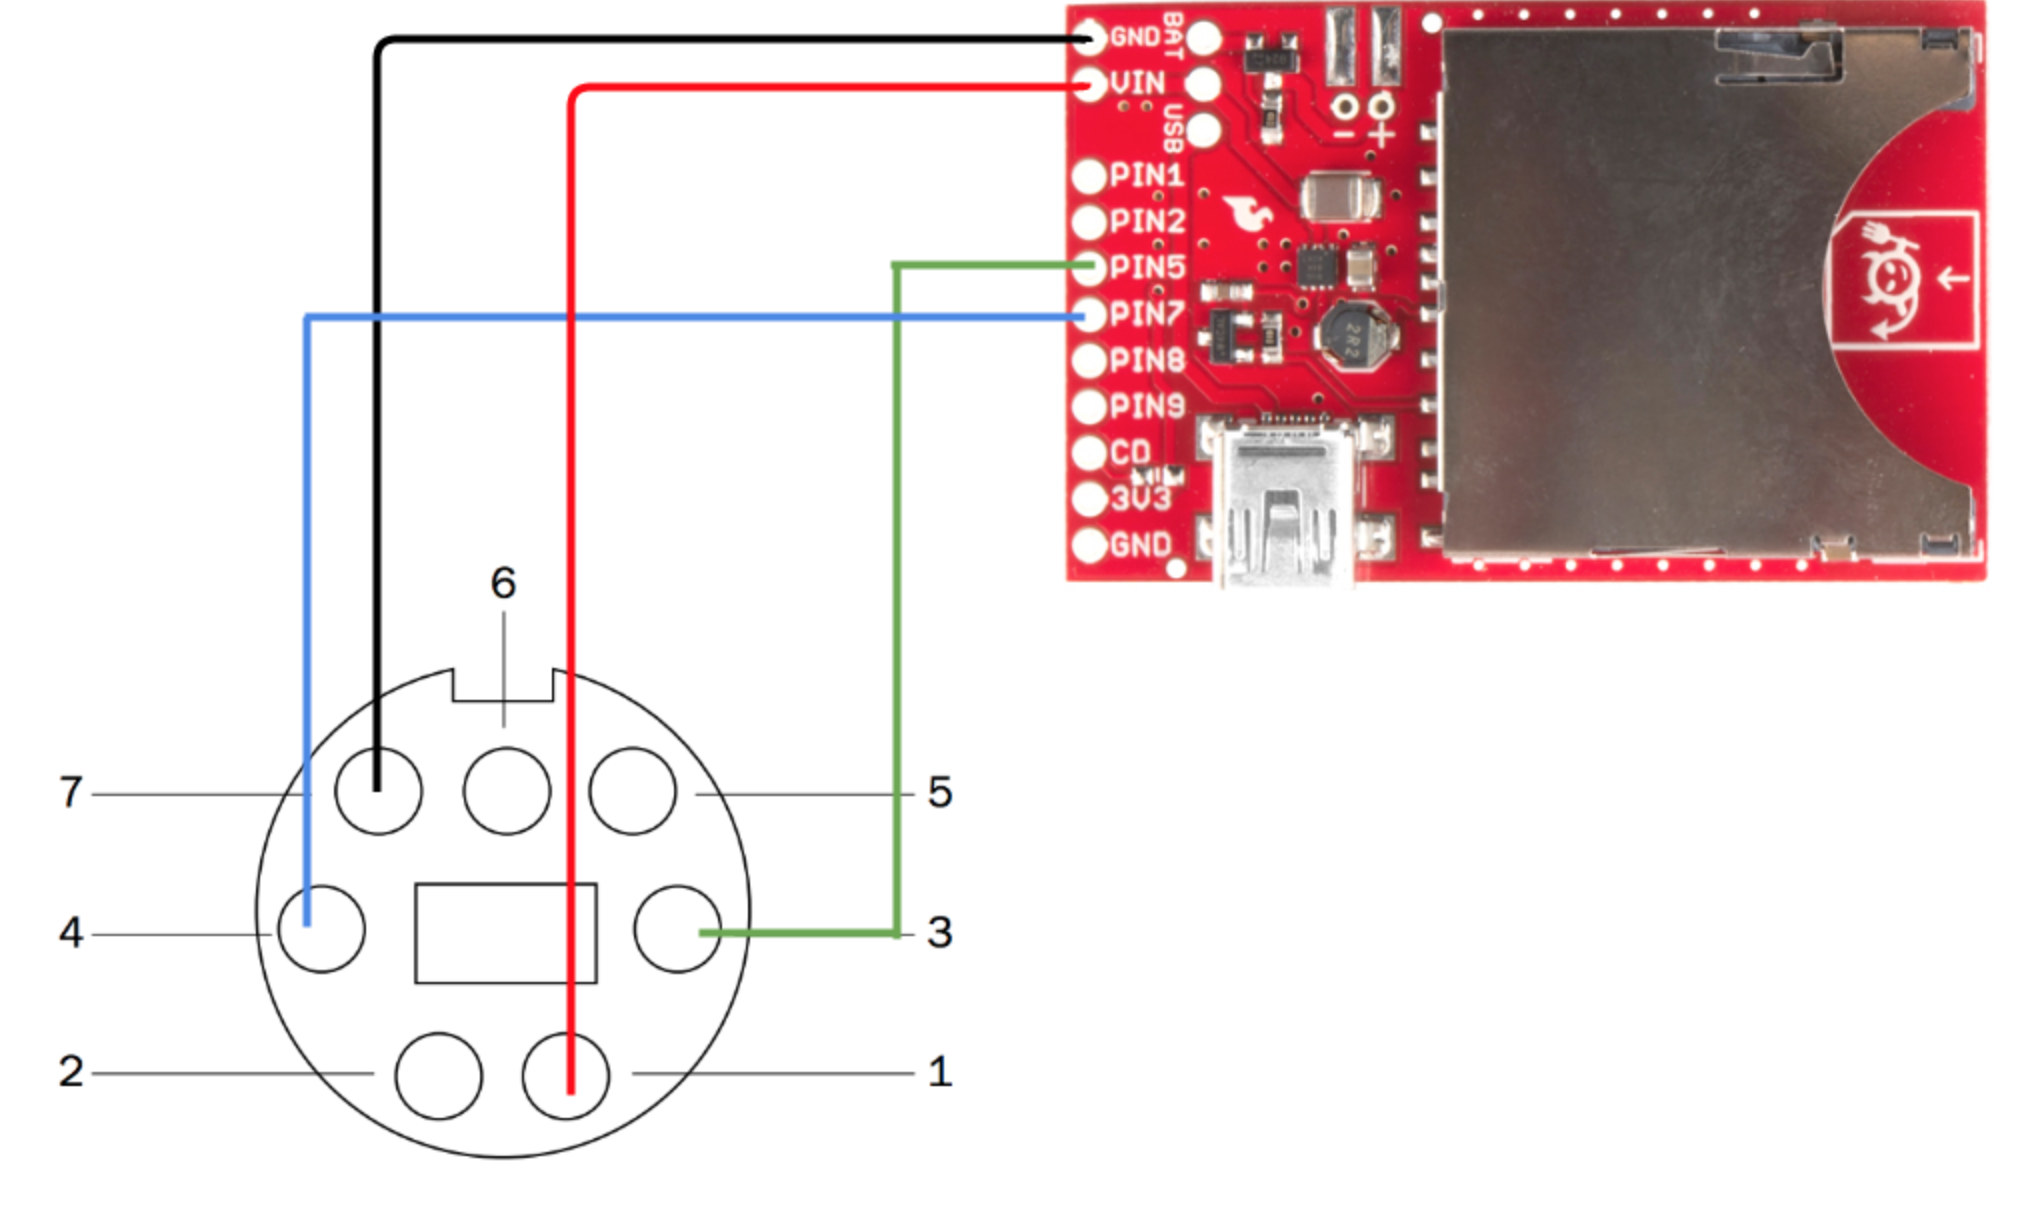
We'll do it via Roomba SCI interface which is physically 7-pin mini-din connector. Here is a doc which contains all information about SCI.
Connecting imp and roomba
The good thing about imp-001 and breakout board is that they are 5v tolerant, so you can connect RXD and TXD roomba pins directly, however it is recommended to use something like zener diode to clamp output to 3.3v. You also can use something similar to this device. I'm running it connected directly to roomba.
Connect imp's pin #2 to roomba pin 5, we need it to wake up roomba.
Next thing is to connect RX roomba pin 3 to TX imp pin 5 and TX roomba pin 4 to RX imp pin 7. So finally you should have something similar:
Software fun
Finally!
When you ready to move forward, just clone imp-roomba repo form Github. You'll find agent.nut and device.nut files there, so what you need to do is just copy/paste into agent and device code using imp's web ide. Then click Build and run.
In your imp ide device log you'll see following information:
2015-06-09 21:54:31 UTC-7 [Agent] Agent Started 2015-06-09 21:54:31 UTC-7 [Agent] Imp mac: 2015-06-09 21:54:31 UTC-7 [Status] Device connected 2015-06-09 21:54:31 UTC-7 [Device] 0c6b3456be44
where last line prints out device mac.
Now we are ready to send commands to our device! But before do that we need one more thing: agent url. This url used to send commands to your roomba device. Copy it form your imp web ide, it looks similar to https://agent.electricimp.com/Zasdfg8ju4AE
So url to get status of your roomba will look like this:
https://agent.electricimp.com/Zasdfg8ju4AE/api/0c6b3456be44?command=status
Go ahead and put it in your browser address bar, or use curl. You'll get responce back like this:
{ "result": "ok", "command": "status", "data": { "currentData": { "capacity": 1348, "status": "doc", "current": 39, "charge": 1348, "doc_state": true, "chargingState": 3 } } }Data blob contains information about current status of roomba: capacity, current, charge, charging state. In addition as you can se there is a doc_state which basically shows whether or not your device is on doc station.
You can send following commands to roomba: clean, sleep, doc, spot, status. Just change last part of URL.
I'm currently working on a simple backend running on free google app engine service, so you can also clone it and use for your needs, or create your own app.
How can I attach it to my roomba?
Some of you interested in how it looks assembled and attached to roomba, so it is a pretty simple as you can find bellow.
You basically have few options.
Option 1
Use 7-pin mini-din connector. It's looks good to have fun and try it out, but you'll have few issues with that: you cannot use original roomba's cover and because there is one, not really small piece (connectot, attached wires and imp) which is protrude from roomba, and when robot cleaning up it might snap off whatever is connected to it. Which is happened to me few times and forced to find better solution.
So here are few pictures, so you have better understanding:
Option 2
You disassemble roomba, find place for imp board, locate 7-pin female connector and hook up wires directly to the board. This require additional skills and more work, but as result your roomba will look in the same way as before modification. Another minus I fond for the option is: if you change you wi-fi network set-up you'll need to disassemble roomba again to blink up new wi-fi settings.
There many videos on youtube how to disassemble roomba, so I won't show the process here. There few photos just to demonstrate where I put it in:
Update:
I added simple web application base on free google app engine project (I mean free because you can use free quota). Link to git repo bellow. Feel free to update.


Comments
Please log in or sign up to comment.