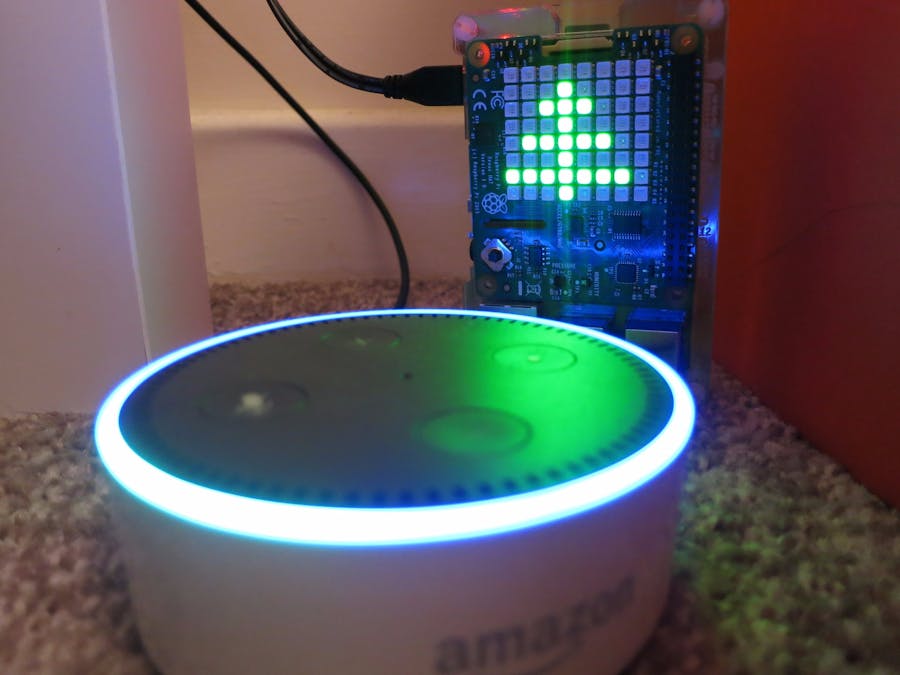
Recently I've been using Amazon Alexa for a number of projects, and the Alexa If This Then That (IFTTT) service was just enabled recently here in the UK.
IFTTT makes it super easy to trigger actions ("if this happens, do that"). For example, in the case of this project, their Alexa recipe can take a phrase heard by the Echo dot, and the Maker service can call a HTTPS endpoint which can trigger the animation on the device. The HTTPS endpoint is created by the resin.io service (Public Device URL) which enables an easy way to communicate to any board connected to the Internet.
This project thus have these main parts:
- Drawing to the 8x8 pixel LED matrix display provided by the SenseHAT, running on a Raspberry Pi 3 device.
- Receive commands on the device by running a webserver and listening to data coming in.
- Tying verbal phrases to different stages of the display animation, to be triggered by voice commands.
I've used the sense-hat-led Node.js library to display images on the LED matrix. It's using a background process (at around 20fps) to draw changes, or new frames for the animation if needed.
Here's the basic Christmas tree, that fits in the 8x8 pixel display. Probably could have drawn the trunk wider so it fills the entire display (instead of a 8x7 pixel area), but it looks nice as it is now:
The second phase of the display animation is flickering "candles". Picked a few locations for the candles (not entirely symmetric for aesthetic reasons), and set them up randomly at the start of the application so they don't all blink the same way:
- different max brightness (randomized)
- different minimum brightness (randomized)
- different starting brightness (randomized)
This makes the candles lit up with different period, so the pattern does not repeat, looks more "flickering". The overall experience is something like this animation (though here I cannot randomize, so it is just an approximate demo):
The code also allows for rotating the displayed image, as the display might not be oriented the same way for everyone, depending on how you put it. It can be adjusted via a `ROTATE` environment variable (available to set through the resin.io device dashboard, to values 0, 90, 180, 270, see more in the relevant resin.io guides.)
The program running on the device implements a webserver using Express, and three endpoints:
/tree: tree view
/christmas: candle view
/off: clear display
The endpoints are responding to GET requests on those endpoints, to be really standards compliant, probably should change that to POST or PUT requests, but it's fine for now.
Resin.io devices can have Public Device URL enabled, which means they can be reached by the https://<device-uuid>.resindevice.io URL, where <device-uuid> is the unique ID of the device.
Setting up the Alexa triggers is very straightforward:
- start a new applet
- select the Alexa service
- select voice trigger
- add a trigger phrase (here I'm using "
christmas tree", "merry christmas", and "good night" for the three different display phases
- select the Maker service as an output
- add the Public Device URL of your device to it with the corresponding endpoints, e.g.
https://<device-uuid>.resindevice.io/tree, where the unique ID is filled out
- save applet
Now the skill is ready to go! Though might need to enable IFTTT in the Alexa dashboard before it works.
You can of course use different phrases to trigger the actions by Alexa, but have to use the above linked three endpoints as output.
Putting it all togetherThe end result looks something like this:
The photos and videos don't do justice to this setup, with human eyes the "candles" have definitely different colour and do not saturate this much. It does really nice, and will definitely use it as a "spare Christmas tree" this holiday around the house.
It's just a couple of steps:
- If you haven't, register to resin.io, and set up a new application for this project, download the SD card image provided in the dashboard, flash it on an SD card (more info on that in this Getting Started Guide!)
- Assemble your Raspberry Pi 3 + SenseHAT, and boot it from the SD card. If everything goes well, it shows up in your dashboard!
- Go to the
alexa-sensehat-christmasproject on Github, git clone it on your computer, and push the code to resin.io. See the above mentioned Getting Started Guide for more details. Wait until the device downloads your application update.
In the resin.io dashboard enable the Public Device URL for this device (note the URL down!), and visit the link. Try out the different endpoints linked above, see whether the display changes. If it does, you are almost there!
Go to IFTTT, and create three applets for the three triggers, using your verbal phrases and the URL with the different endpoints noted from the last step.
After this, you should be ready to go, just talk to Alexa, and it will talk to your brand new virtual Christmas tree!
x x x
Merry Christmas and happy hacking everyone!


Comments