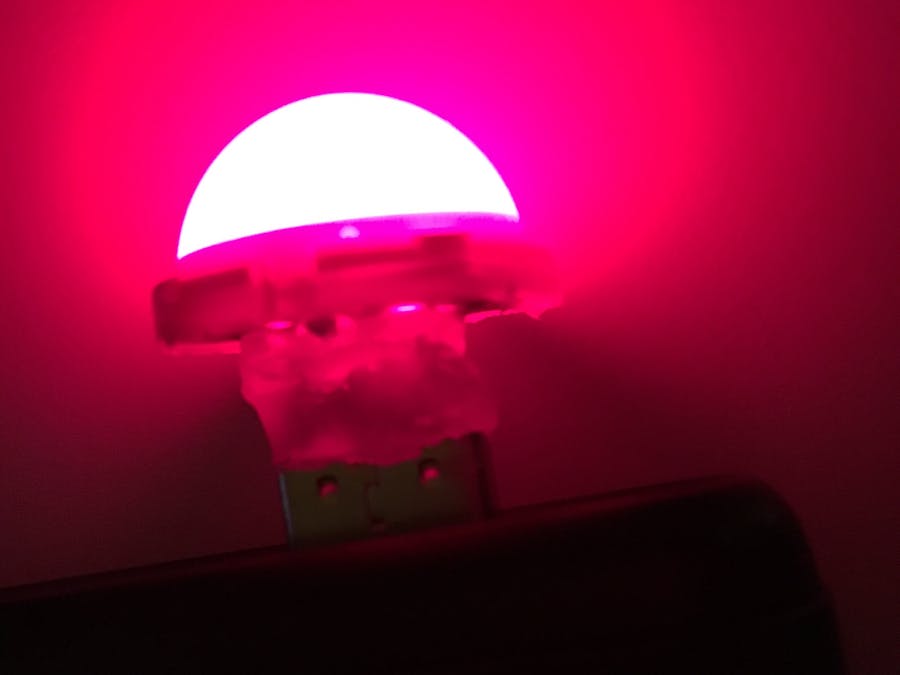
Inspired by a short video, I realized that last night during a commercial break: an old USB stick supplied the USB adapter - I disposed of the USB chip. The 5V designed LED I had in stock (here the comparison to the usual LEDs) and could use this without additional resistance. Here are the steps in detail:
Which is the current-carrying pole?Measure the 4 pins with a multimeter and mark the (+) pole with a pencil.
Shorten the length of the two legs with a tool and mark them beforehand, which is (+). Note: the longer leg is basically (+).
The signal pins reduced.
SolderedThe markers have helped to maintain the alignment for (+) and (-) and so the connection of the USB adapter to the LED could be fixed with 2 solder points.
Shielded typeWith hot glue around the stability increased and shielded contacts. During the cooling process you can use your fingers to shape the glue a bit.
Put a small pad under, otherwise your desk is quickly messed up.
The useSince today even sockets are equipped with a USB port, power is provided everywhere. In my case, I had a power bank and could test first. Then the LED was used during the gambling on the PC and currently provides a nice red light in the nursery.
I like simple things with high utility value.


Comments
Please log in or sign up to comment.