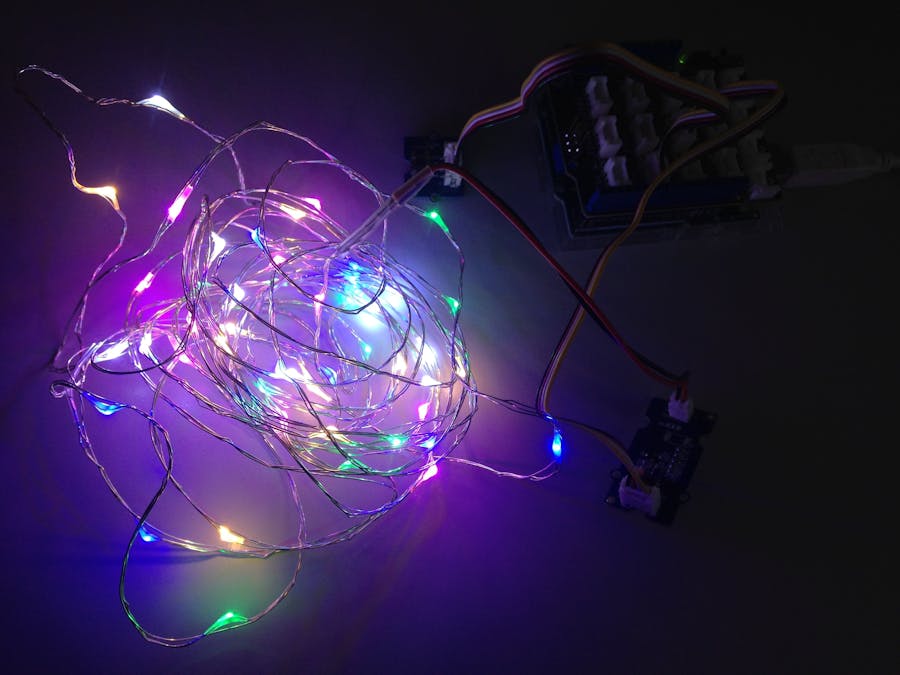
I'd like to share my first steps with the Grove 'LED Strip Light' and a Grove 'Button'.
I was not excited when I looked at the original sample code from Seeedstudio: what would happen if the colorful LED Strip with its thin veins would be broken? Would it then force me to buy a new set of LED Strip and LED Strip Light? In addition, I like a rich green look much better and also had 'very cheap' LED strips as leftovers available. Very cheap, because no color selection is available and only DC12V + and - is available. The original sample code was intended to keep the button pressed. In this time, the light was on; otherwise off. I also did not like this: what to do if I wanted to get an alcoholic drink or pray?
Once the Grove Base Shield is plugged onto the Arduino Uno R3, the Grove's universal cable can be used to connect the Button on port D2 and the LED Strip Light to port D7.
I use the Arduino WebIDE and have the code of SeeedStudio available direct here:
a.) Start with the Button-Example (have an eye to the internal Arduino Uno R3 button light)
const int buttonPin = 2;     // the number of the pushbutton pin
const int ledPin =  13;      // the number of the LED pin
// variables will change:
int buttonState = 0;         // variable for reading the pushbutton status
void setup() {
    // initialize the LED pin as an output:
    pinMode(ledPin, OUTPUT);
    // initialize the pushbutton pin as an input:
    pinMode(buttonPin, INPUT);
}
void loop(){
    // read the state of the pushbutton value:
    buttonState = digitalRead(buttonPin);
    // check if the pushbutton is pressed.
    // if it is, the buttonState is HIGH:
    if (buttonState == HIGH) {
        // turn LED on:
        digitalWrite(ledPin, HIGH);
    }
    else {
        // turn LED off:
        digitalWrite(ledPin, LOW);
    }
}
b.) Check the code attached!
Here you can derive the differences to my extension. Focus on this line in void setup: pinMode (buttonPin, INPUT_PULLUP);
Now the button with its option of switching on and off ensures permanent light. Just as it is accustomed to the usual light switch.
With 2 standard male / female jumpers, I was able to replace the Grove Universal Jumper for controlling the LED Strip Light. However, I soldered the male side to a cutting edge of the green LED strip. To my last soldering project I can not remember: nevertheless, I have very little solder succeeded to fix the 2 wires.
What exactly is the purpose of the LED Strip Lights? This is necessary to carry out the translation of the DC5V circuit of the device to the necessary DC12V for the LED strip. Although I am not an electronics engineer, I assume that the LED Strip Light could also be used for other 12V components. I think of a small water pump in the camping environment or aquarium. Unfortunately, there are very few alternative projects with this component.
Green is the new black:
We are at the end of this introduction: are you smiling that you succeeded in reproducing? Send me a Selfie!
Further examples with a introduction in components from Grove Starter Kit can be found here:


_ztBMuBhMHo.jpg?auto=compress%2Cformat&w=48&h=48&fit=fill&bg=ffffff)


Comments
Please log in or sign up to comment.